Discover how to bake lighting in Blender and Unity. After watching this video, you will learn some differences between these 2 tools and the basic principles of light baking (and texture baking in general).
What is Texture Baking?
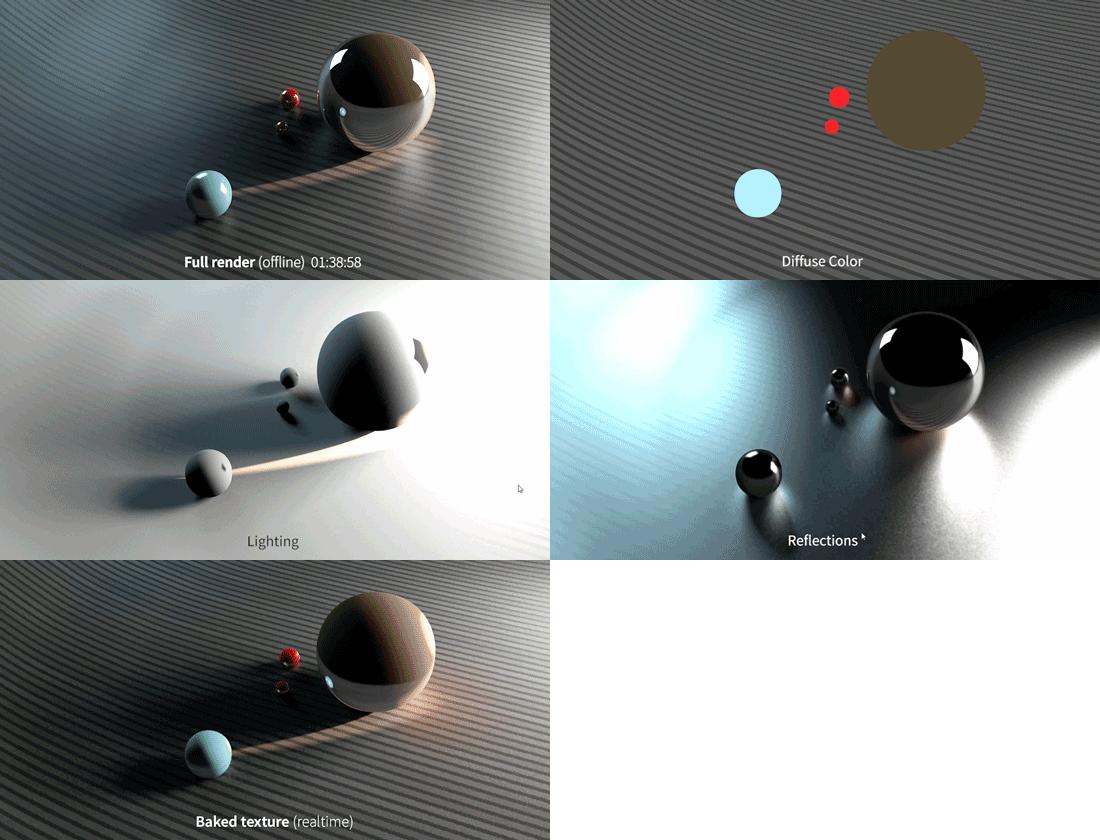
Essentially, we take everything – direct lighting, reflection, diffuse color, indirect illumination, ambient occlusion – and try to pack it into 1 texture.
Why Texture Baking?
1. Creative reasons
Imagine you have achieved some spectacular shader in Blender scene, that involve multiple texture layers, wicked mix using grunge map and so on. Now you want to transport it directly to Unity, while retaining the look.
Exporting just the diffuse texture won’t to the justice to this uber material of yours, because Unity shader system differs from what Blender has.
What we can do is to bake everything in 1 texture (all shadows, multiple layers of awesomeness, etc). Then it will be easier to replicate the look in Unity, by inserting this texture in some shader. Yep?
2. Performance
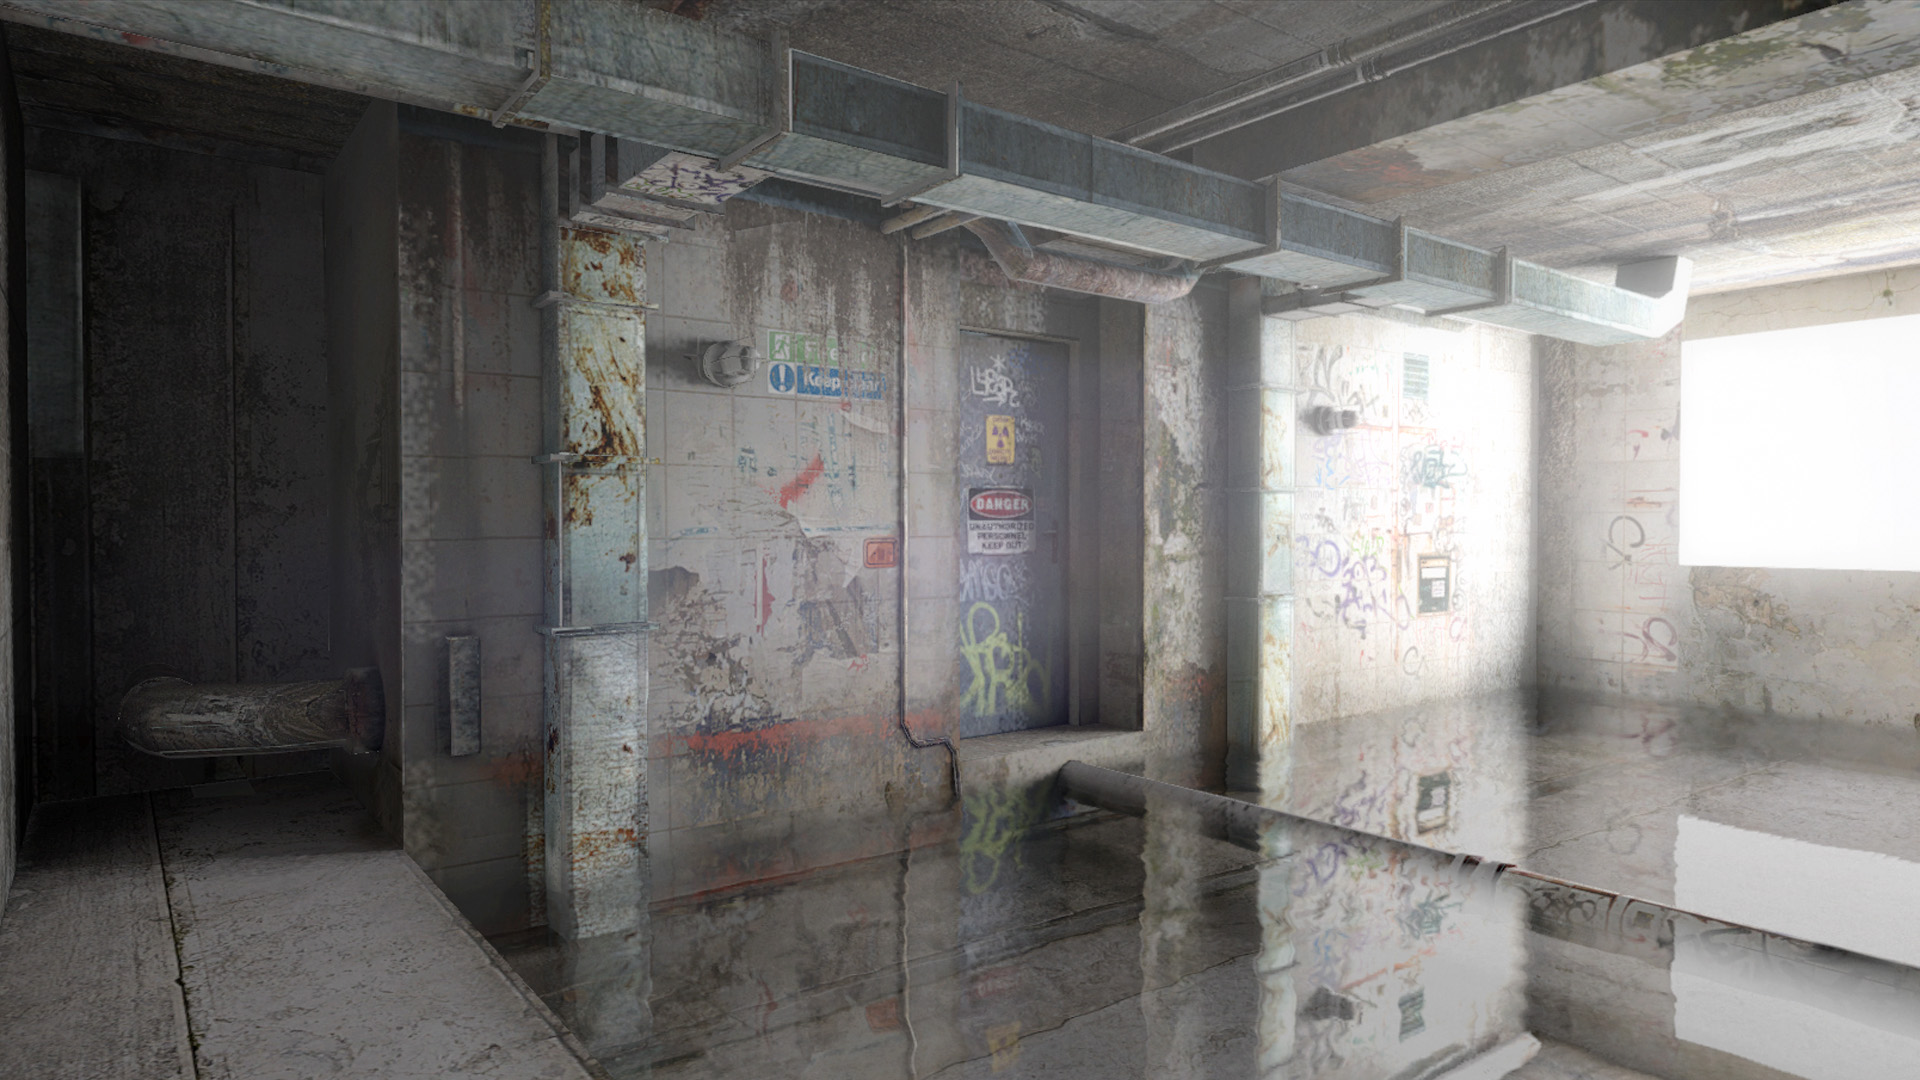
As we will have just one texture, in some cases we wouldn’t even need to calculate the lighting at all in the game engine. In our example, we have a grungy room with a window.
Surely, it demands some Global Illumination solution. Real-time Global Illumination is very heavy performance-wise. So we can just bake lighting (and every other texture) to one package.
3. Convenience
Sometimes, it’s just more convenient to have one texture. As a bonus, it takes less space on hard drive.
Baking Passes in Blender

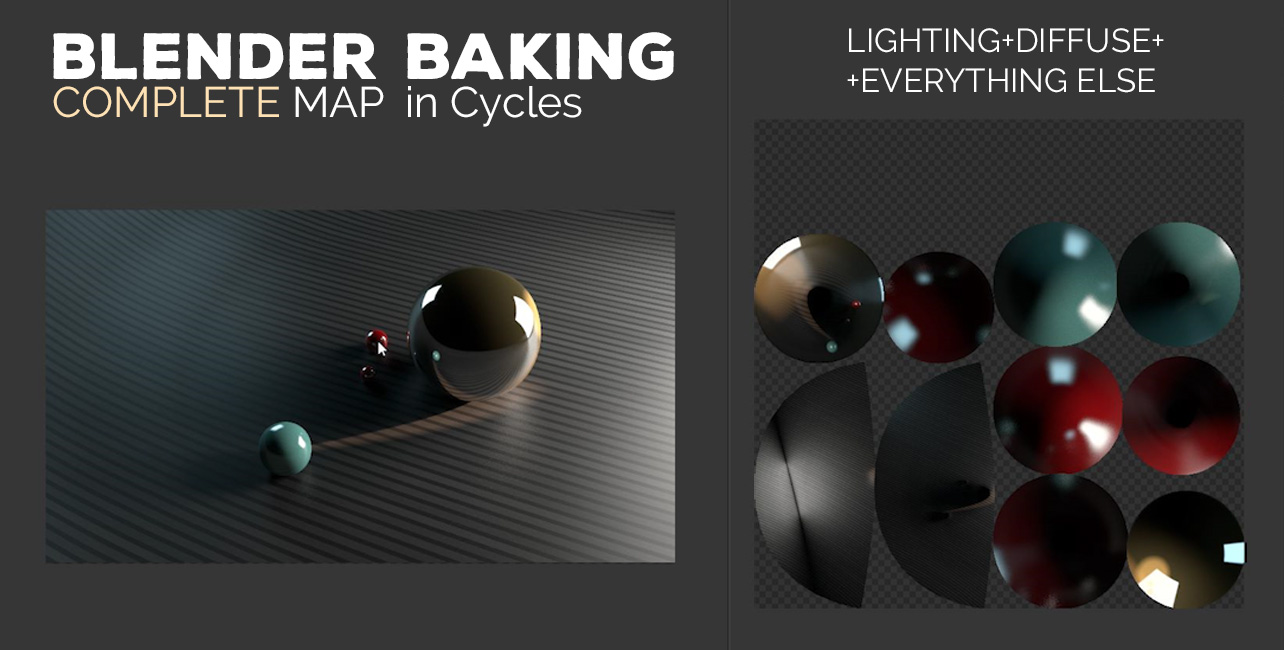
Here you can see how various passes (Diffuse, Lighting, etc) sums up to produce the Complete map.
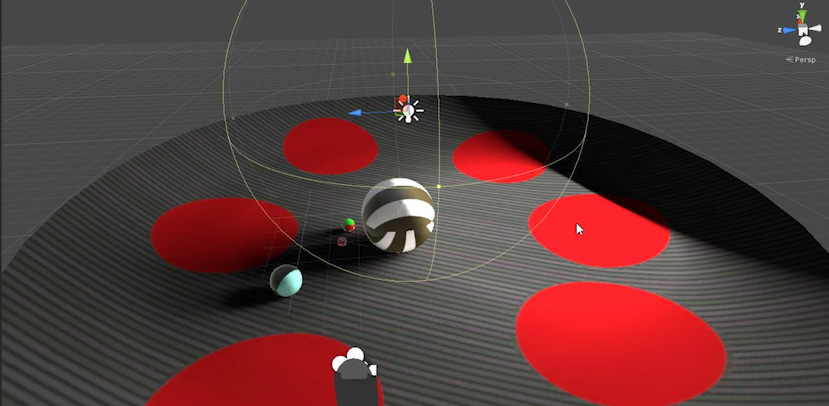
As a variant, we can just bake the Diffuse texture and leave light baking to Unity. Honestly, I would advice to do all lighting stuff in Unity, because it has very fast lightmapper. But it demands the Pro version, so plan accordingly.
And while I was writing the previous sentence, I realized one possible benefit of baking light in Blender – it cost you no money.
Bake Lighting in Blender and Unity: Some Differences
What are the differences between these baking options?
1. Blender can bake various passes, including Complete map. Unity bakes only lighting, but does it gracefully.

2. Unity lightmapper is, obviously, fully integrated into Unity engine. So you won’t need to export textures back and forth.

Just press button, wait for it to calculate, done.
Baking equals Faking?
To some degree – yeah. But don’t worry, because faking is fine. And very effective on mobiles, where we can’t afford to calculate expensive effects in real-time.
Game Level Texturing Introduction
1. Block out the model & Optimize it
2. Unwrap everything into 1 UV map
3. Paint and project the texture
4. Clone details from 2-nd UV map
5. Bake it
6. Enjoy the result and start making games (this is optional)


Pingback: Game level texturing: refine the texture (PART 4.5/5) | Blender Game
Pingback: How to Make a Spider Web in Blender (+5 Spooky Tutorials for Stephen King Fans) • Creative Shrimp