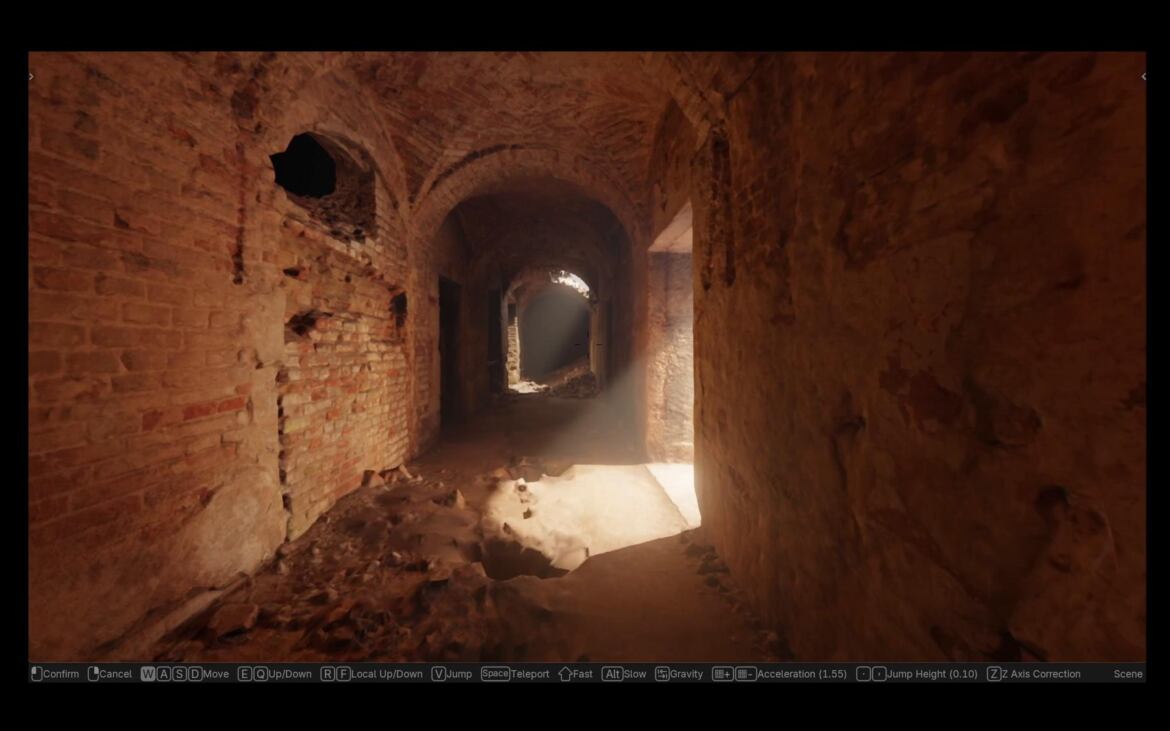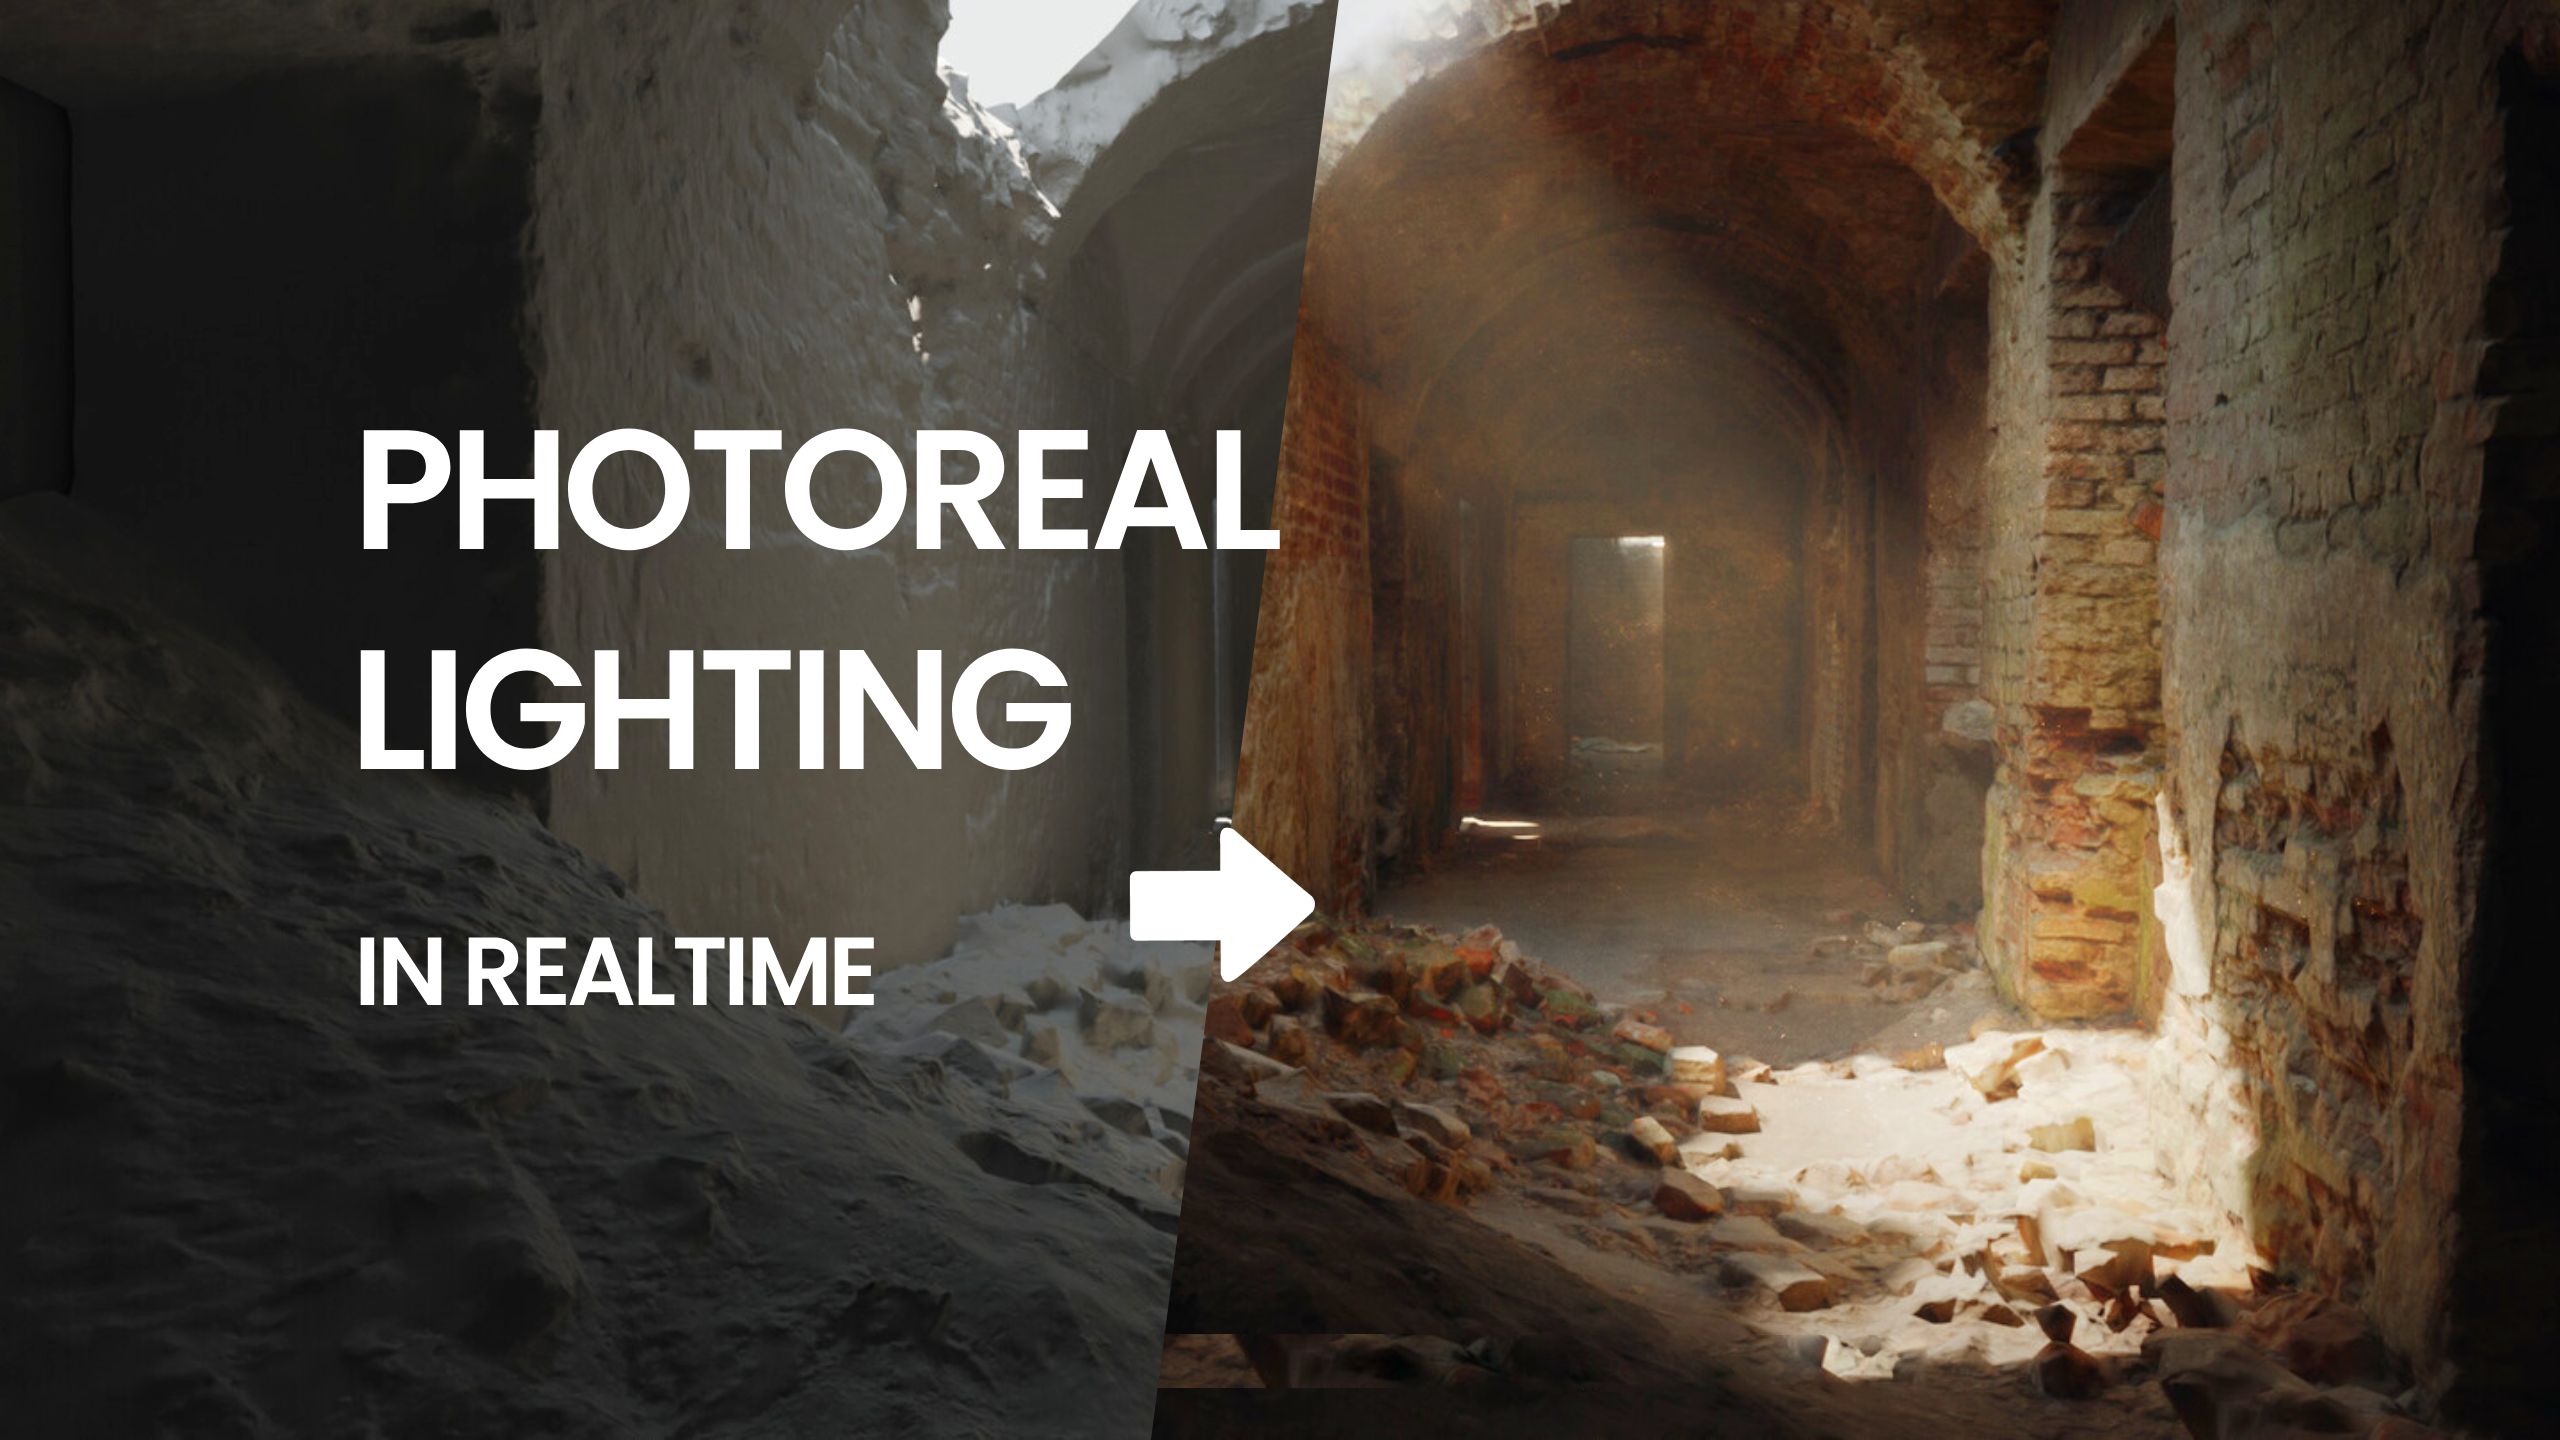
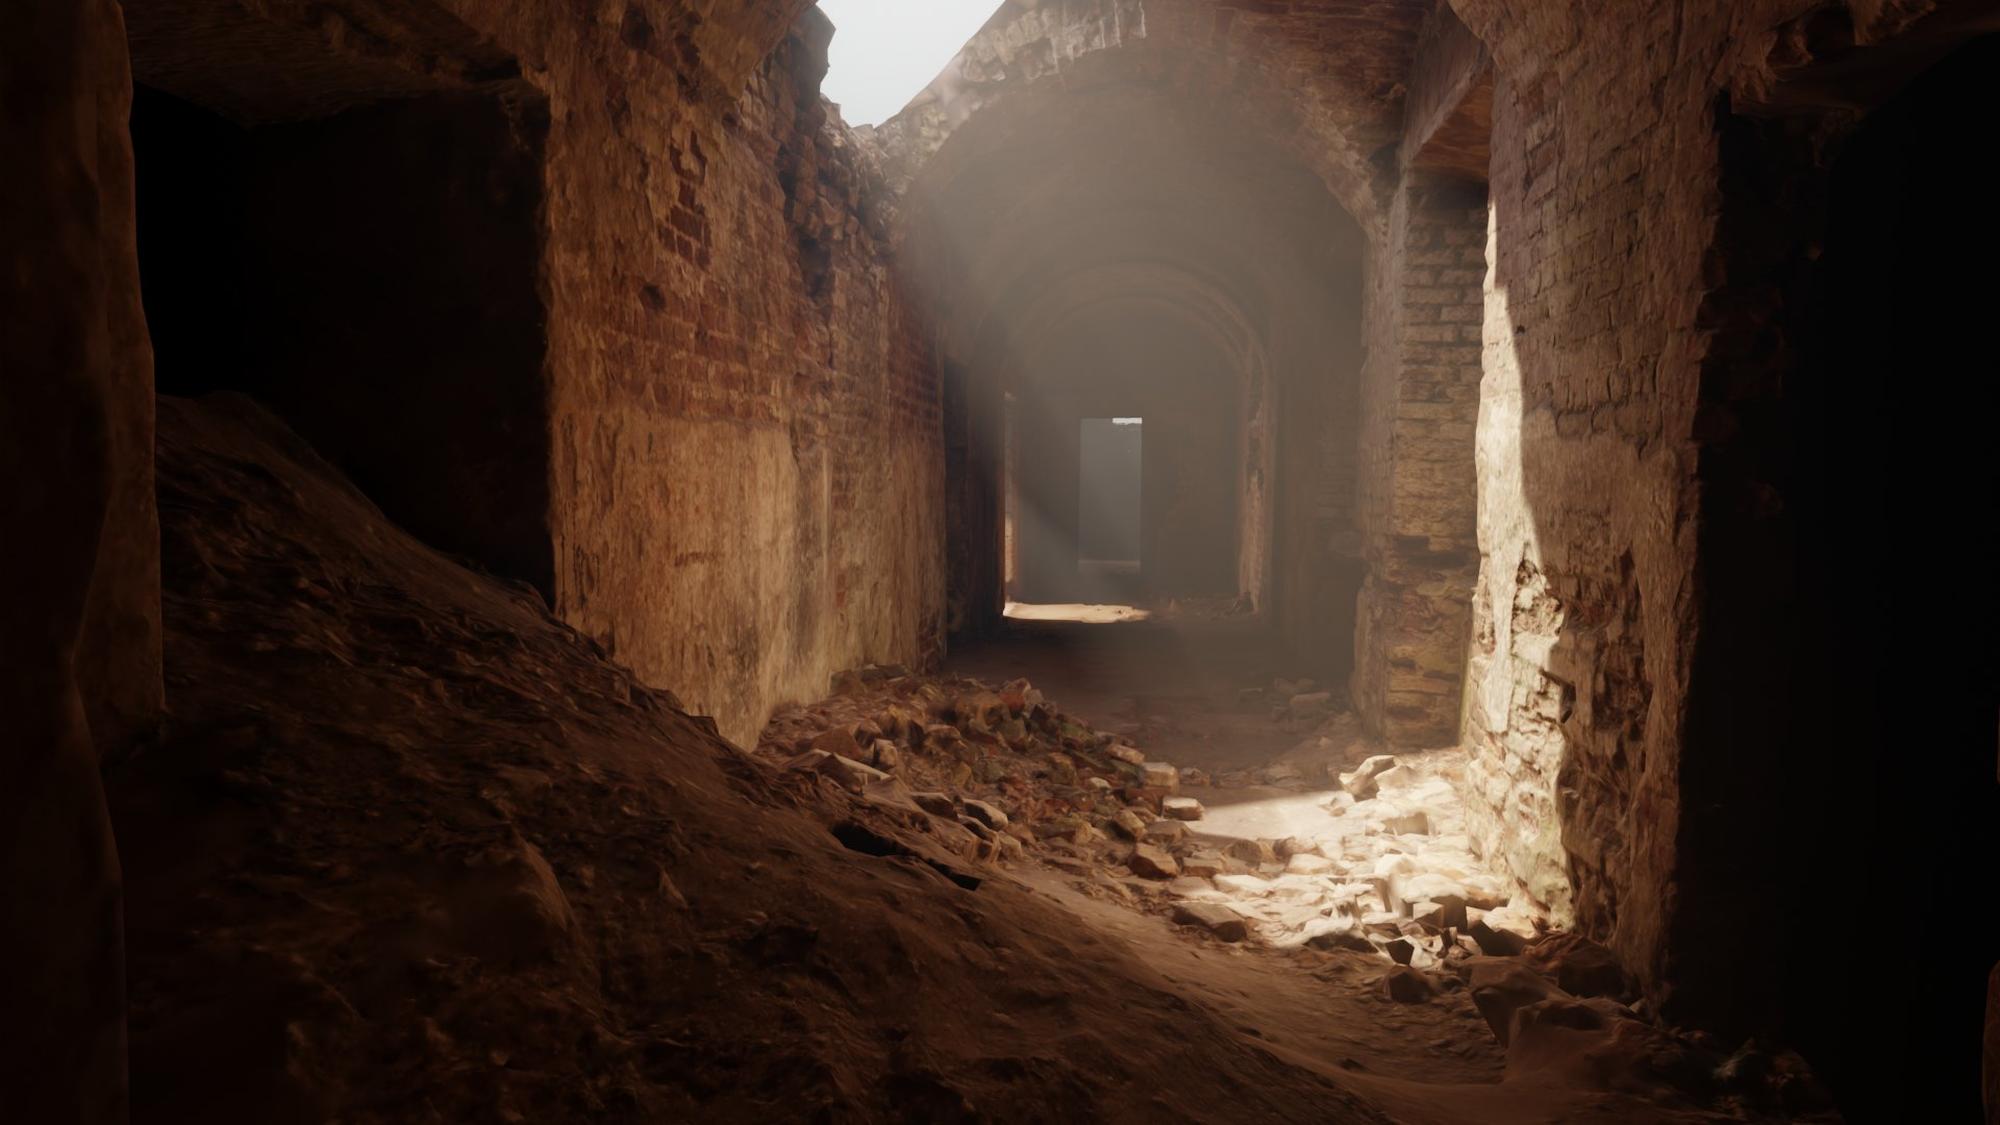
Lighting an environment is different from lighting an object. The tricks like light falloff and back lighting receive a slightly (or very) different application. Yes, it is still mostly about making it look three dimensional and rounded – just the sphere has been flipped and you’re on the inside.
There are no demogorgons there, just pokemons (if EEVEE is one of them).
—
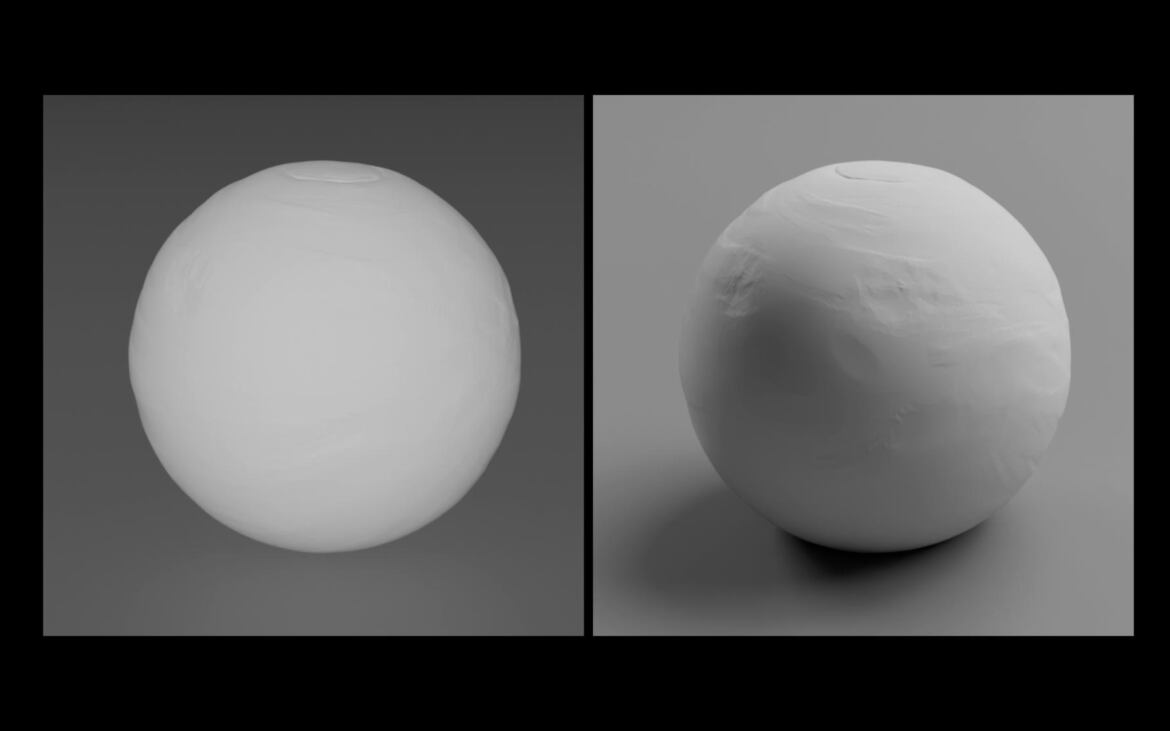
Lighting objects is often relatively simple: push the light from the directions not aligned with the camera – that’s how you avoid flatness. The light wraps around the sphere, making it look rounded.
(There’s nothing wrong with the flat, camera-aligned lights – breezeh maxxed out this style lighting in his otherworldly walks – and who’ll say the works of Parajanov aren’t magnificent).
—
Object/Character vs Environment
Then, interiors are a different thing.
You can’t wrap the light around the room. It’s the room that wraps around the camera. It has openings in every direction, depth that recedes past the frame and it has lots of negative space. Let’s call it a sphere Inside Out.
Often, there is no single terminator to soften and no one silhouette to rim. Instead there are planes in every direction, and the job is not to round a form but to round a space (to emphasize its 3d nature).
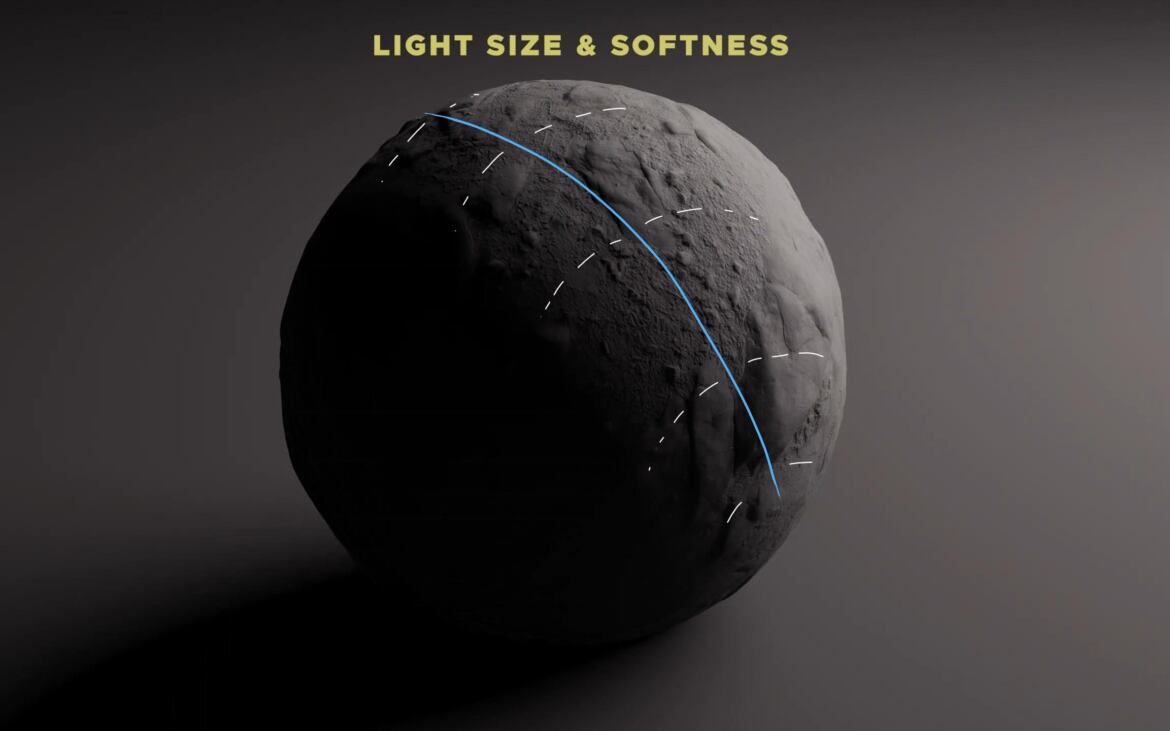
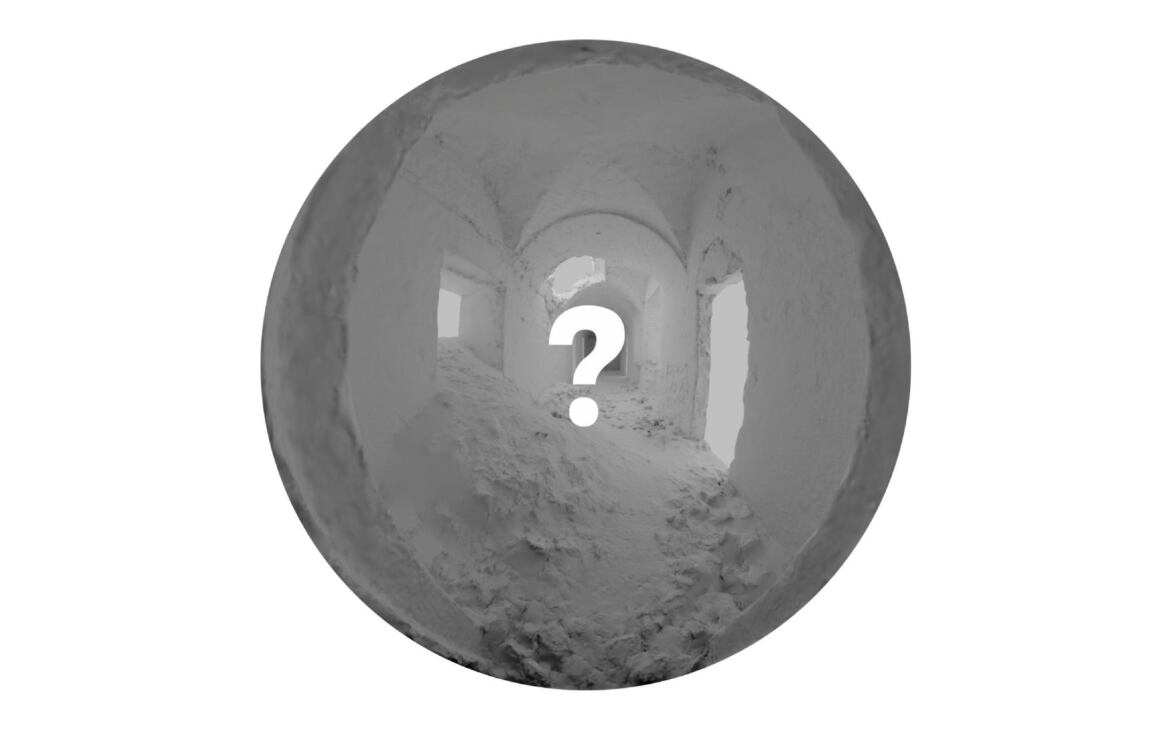
—
Inside Out
It’s absolutely possible that the first time I really felt Inside Out was actually when photoscanning this corridor in Brest, Belarus – or some other place – because the photoscanning pattern for capturing an environment is much more unintuitive than the one for capturing an object. As you have to mentally unwrap it, for the lack of the better term.
It doesn’t help that often the places that you’d photoscan are lowkey engrossing: abandoned mental asylums in the woods and such.
Capturing regular objects is a breeze compared to that. Almost no mental energy spent. I find certain parallels in it.
—
Lighting The Monastery Dungeon Tutorial (Theory + Practice)
This is the Monastery Dungeon chapter from Cinematic Lighting in Blender. You’ll learn how to light it in EEVEE, with the techniques tailored for its inside-out nature.
If you want to follow along, we shared the photoscanned dungeon model on Patreon. Don’t bother with subscribing to a paid tier if you don’t want to, though – just watching the video(s) alone should be enough to grasp the concepts.
Here are two themes we’ll cover:
- The four methods of lighting a Space (or an inside-out sphere)
- And how to apply cinematography to it
Two videos for you to watch.
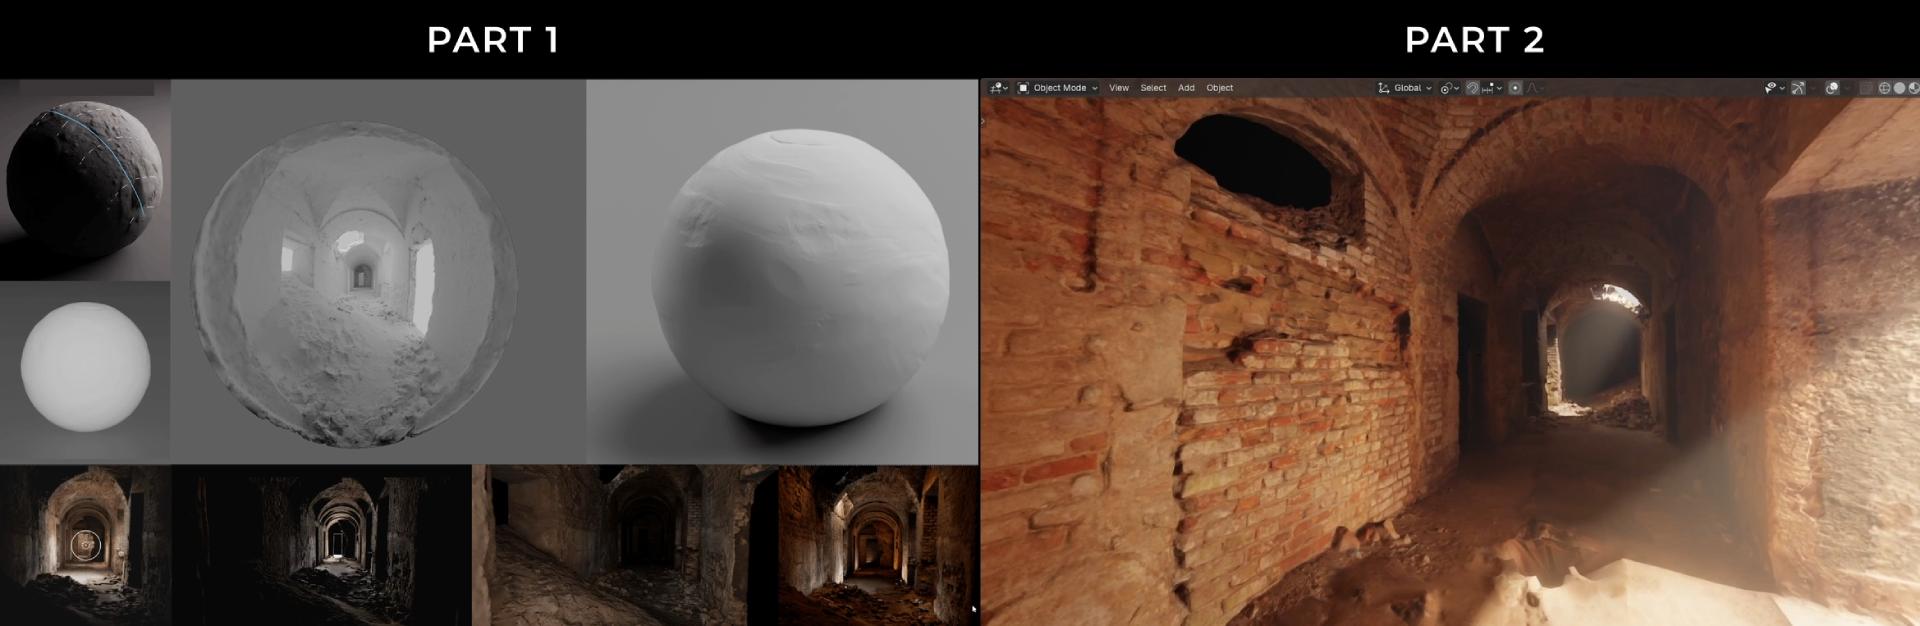
Part 1 – Interior Lighting: Theory (21 min). The formal stuff. Falloff, direction, composition, front-vs-back lighting and how to organize environment space with light so it doesn’t feel flat.
Part 2 – Interior Lighting: Cinematic Setup (49 min). The practice. A complete, motivated lighting scheme for the corridor, built layer by layer in Eevee.
—
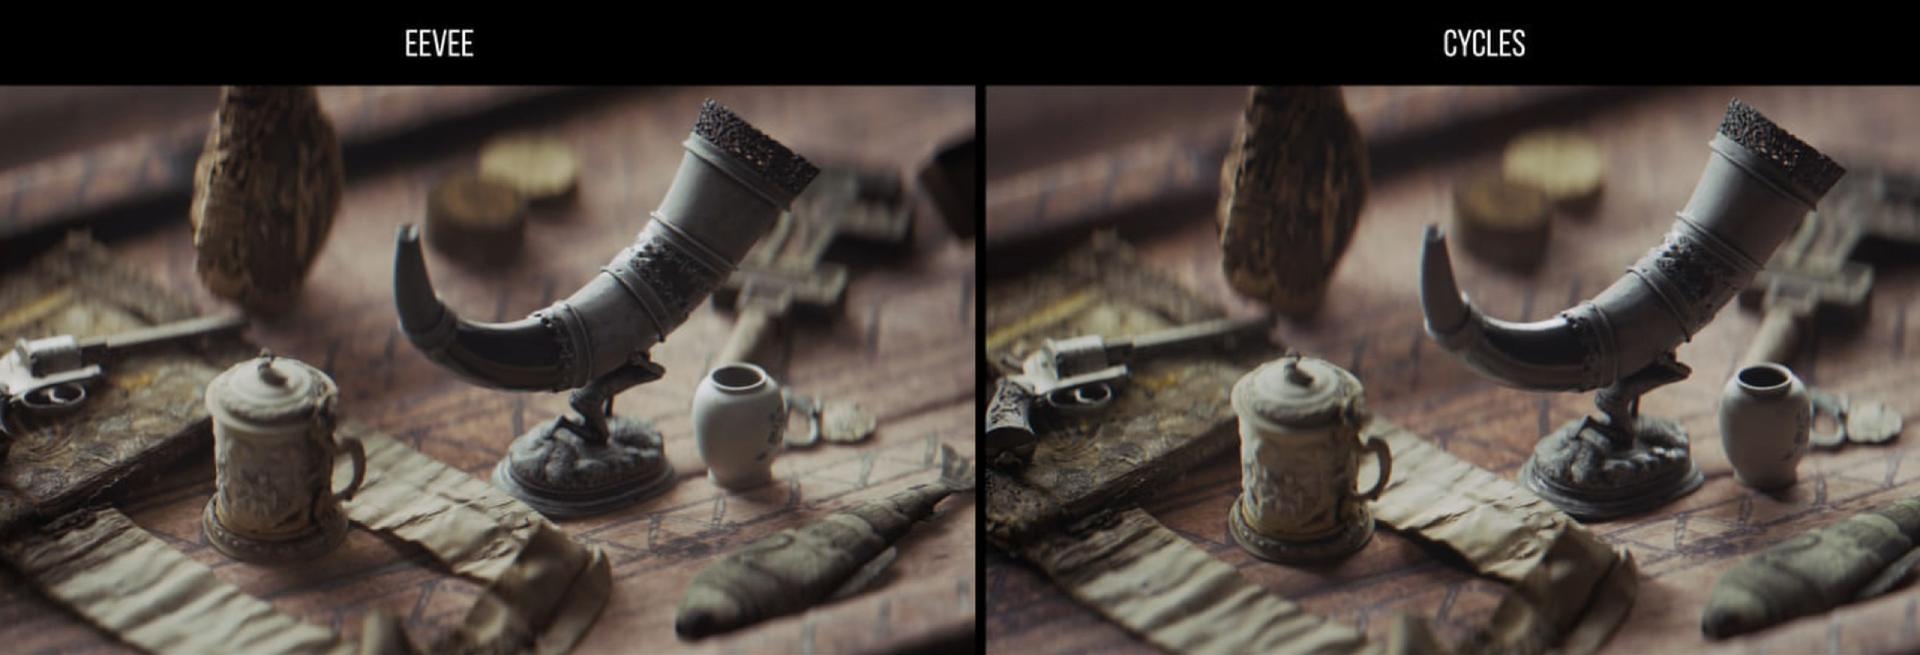
Eevee is not the compromise
I chose Eevee for this chapter deliberately, and not only because it renders quickly.
In recent versions of Blender, Eevee can be genuinely realistic AND tweakable. It’s a crazy combo, and so useful for experimenting with custom light falloffs and fake global illumination.
Realistic in this context also means just a physical realism of the light transport simulation. Eevee’s GI (global illumination) is good enough nowadays to pass the photorealism test. But, hell, it was already good enough many years ago if you knew what you were doing on the ‘cinematic realism’ front (See the SSGI demo from 2020). I have much earlier demos from the 3ds Max and Mental Ray era, which I won’t share now.
A disclaimer: this is not a deep technical dive into Eevee sliders. We have a companion course for that. Here, the engine is a means, not the subject.
—
PART I. The four traits
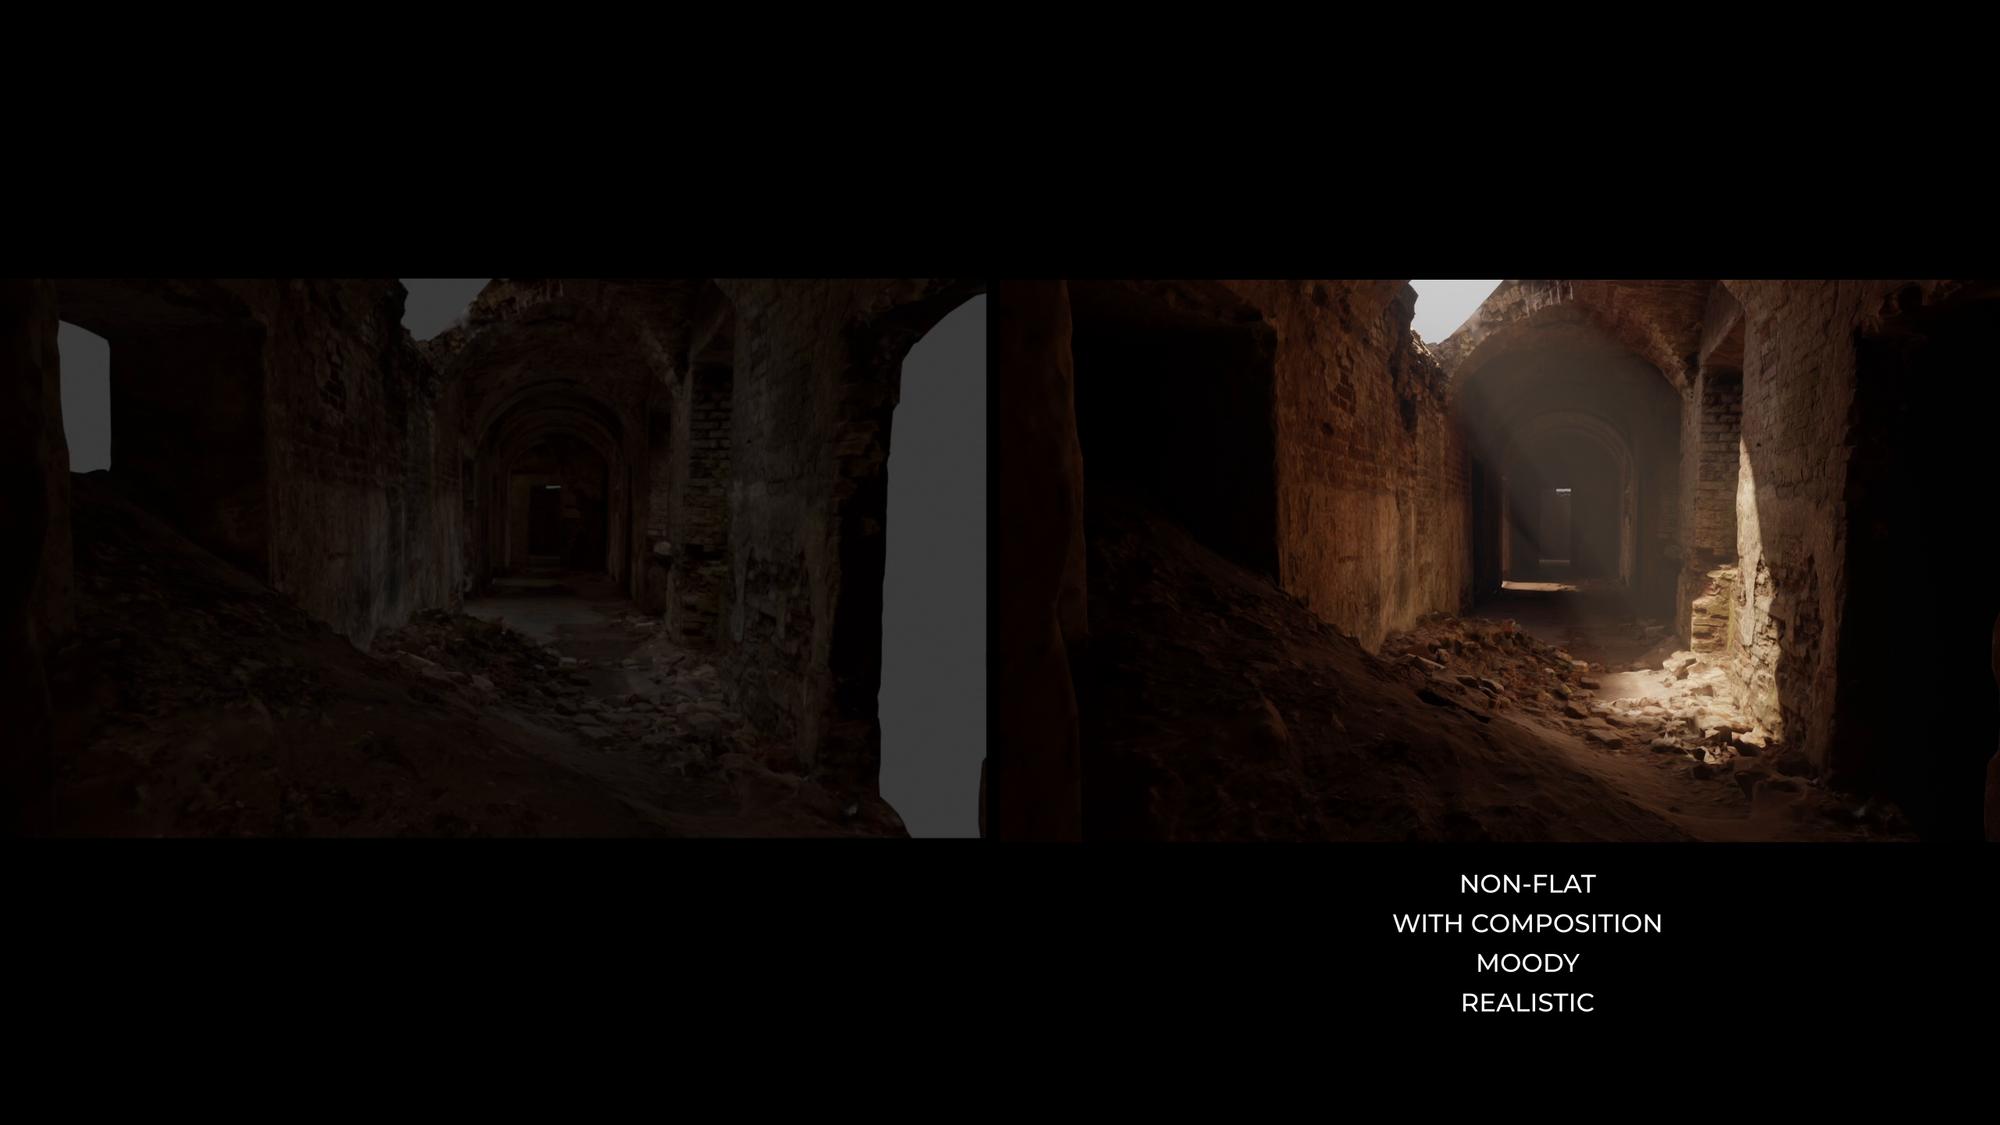
Across the tutorial – just like we do in our courses – I test lighting against four words.
- Non-flat. It has gradients, softness and a sense of volume.
- With a composition idea. It gives the eye somewhere to go (the light leaks).
- Moody. It carries a thick atmosphere or a vibe.
- Realistic. It feels motivated – even when the setup is full of cheats.
—
1. Light Falloff – Spherical and Directional
Arguably, falloff matters so much more in an environment than it does in an object shot.
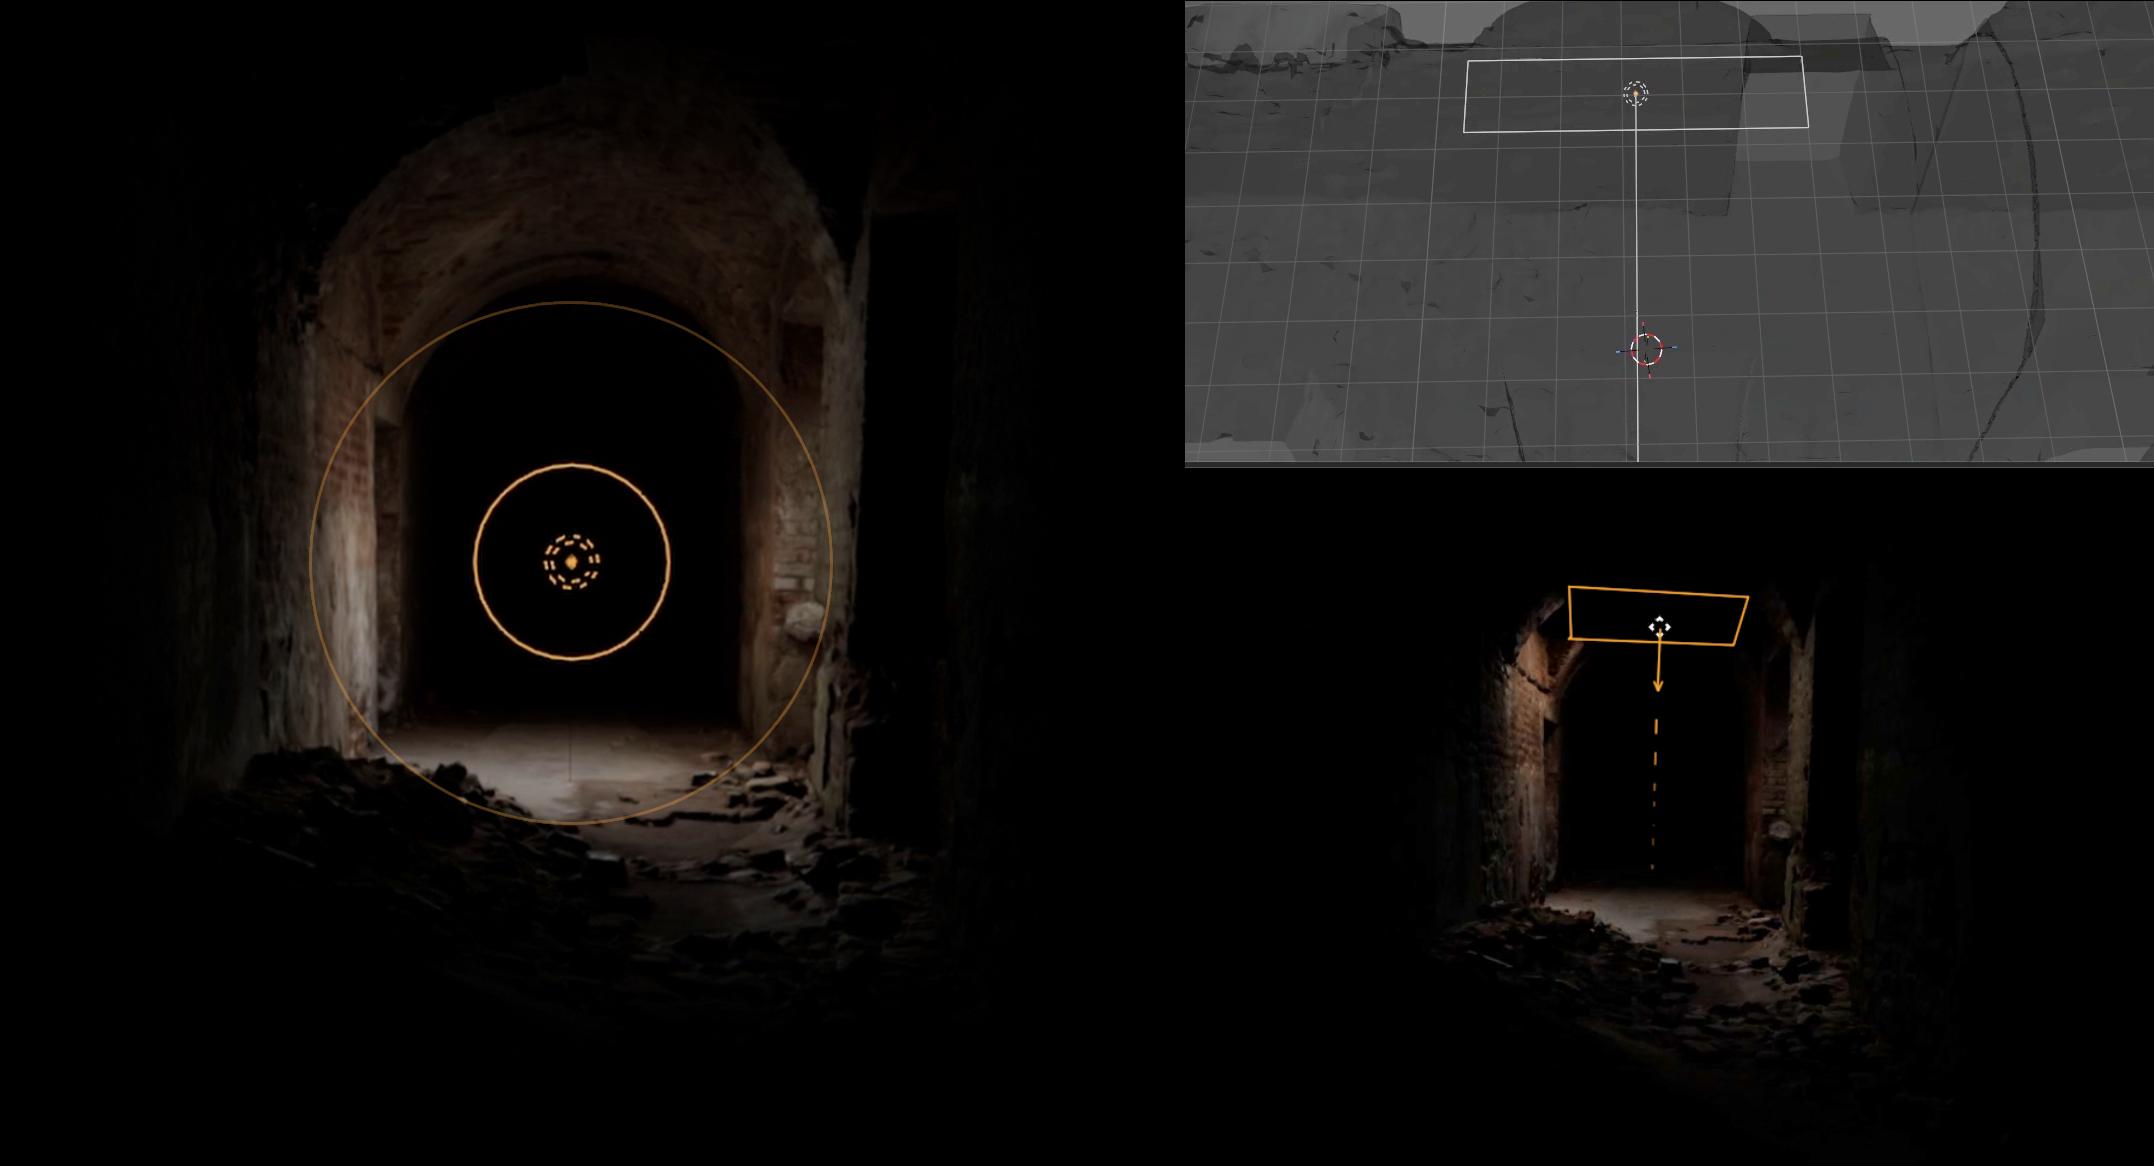
- A point light gives you a spherical pool of influence that kind of bakes the depth into everything it touches (we see what’s far and what’s close – to that light! – based on the receding influence).
- An area light gives you a long, directional gradient.
- In Eevee, custom light distance turns those falloffs into something you can tune by taste. It is the interior equivalent of moving the key light around a sphere.
The Quake school of lighting
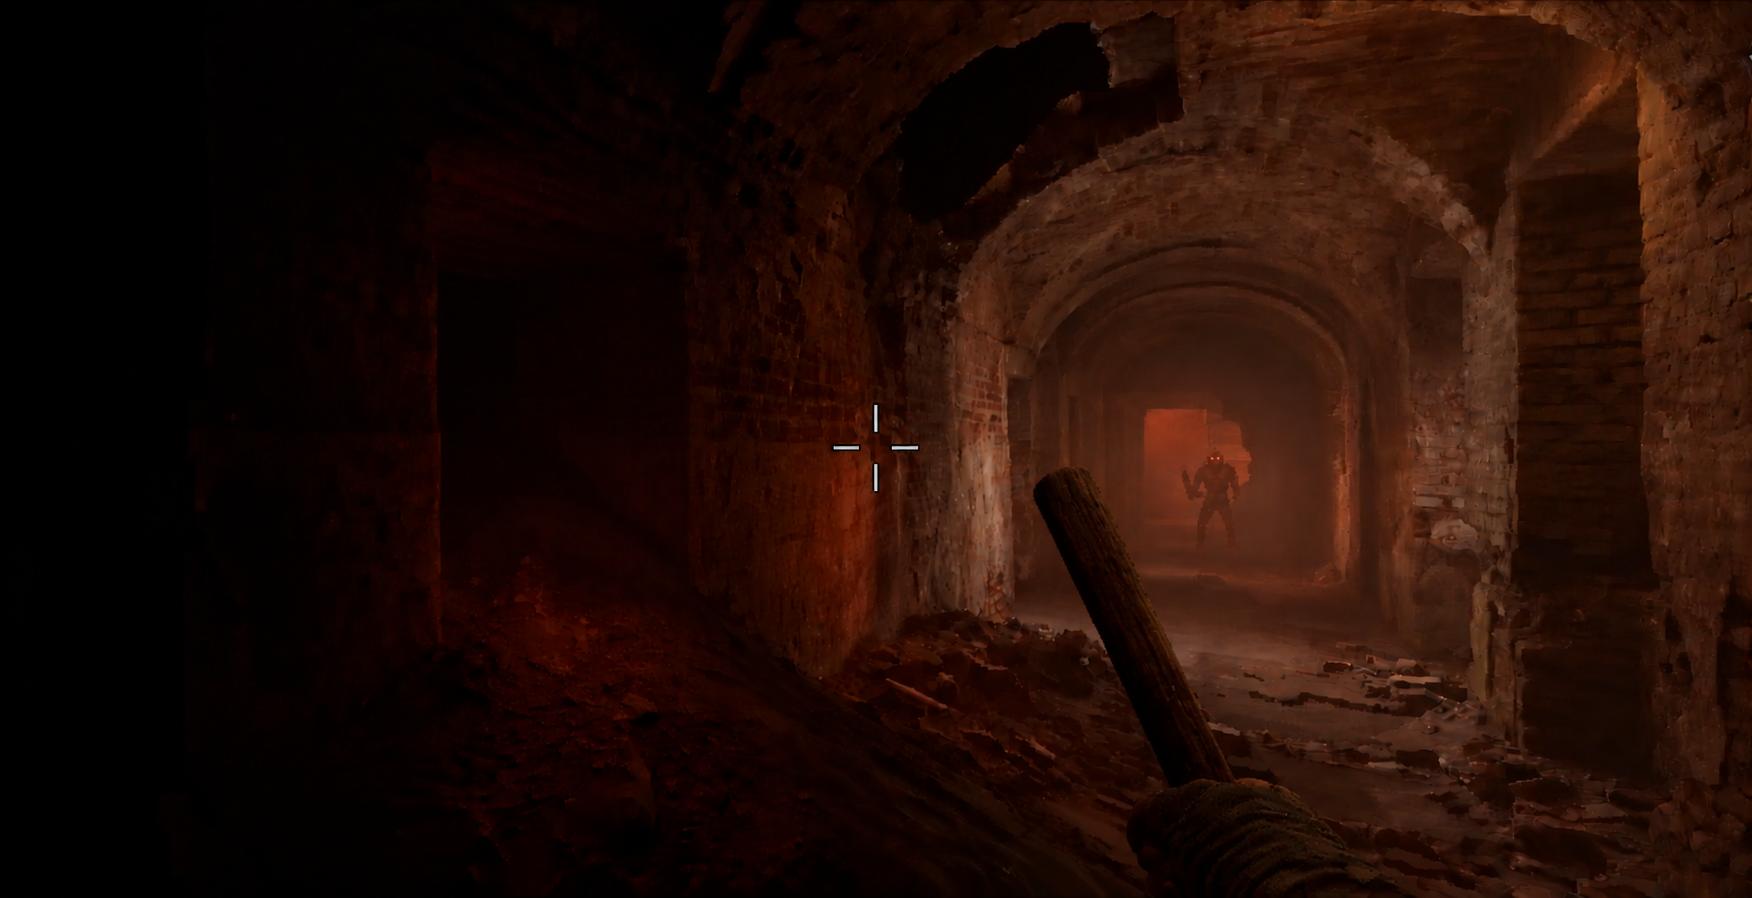
Some lighting styles, like the one found in Quake and early FPS games, rely almost entirely on light falloff. You can drop point lights into a corridor with no motivation whatsoever – lights out of nowhere, literally – and the space will still read as three-dimensional and moody.
It will not be cinematic in the motivated sense, and it is not trying to be. But as an exercise in form, and a hommage to an art style: try it out.
—
2. Light as 2D masses
Once the form reads, the next stop is thinking of the composition (aka 2d masses). A hard beam or a bright patch is a two-dimensional shape laid over the camera view. The eye is handed from one accent to the next – light leaks usually look cool.
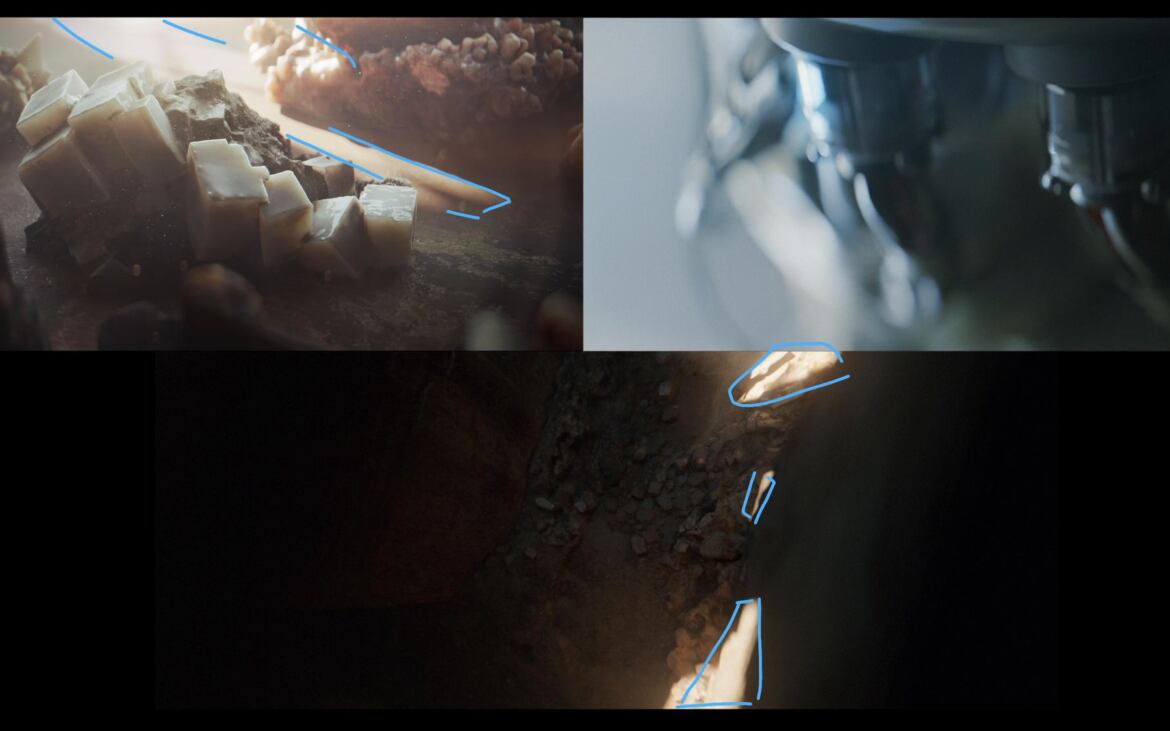
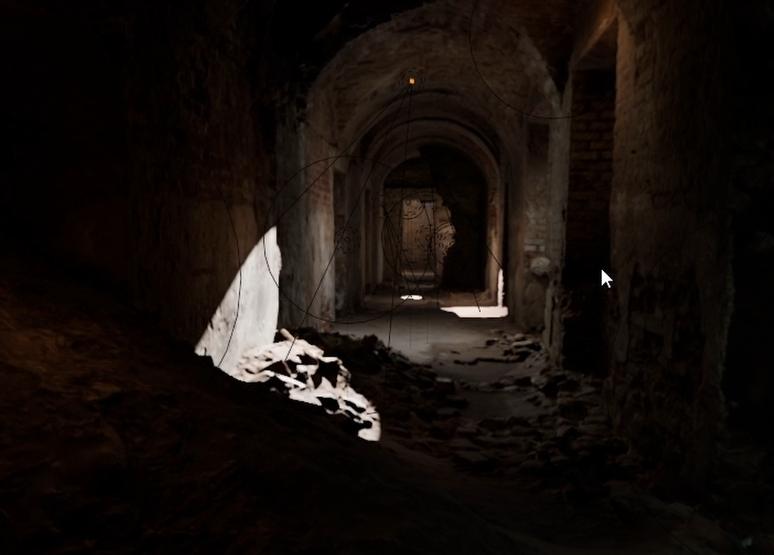
Squint until you see the 2d light masses, then ask whether the arrangement feels balanced and pleasant. It shouldn’t look realistic at this point – we’re still experimenting with the form and the composition. The realism will come later, both the physical and the cinematic dimensions.
—
Front light, back light, and what each one is really showing
Now, the light direction.
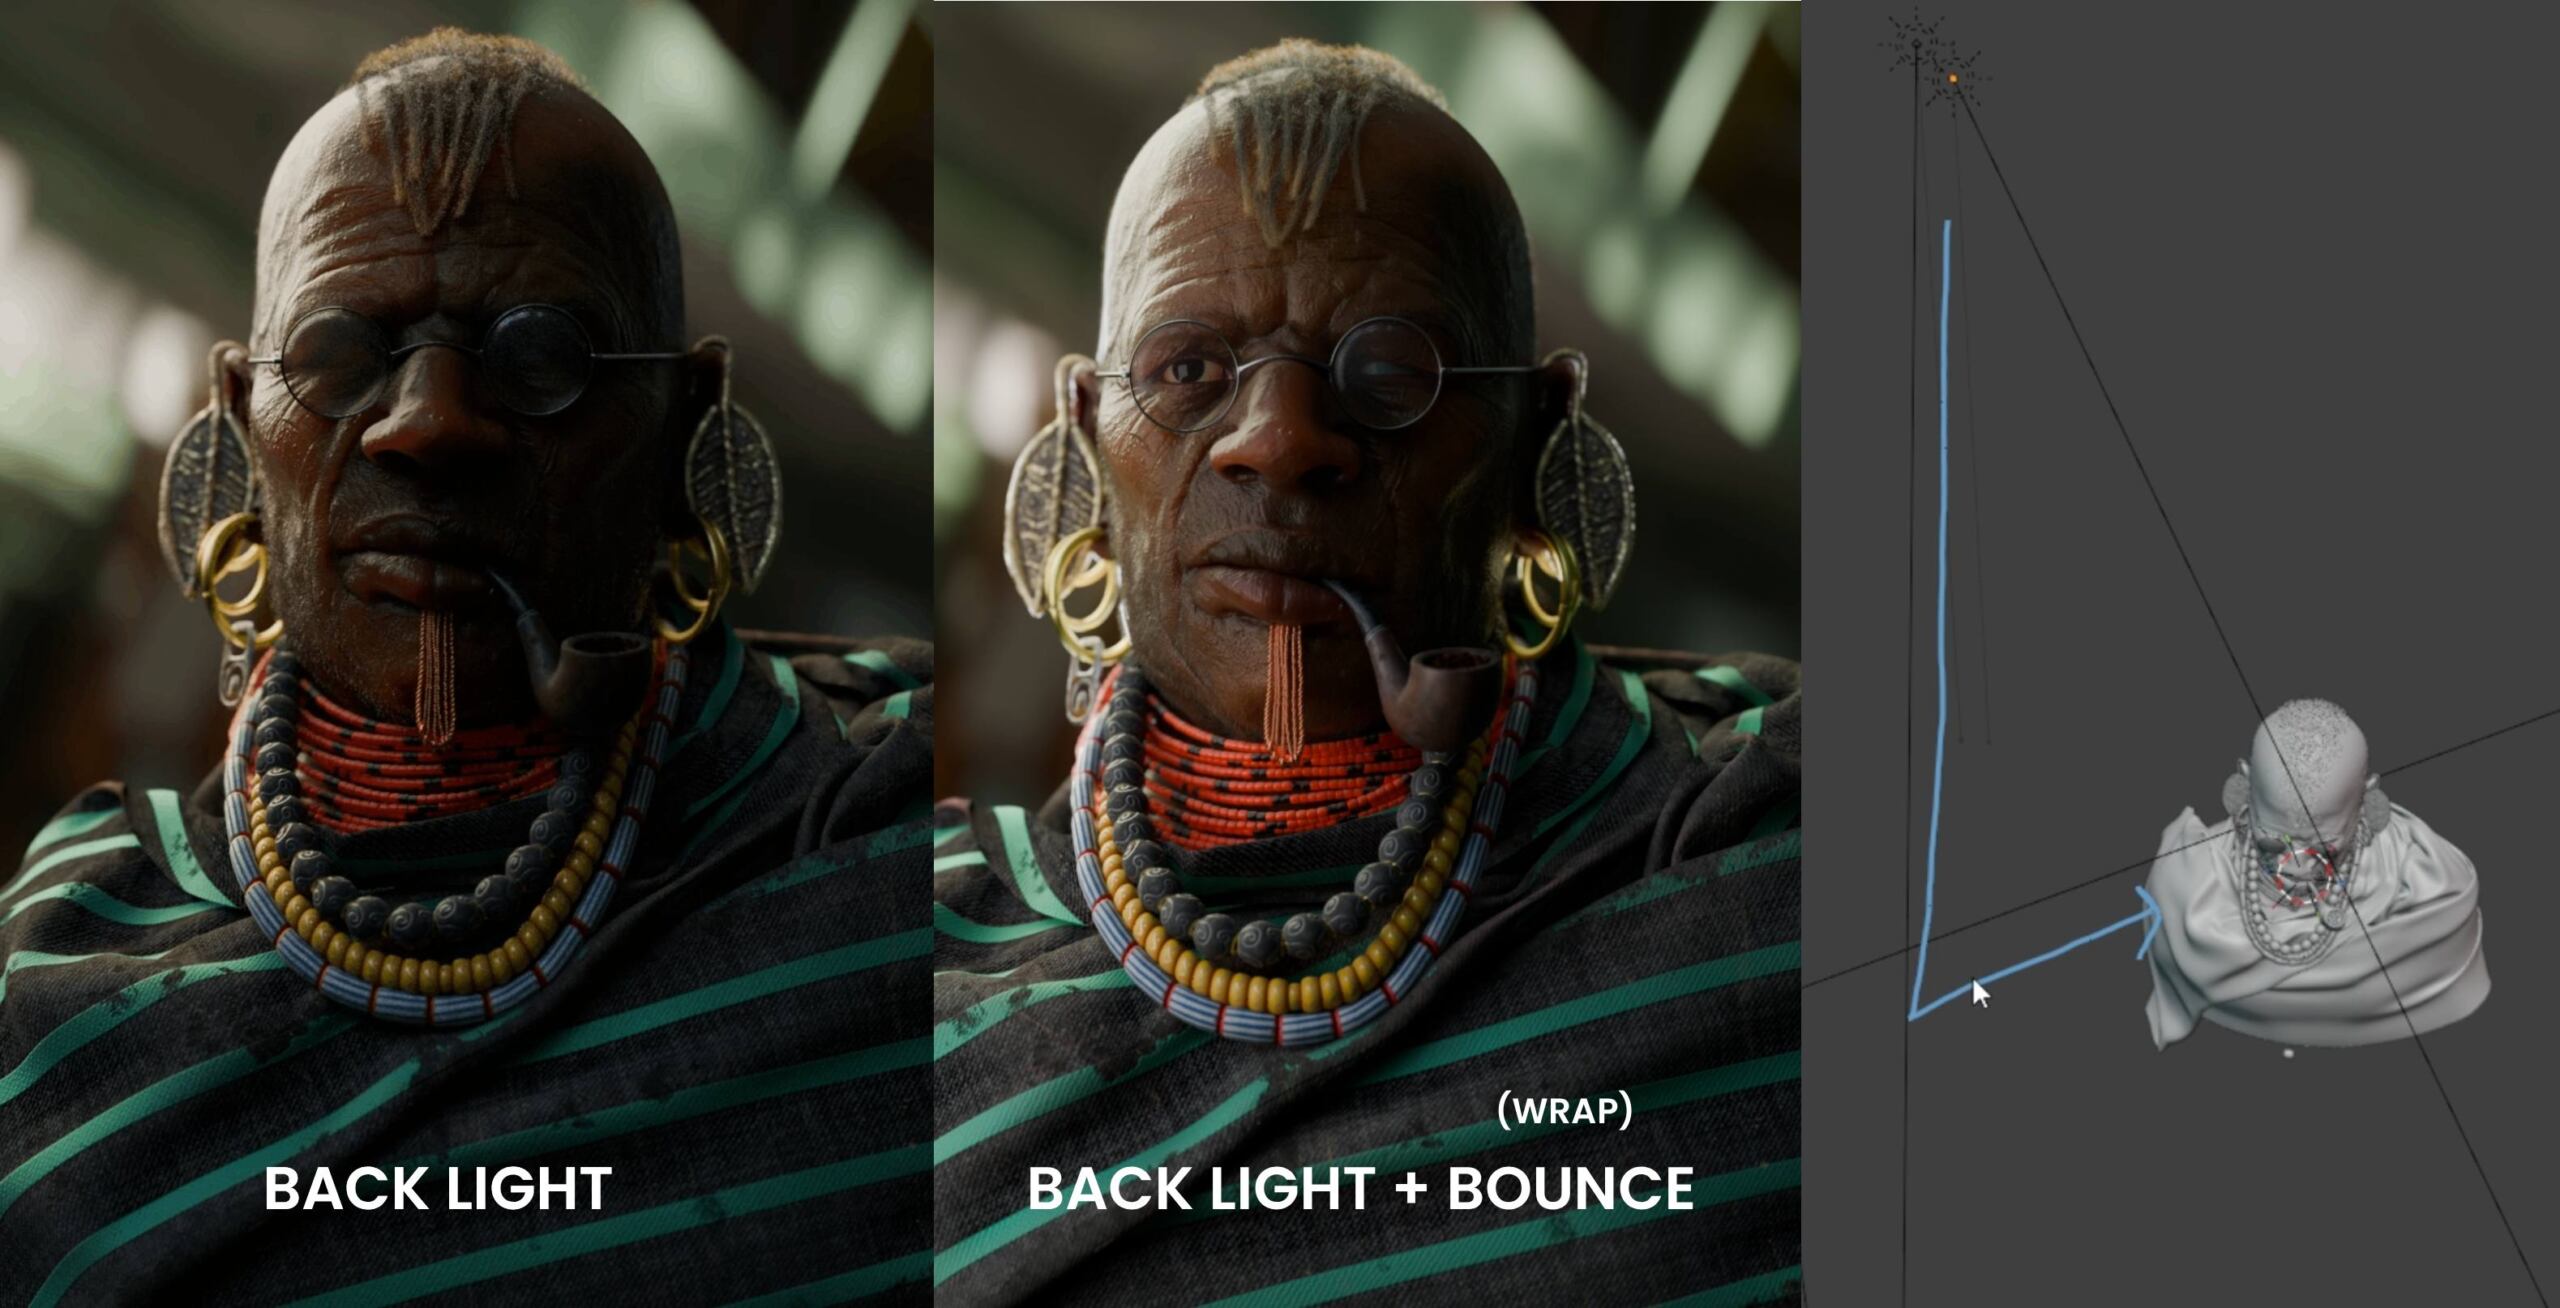
As we’ve mentioned, it’s much easier to talk about light direction in case of objects. Back light gives that wrappy effect that makes the object look rounded and brings out shadows. Front light flattens it out a bit – and brings out color.
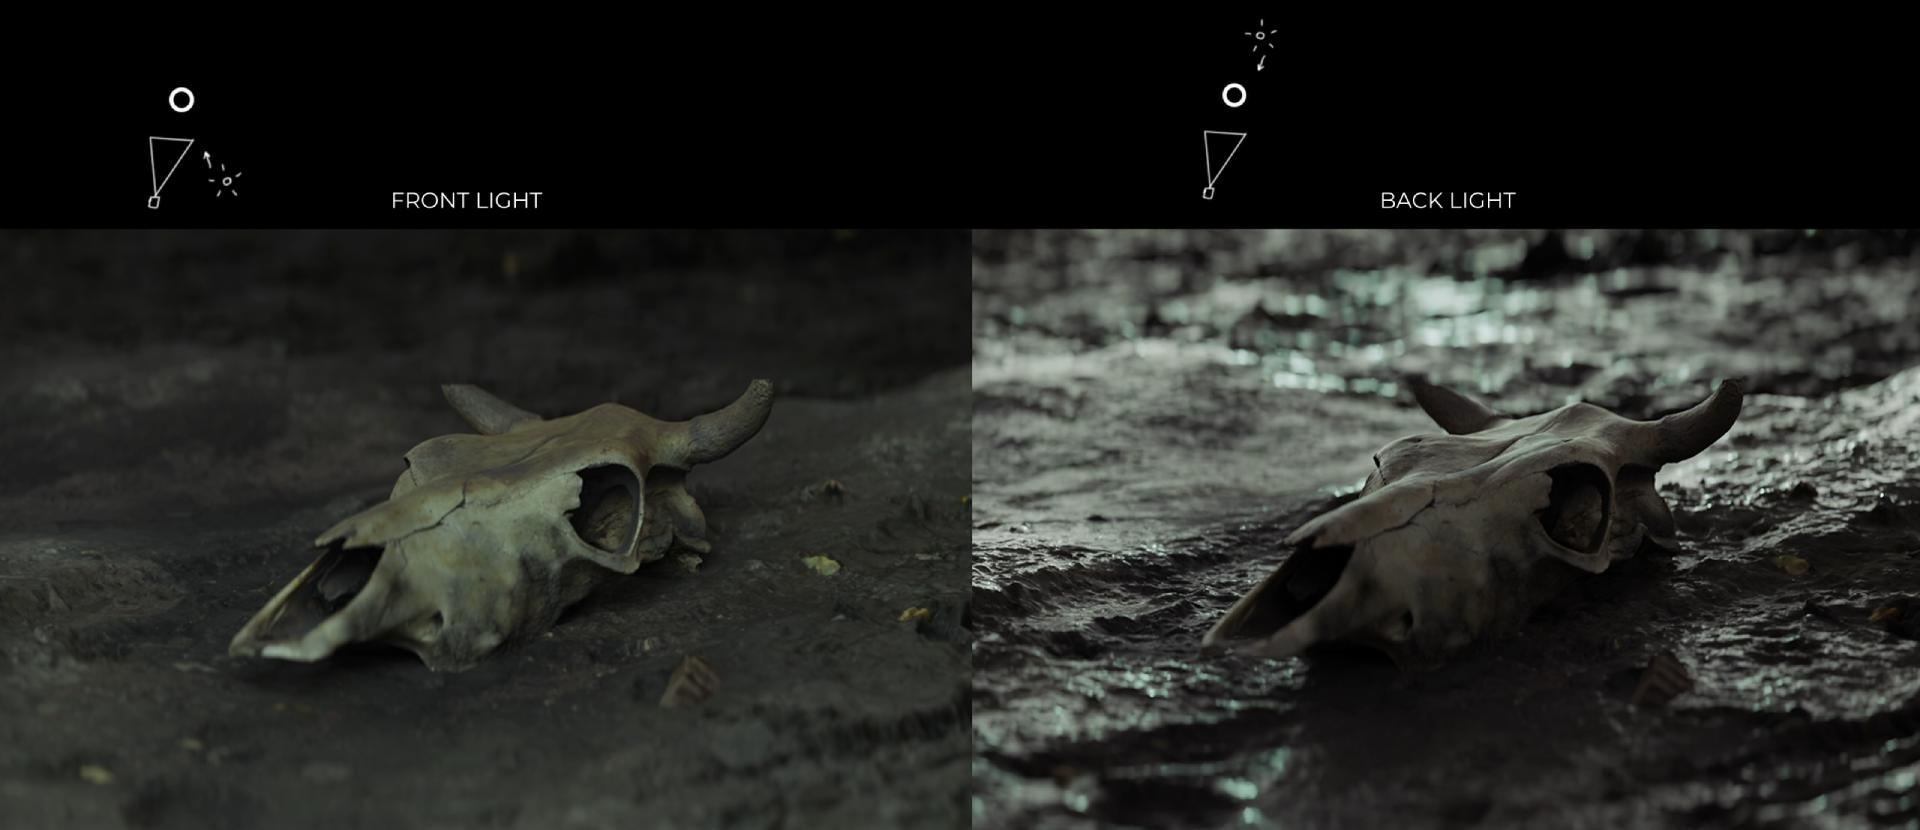
For environments, these things still hold true, but their application isn’t as intuitive.
There’s no object to wrap the light around, and often no clear separation between the foreground and the background, so it’s… confusing.
Still, there are the truths to hold on to:
- Back light throws shadows toward the camera. Every crack, every stone, every tiny crevice catches definition. It also creates specular reflections and drains color (specular highlights are neutral, so the more shape you reveal, the less color you keep).
- Front light does the opposite. It flattens the form, but it hands you the diffuse color intact.
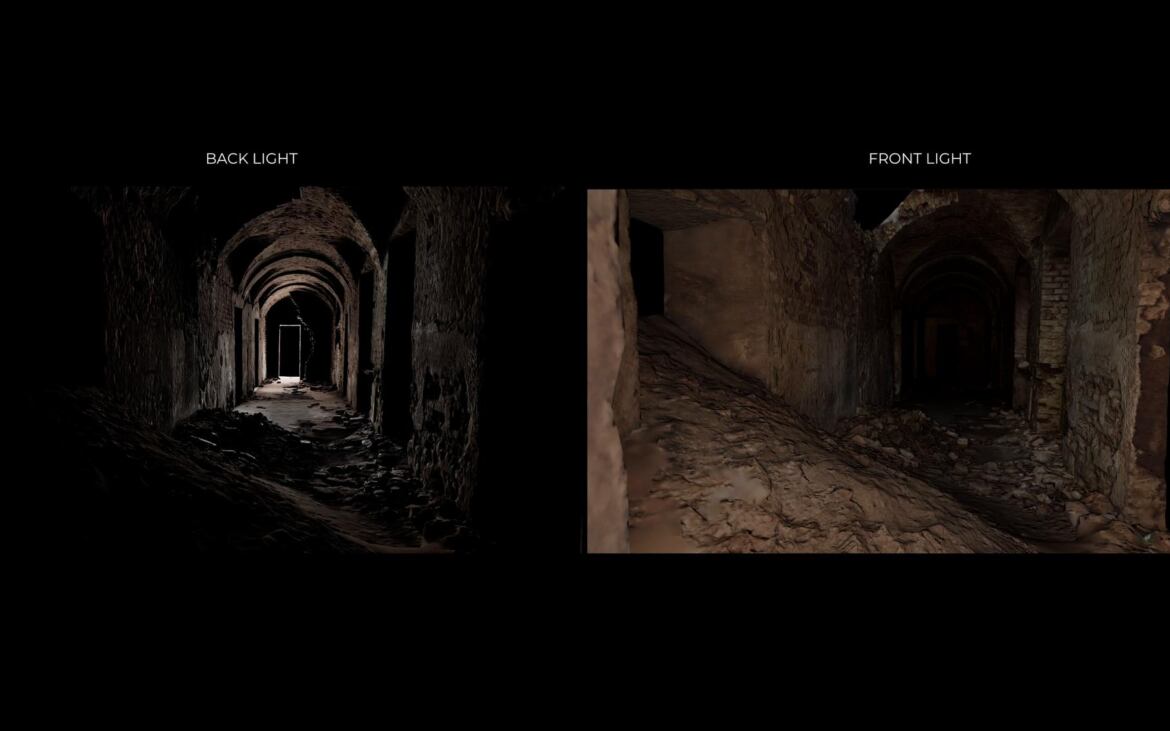
And the falloff is still kind of baked into everything.
I keep coming back to a useful way of thinking about this. Back light organizes a space a bit like a mist pass or a Z-depth pass – a hierarchy built from distance.
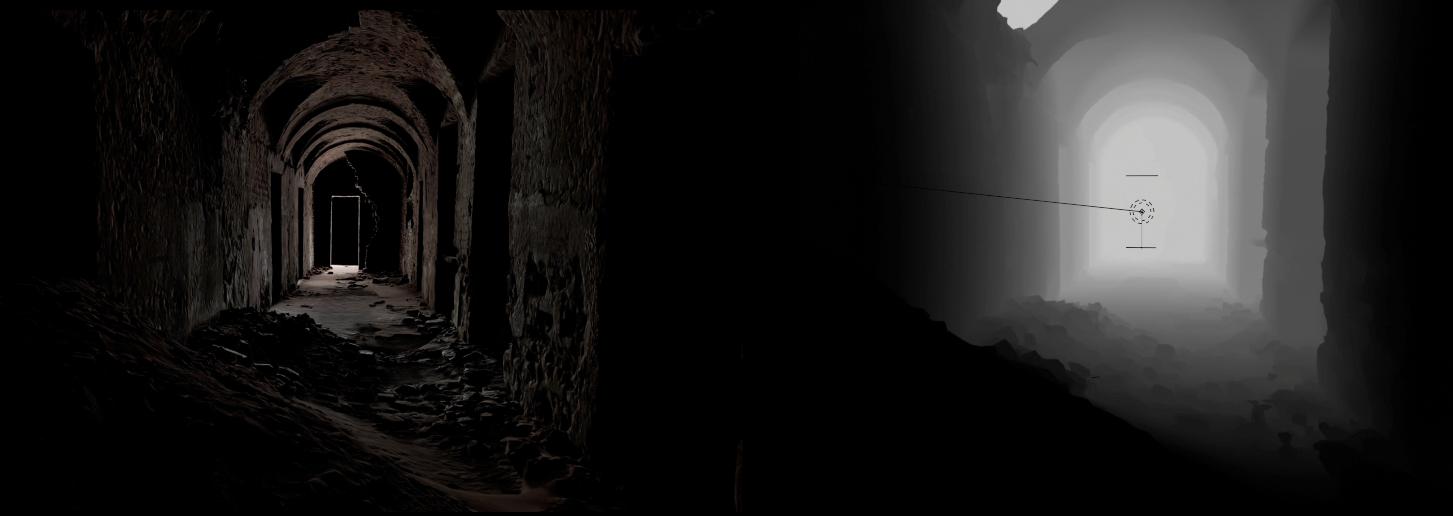
Front light reads more like a diffuse-color pass – you know, the shadeless one. Weirdly, it also has some distance baked in – depending on the light falloff.
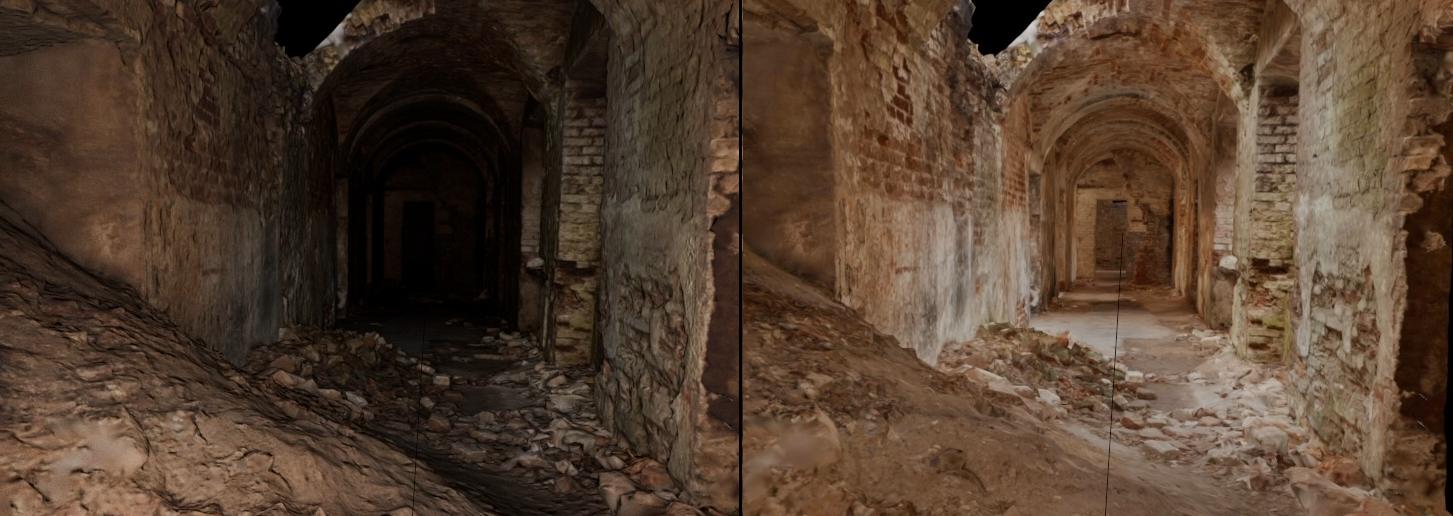
Neither is cinematic on its own. They’re two different instruments. That said, back light gives you more depth and geometric detail, if that’s what you’re after. I explored the object version of this idea in One Simple Technique to Improve Your Lighting in Blender (Upstage Lighting). To be honest, I’m yet to fully apply it to environments.
—
PART II. Cinematic realism = motivation
Here is the turn that Part I is built toward.
You can stack every formal trick in this article – falloff, accents, back light – and still end up with an image that doesn’t feel real. It can feel moody, three-dimensional, game-like, surreal. Just not real (as in the cinematic definition of realism). Let’s not get tangled in definitions – here I describe the brand of cinematic realism that appeals to me and is broad enough for our 3d work.
To make a lighting scheme feel real, every layer of light should be motivated by something already in the scene.
So, in Part II, I’ll focus on the Four Traits once again.
Only this time, making sure we hide them extremely well.
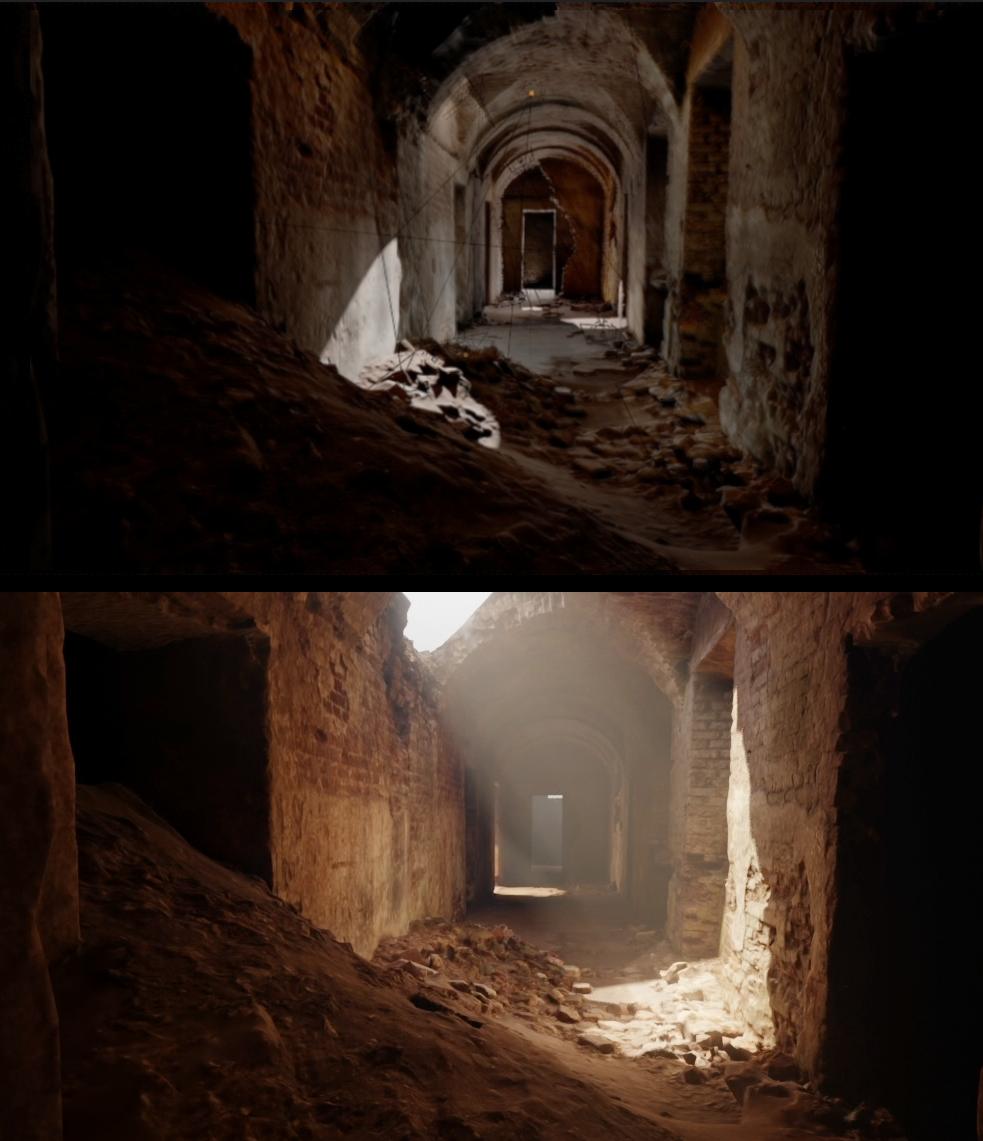
—
Motivation: The chain
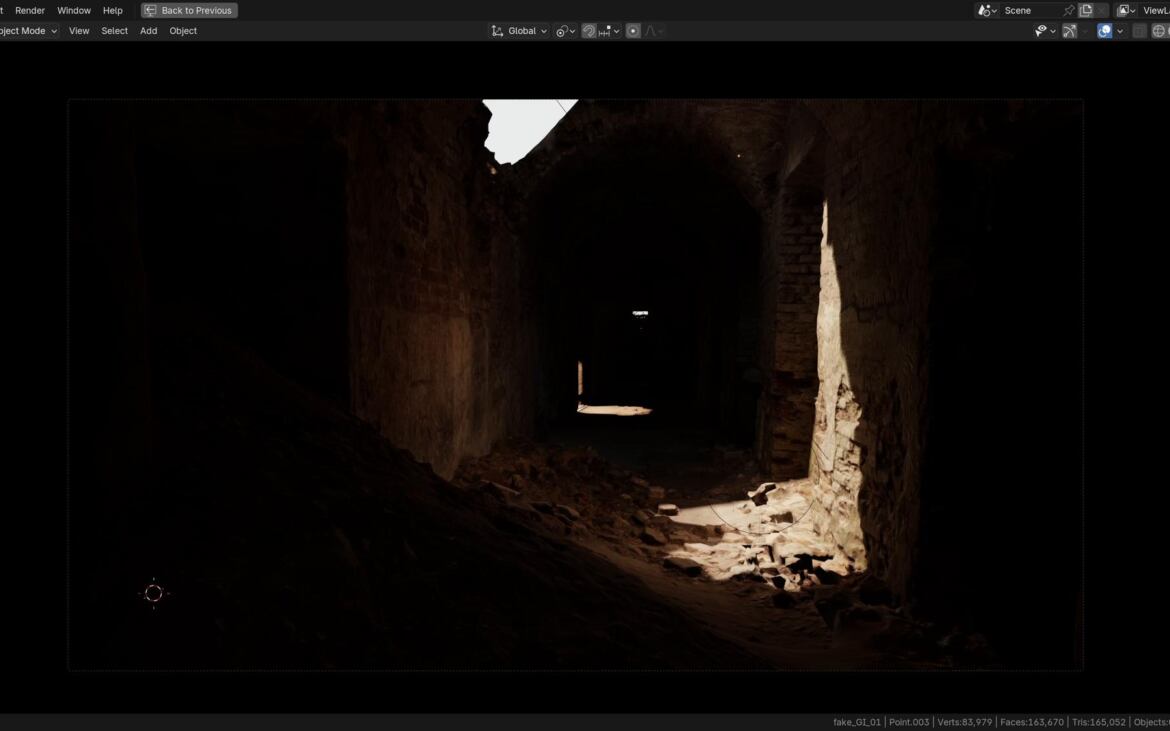
A cinematic lighting setup is not a collection of lamps. If anything, it is a chain or hierarchy of causes.
- The broken roof motivates the daylight (environment).
- The daylight motivates a broad skylight (area lights).
- The skylight and the sun motivate the bright patches and the hard beams (the sun lamp).
- Those patches motivate subtle bounced light on the nearby walls (fake point light GI; and real screen-traced GI).
That is the hierarchy of motivation, and it is the difference between a cheat that disappears and a cheat that feels lit (when cinematographers say something feels lit, it’s bad – like there’s apparently a lamp somewhere or your trick got exposed).
—
Light layers: the chain
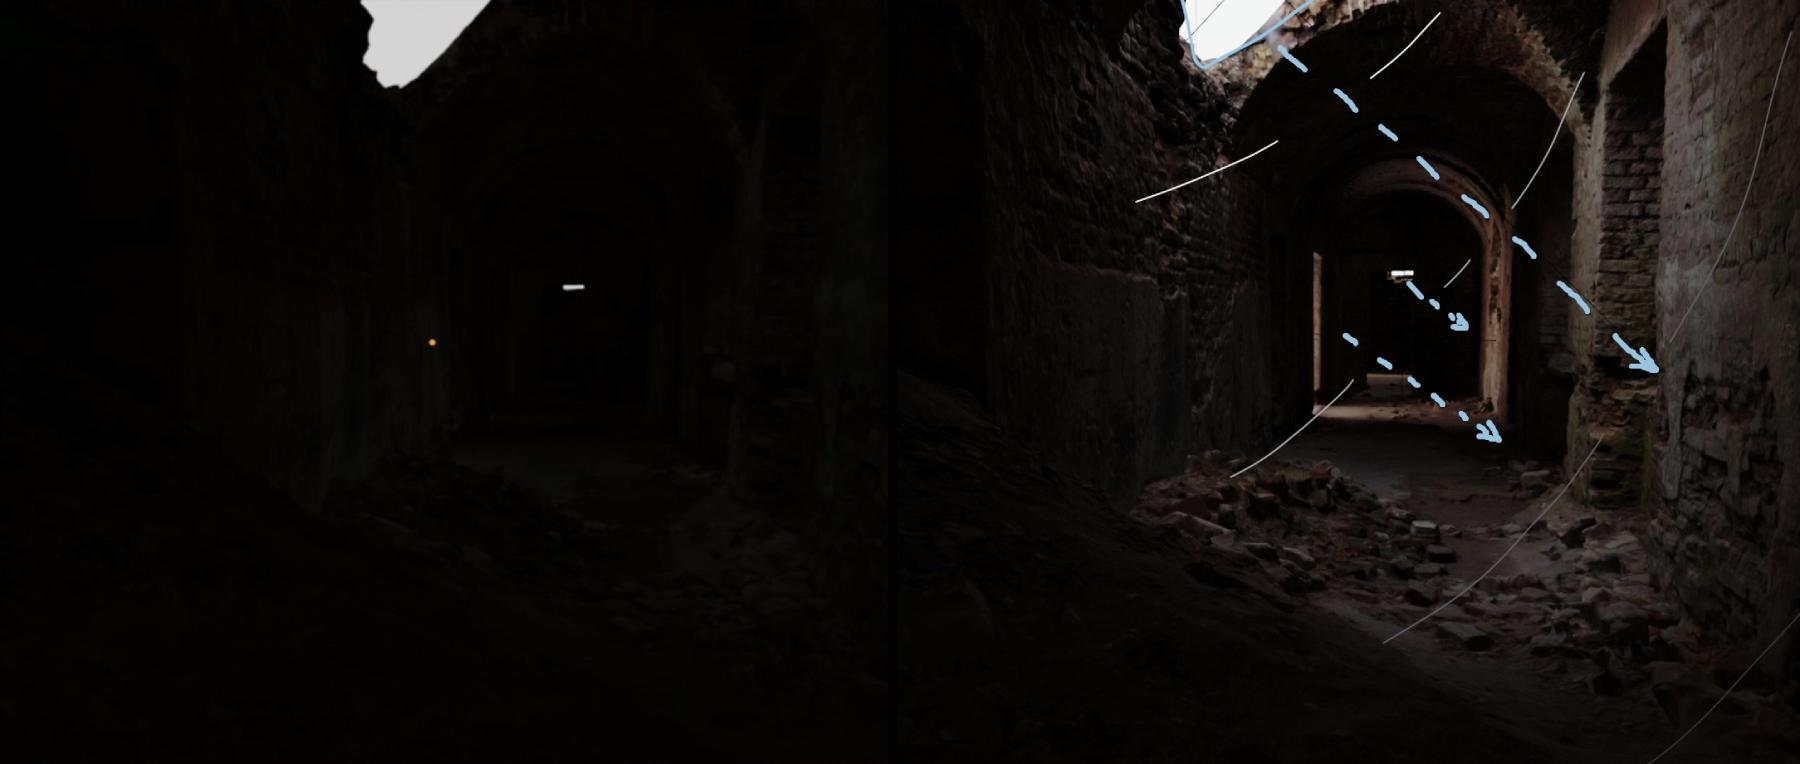
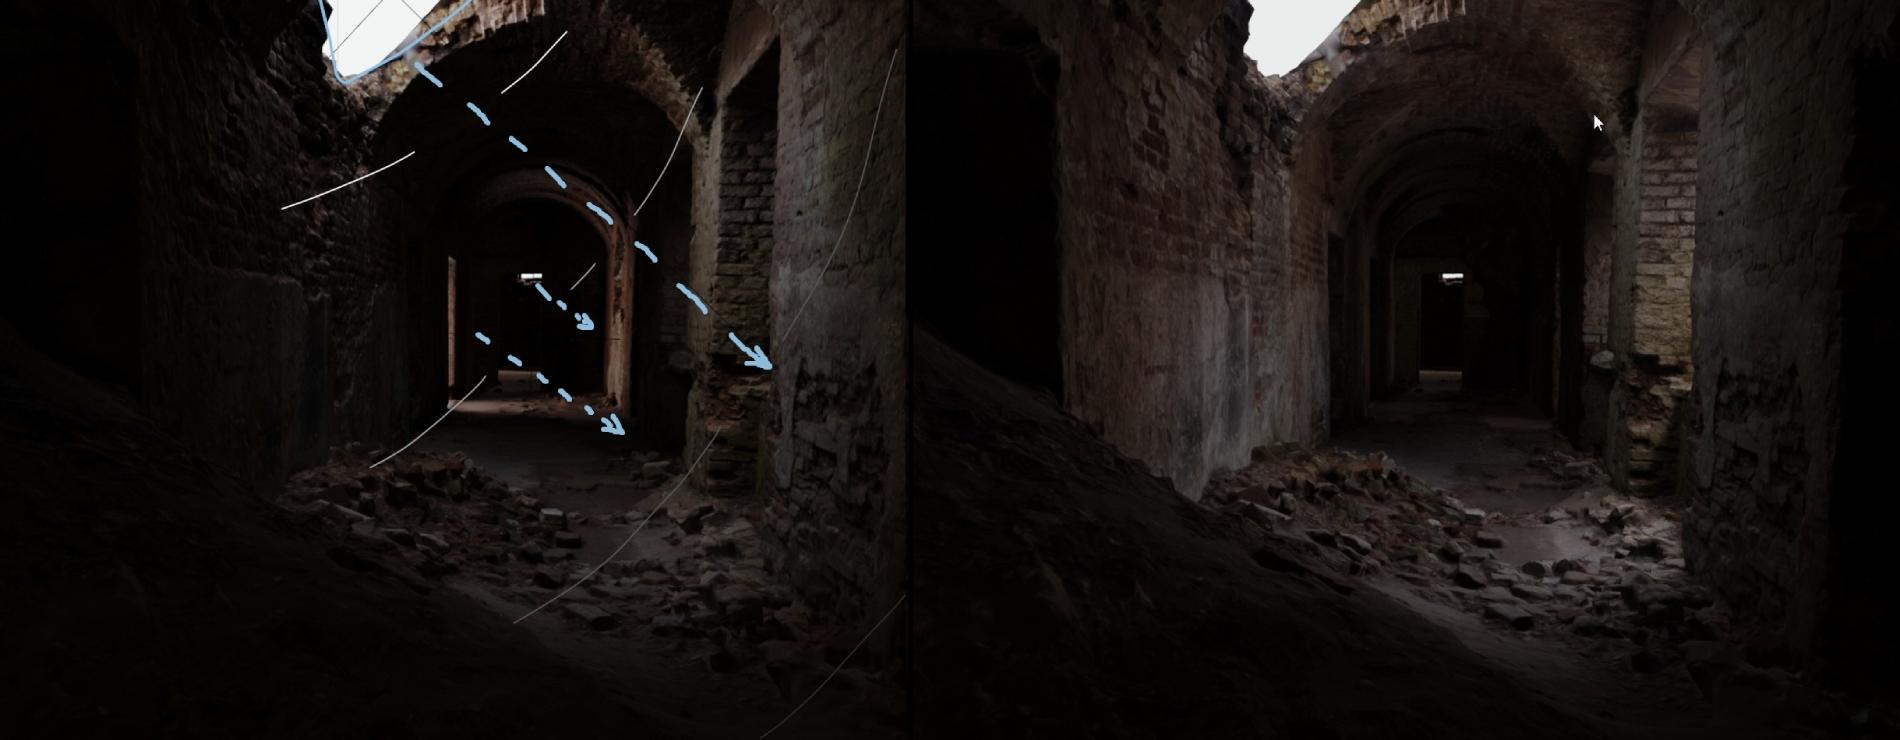
Reduce the world light first, then decide which openings are actually part of the story. In a ruined building there are holes everywhere, so there’s a certain artistic freedom.
- Environment. First, set the environment light exposure – this is going to be our Level 1 motivation. Block the door frames that you don’t want to contribute.
- Area lights for skylight – tune their strength, temperature and placement so it feels like it’s the environment light seeping in. These are our falloffs, secretly.
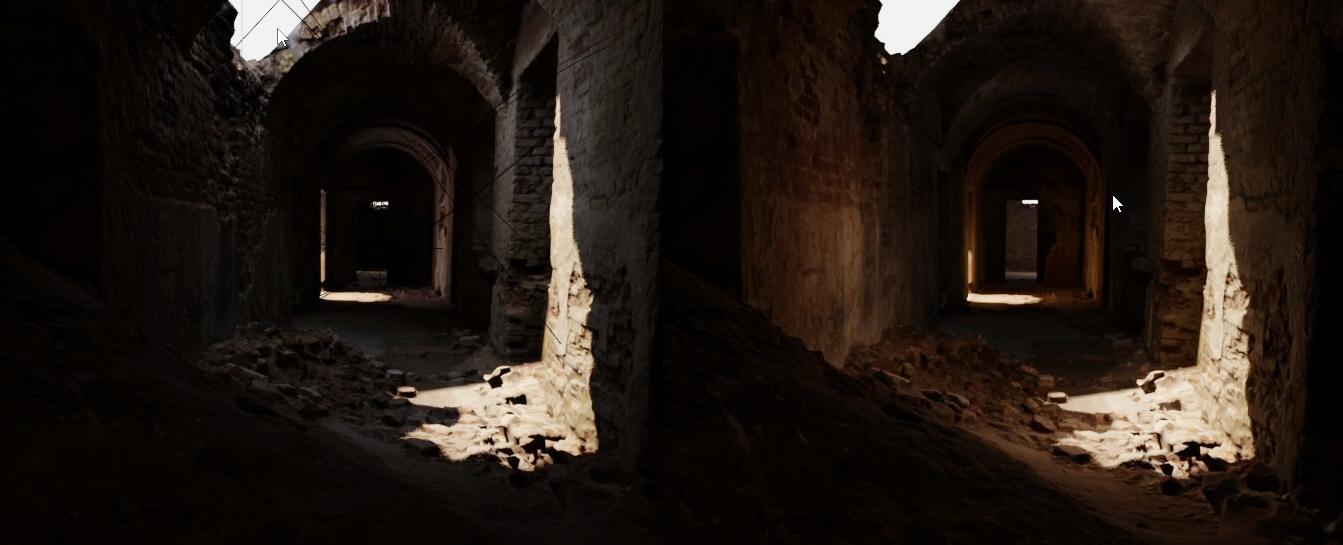
Single versus multiple light directions is an interesting choice. I think it’s usually safer to go with one key light direction, but feel free to experiment. - Spotlights for the harder sun patches that carry the composition (it’s good that we went with the single key light direction!). This is our Level 2 motivation.
- Fake secondary bounces using point lights. Look how our little cheat disappears, because of the Level 2 motivation.
—
Screen-traced GI
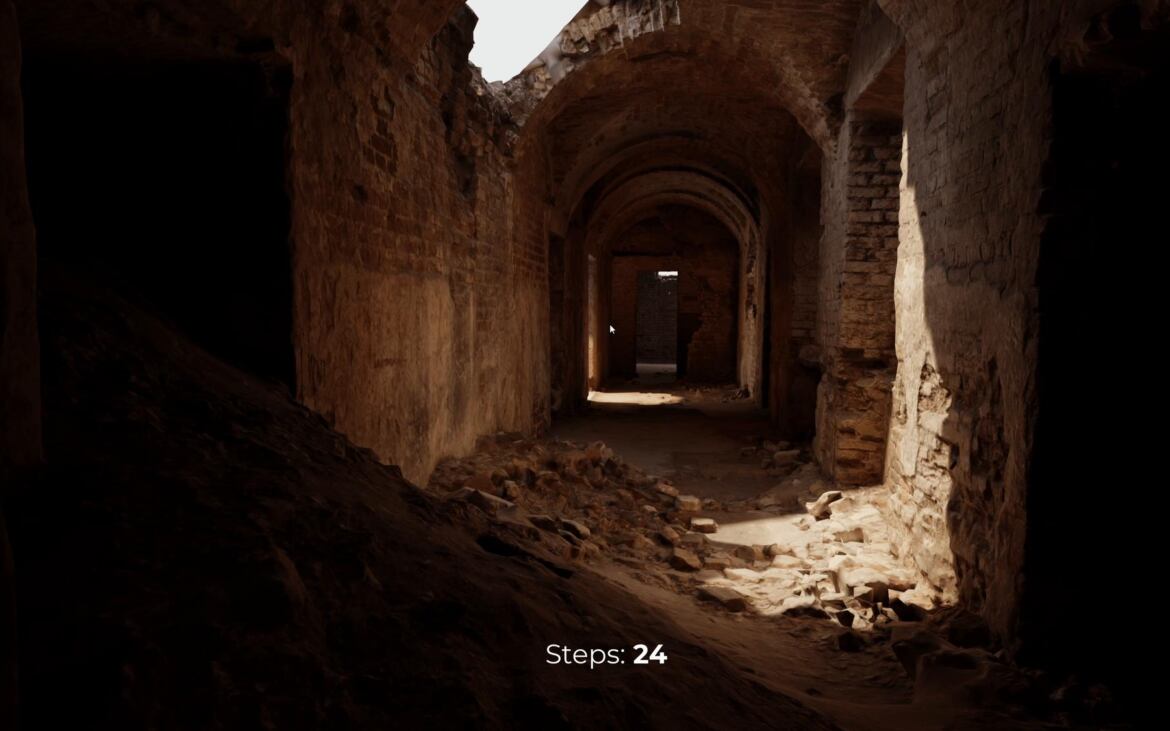
Eevee’s screen-traced global illumination adds a secondary layer of bounce and ambient occlusion on top of the hand-built (fake) lights. It is fast, too, and surprisingly capable.
For anyone who missed the Indirect Intensity feature – there’s now a dedicated GI Intensity slider that gives you even more control over the strength of the indirect lighting. I imagine cinematographers would sell their own mothers for this kind of control. I wrote more about it in New Blender 5.1 EEVEE Feature – GI Intensity.
For the rest of the Eevee render settings, check out the videos.
Conceptually, what matters is that the GI is yet another falloff, and one that’s inherently motivated too, since it comes straight from the physical light transport algorithm itself.
—
Light Probes
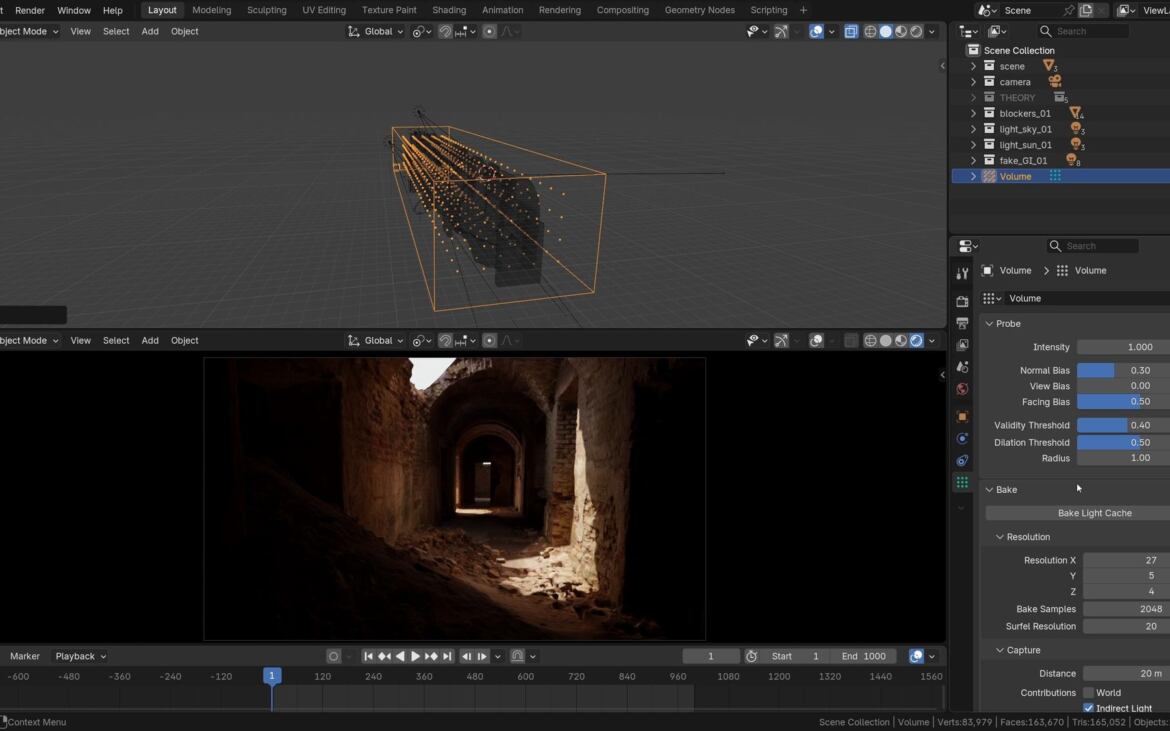
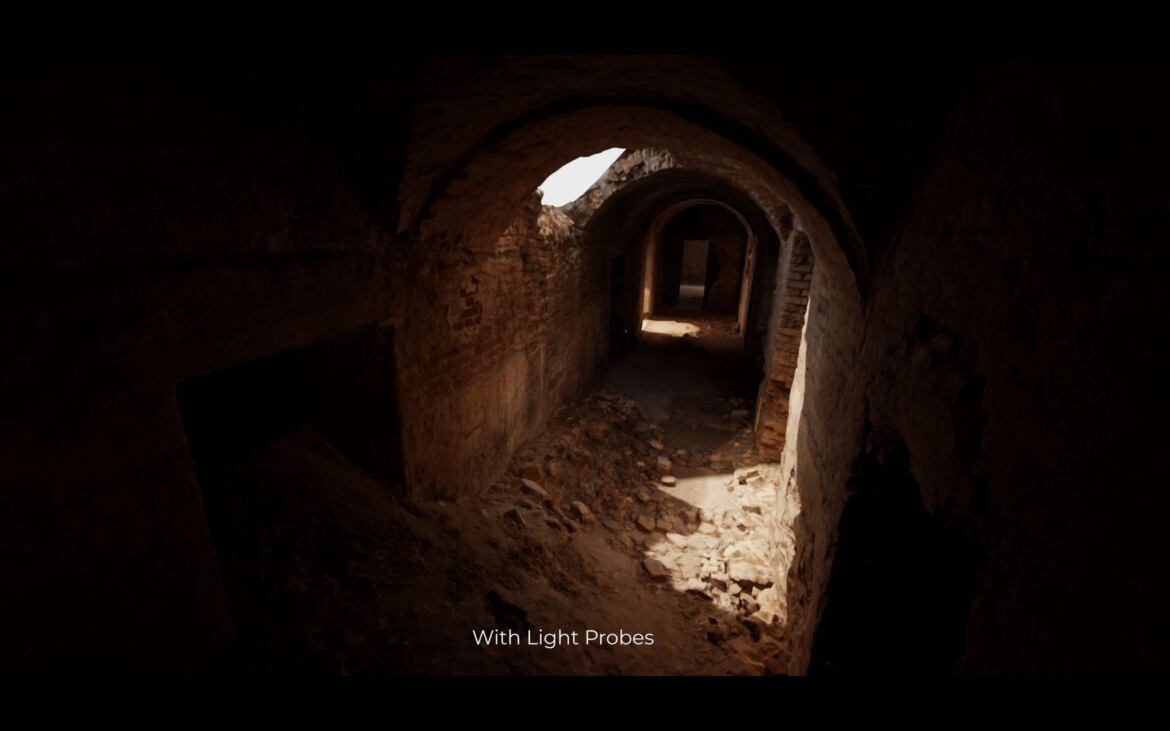
A bit of EEVEE technical trivia: screen-space GI alone is unstable, so the next layer is a baked light probe volume. It’s a grid of irradiance samples spread across the corridor, storing the indirect light for the whole space.
In other words, where the screen-space indirect light can’t reach, the probes will carry.
And guess what? The probes intensity and the falloff biases can all be tweaked too.
—
Atmosphere
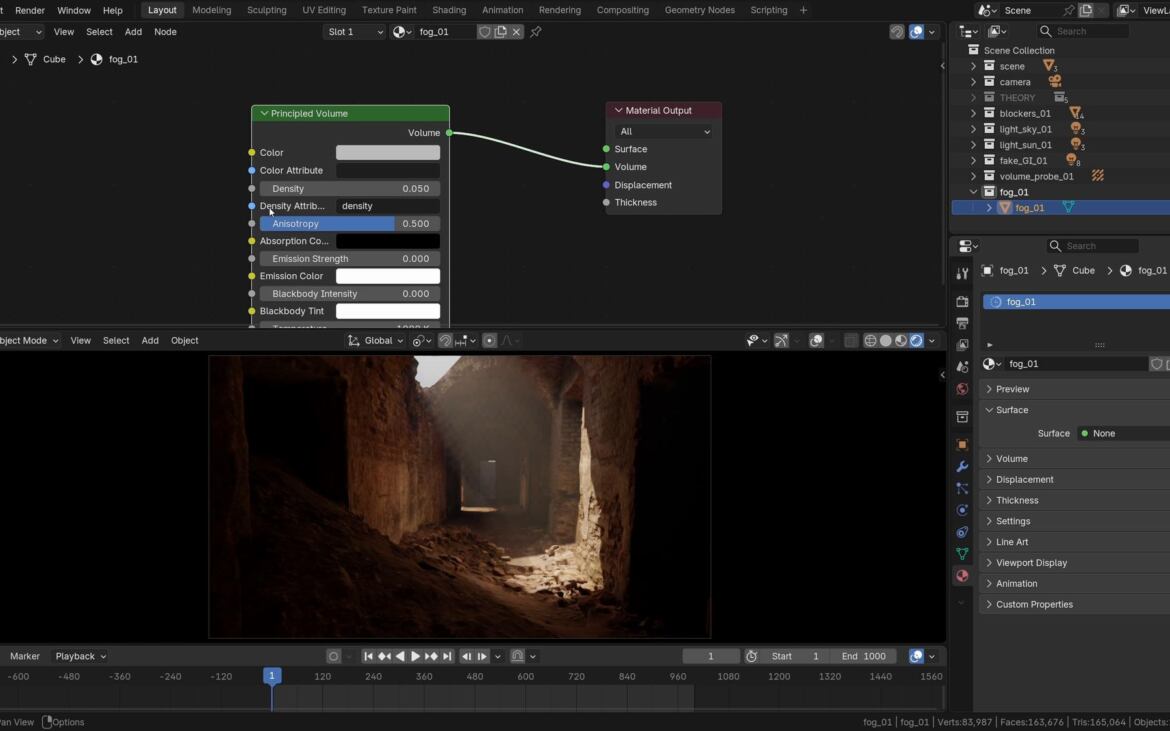
Haze is usually filed under effects, but it’s also one of the easiest ways to encode depth into a space.
Think of it as something that enhances all other light falloffs.
Not to mention it makes the light shafts legible – which is to be expected in a dusty environment like that (call it realism or common sense).
Atmospheric haze is something unique to environments. You don’t use it in case of objects in quite the same way. It interfaces directly with space.
—
Conclusion
In conclusion, here’s the flythrough animation from 2021 (I have the much ealier demos if needed, too). Cinematic realism in lighting environments is something that doesn’t require a perfect light transport simulation. It works in a higher register of realism – which has a technical aspect to it, sure – but mostly it is good old suspension of disbelief.
TLDR: how do you light the environments/spaces?
The sphere is still there, only flipped inside out.
With an object, you use light to describe a form. With an environment, you use it to describe a space.
Use falloffs – spherical and directional – compositional accents and the front/back light to describe the space.
If you want it to look cinematic, make sure each lighting element is grounded in something else in the scene (it’s useful to think of the causal chain, too).
If the whole scene doesn’t look lit – and all individual lights kind of disappear – you’re on the right track.
You’re allowed to cheat but don’t get caught.
Check it against the Four Traits: Non-flat, With a composition idea, Moody and Realistic.
Not everything has to feel cinematic (and the definitions of ‘cinematic’ vary).
—
Why this place
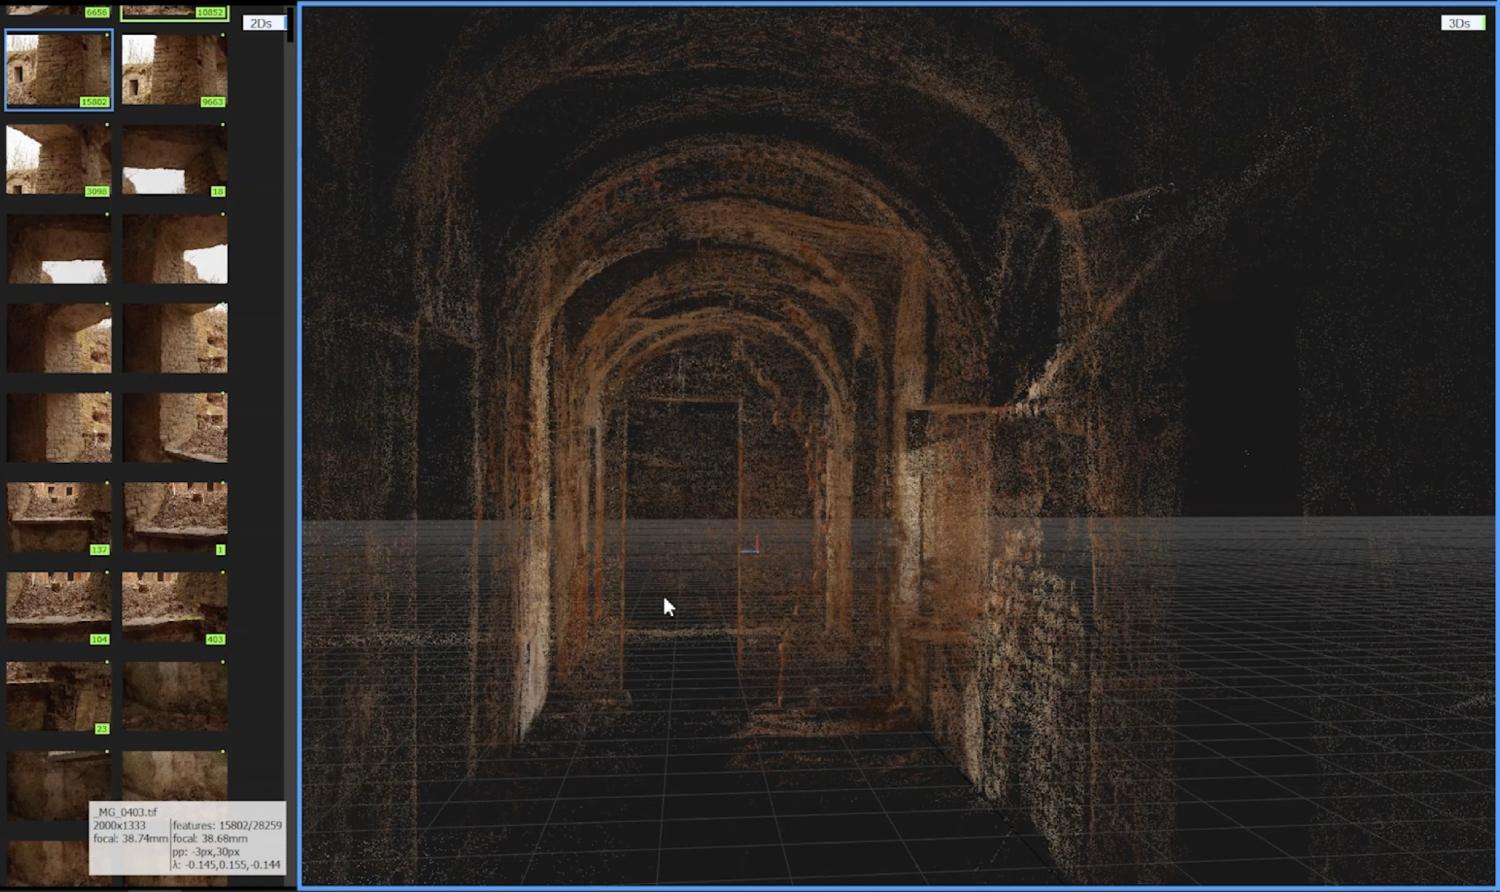
The corridor is a photoscan of the Bernardine monastery in Brest – an 18th-century cloister later rebuilt as a military hospital, captured on one of the coldest days we have ever shot in, while we were documenting abandoned places.
A real scanned place like that arrives with its own texture, its own irregularity, its own history of damage and repair (and war, in this case). For a lighting study, that is just great. It feels like being there – playing with lights. I hope it inspired you as well!
—
Links
Eevee Realistic Lighting and Rendering
Creative Shrimp Complete Lighting Bundle brings the lighting courses together into one workflow.
The Blender project files for this tutorial are on Creative Shrimp’s Patreon
The scan itself comes from the Photoreal 3D with Blender and RealityScan course
Outdoor Lighting in 3D – Is there a magic formula? (apropos the definition of ‘cinematic’)
How to Light 3D Portraits in Blender (Photographic Lighting Techniques)
The Lighting Book that I have never finished – but I can’t shake the feeling I need to get it done