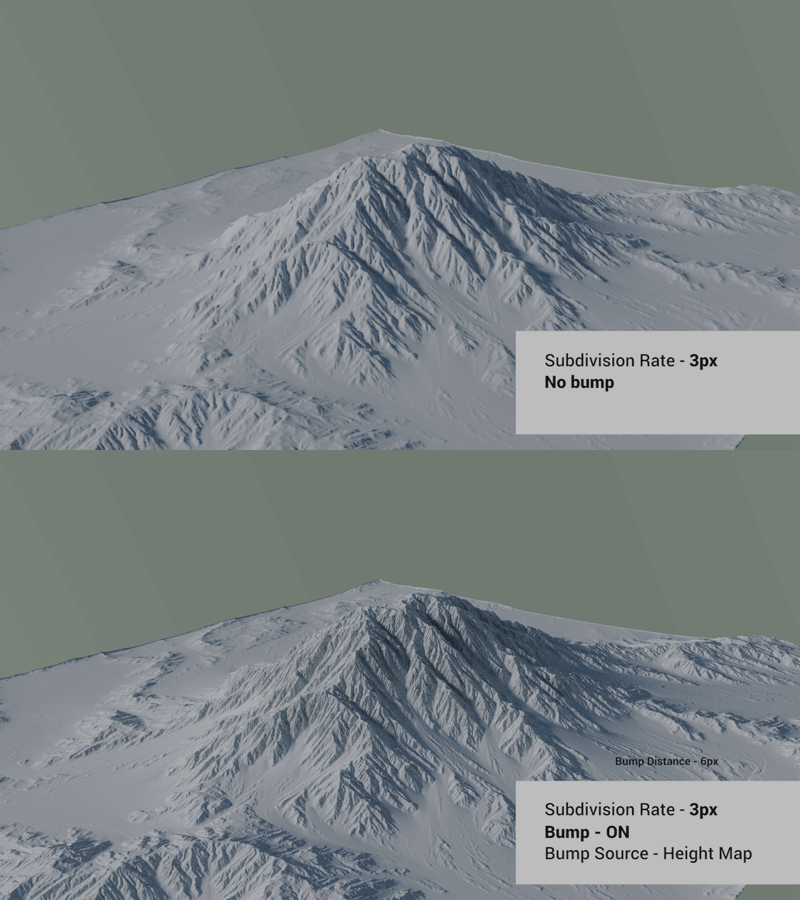
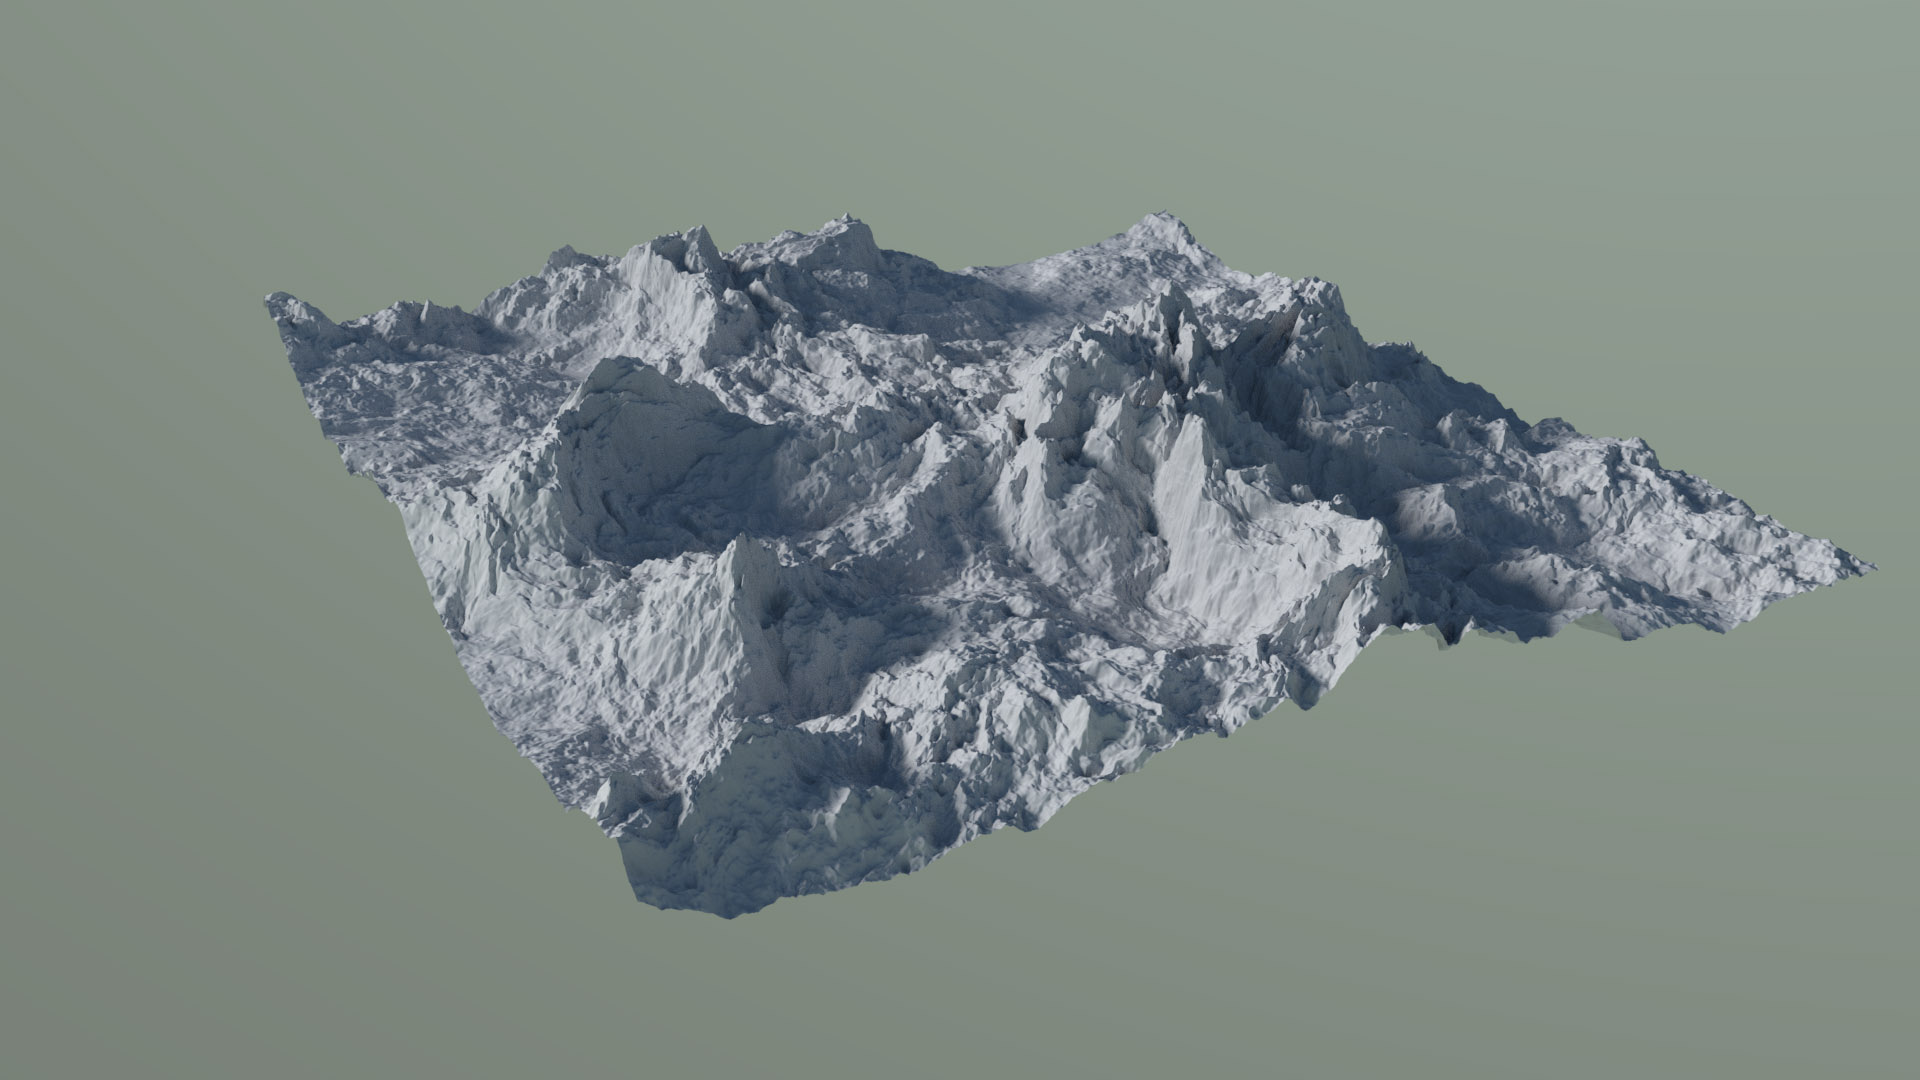
Discover how to use the Micropolygon Displacement in Blender to create stunning landscapes, planets, sci-fi patterns, asteroids and much more!
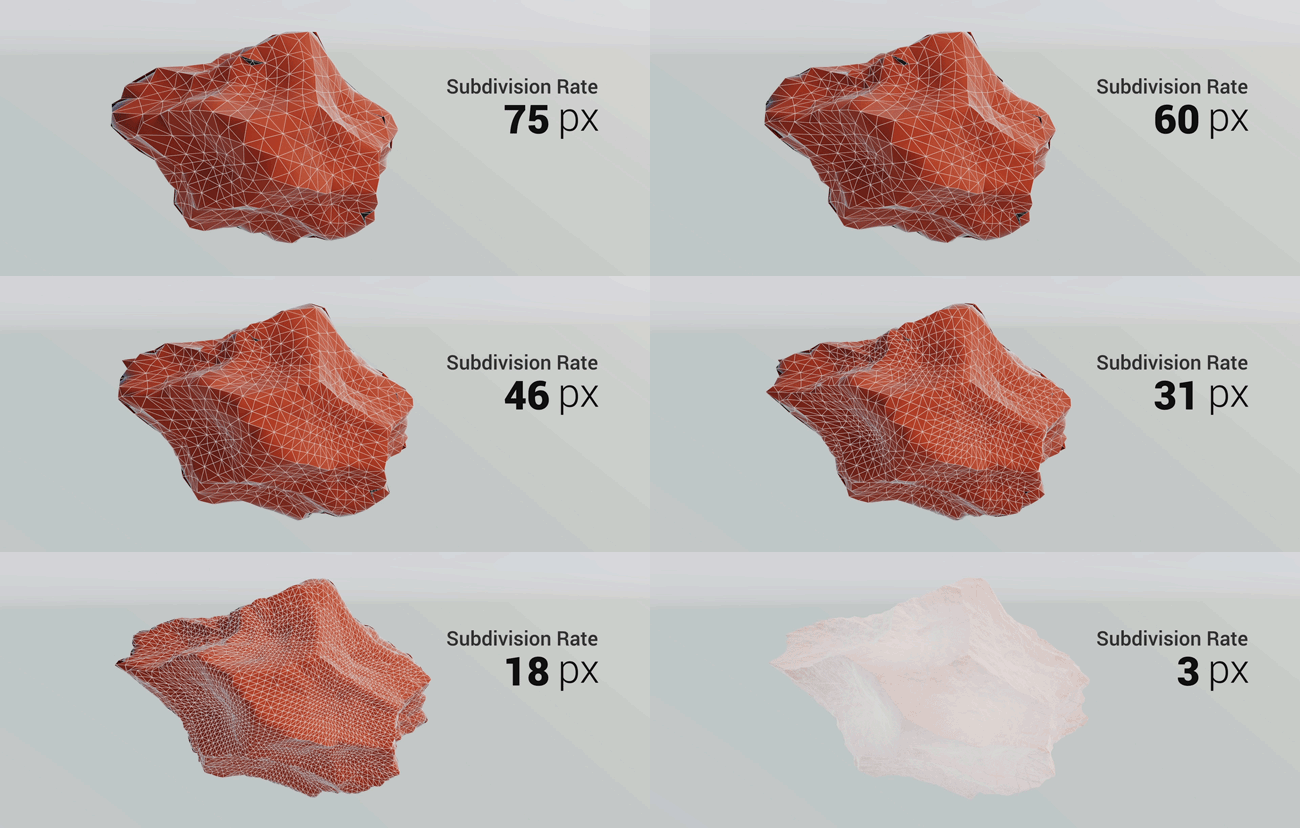
This is part 1/2 of the Micropolygon Displacement Basics tutorial from the free update to Space VFX video course.
Download the Project Files (lite version)

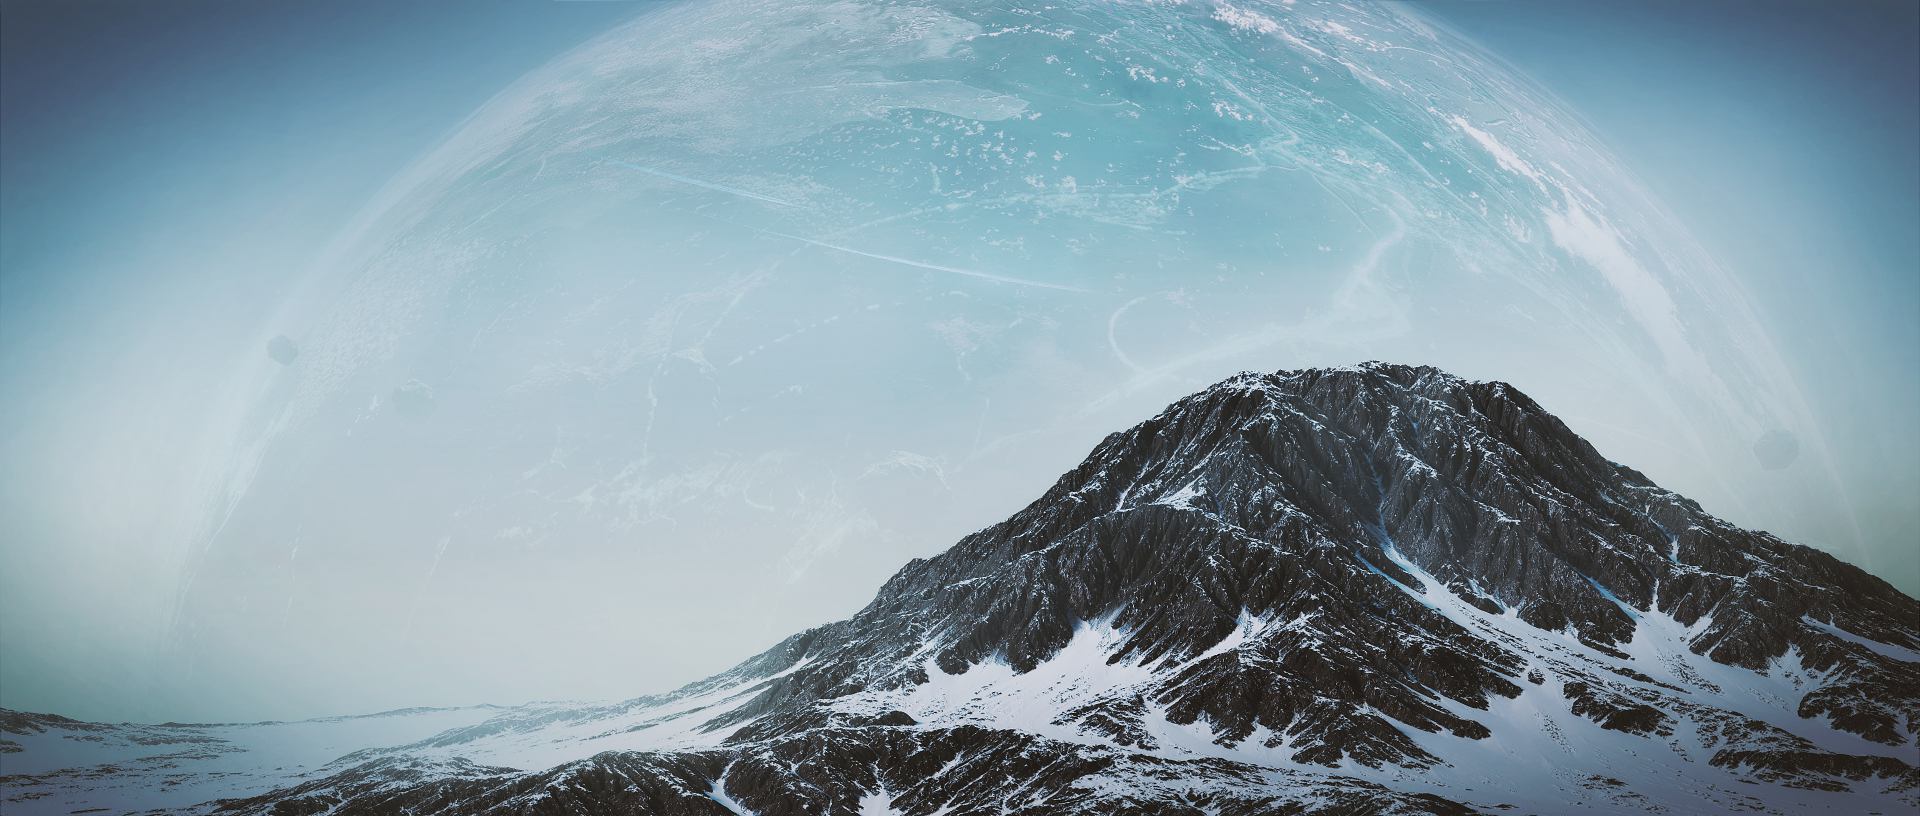
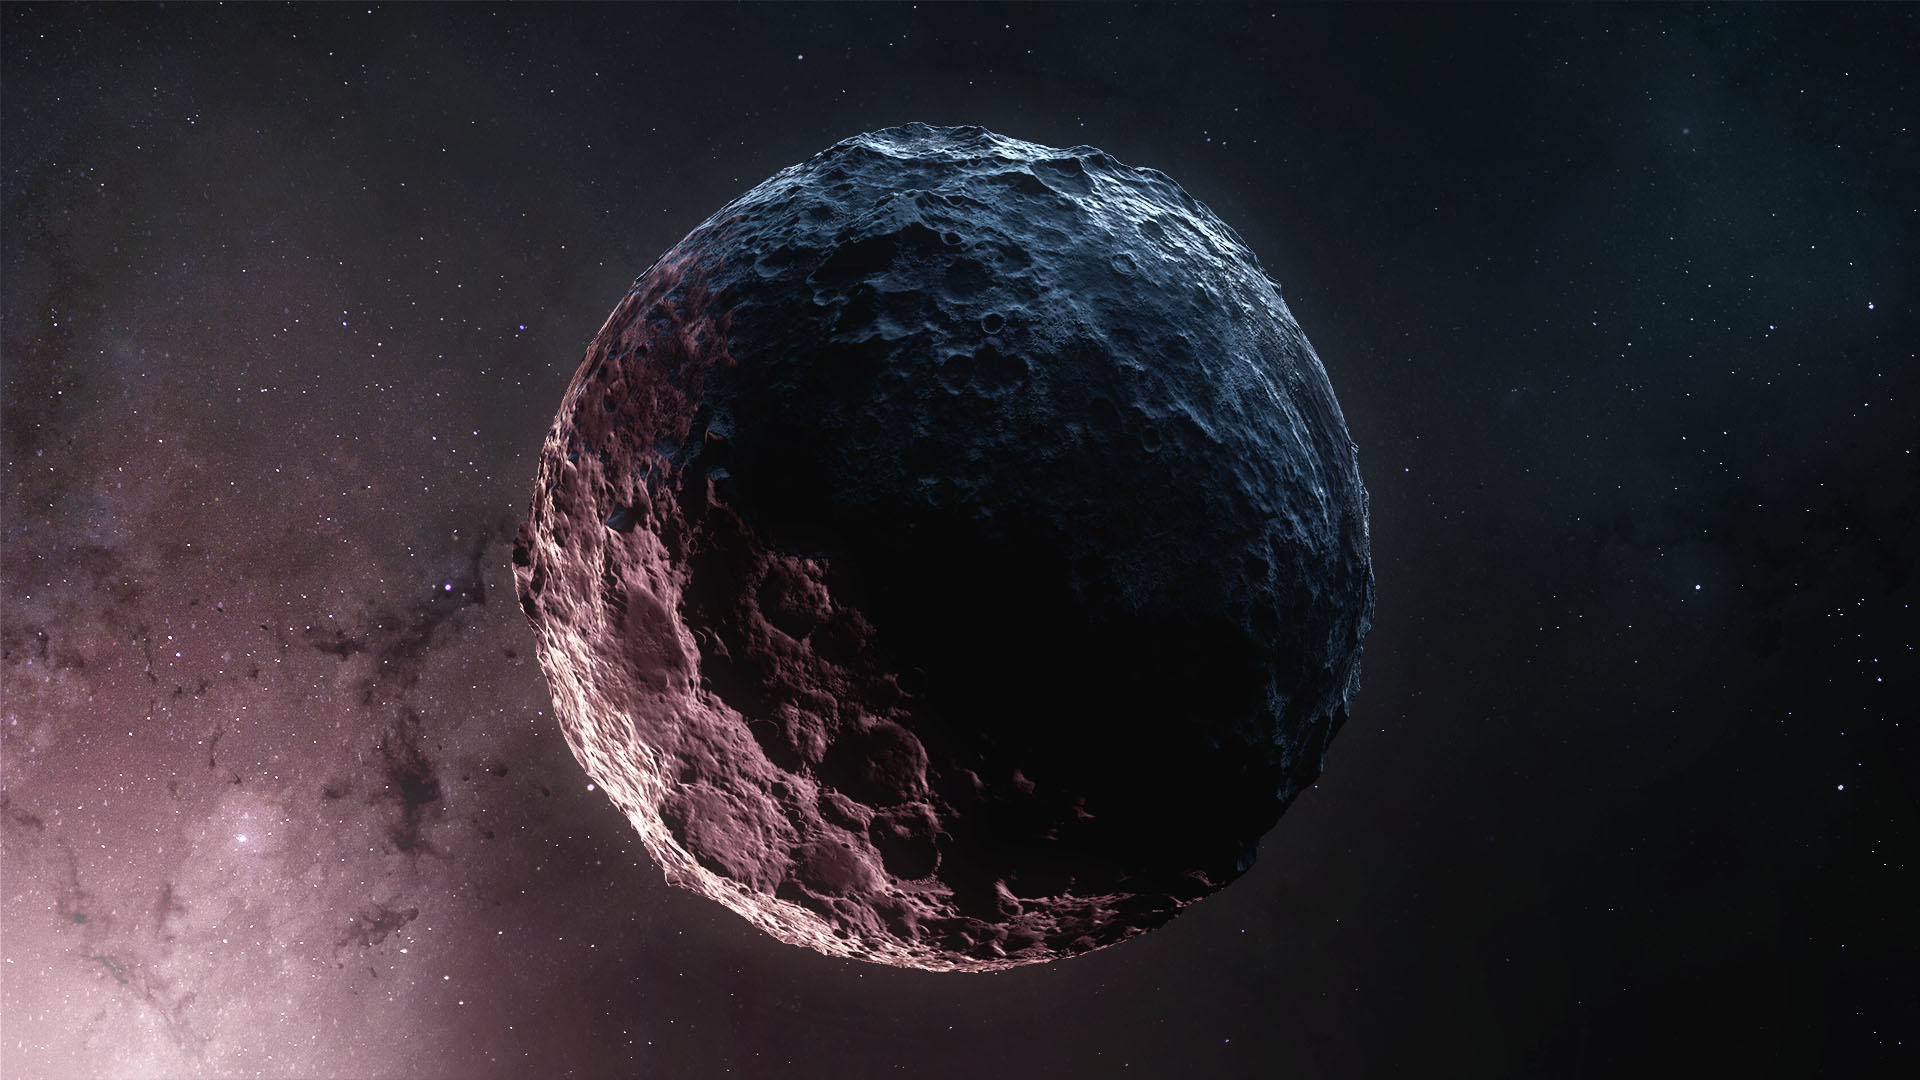
What’s in this Space VFX Update 1.1?
1. Micropolygon Displacement Basics Part 1
2. Micropolygon Displacement Basics Part 2
3. Exoplanet: Zoom to the Surface
If you have Space VFX you’ll get all the project files, textures and animations.
What is Space VFX?
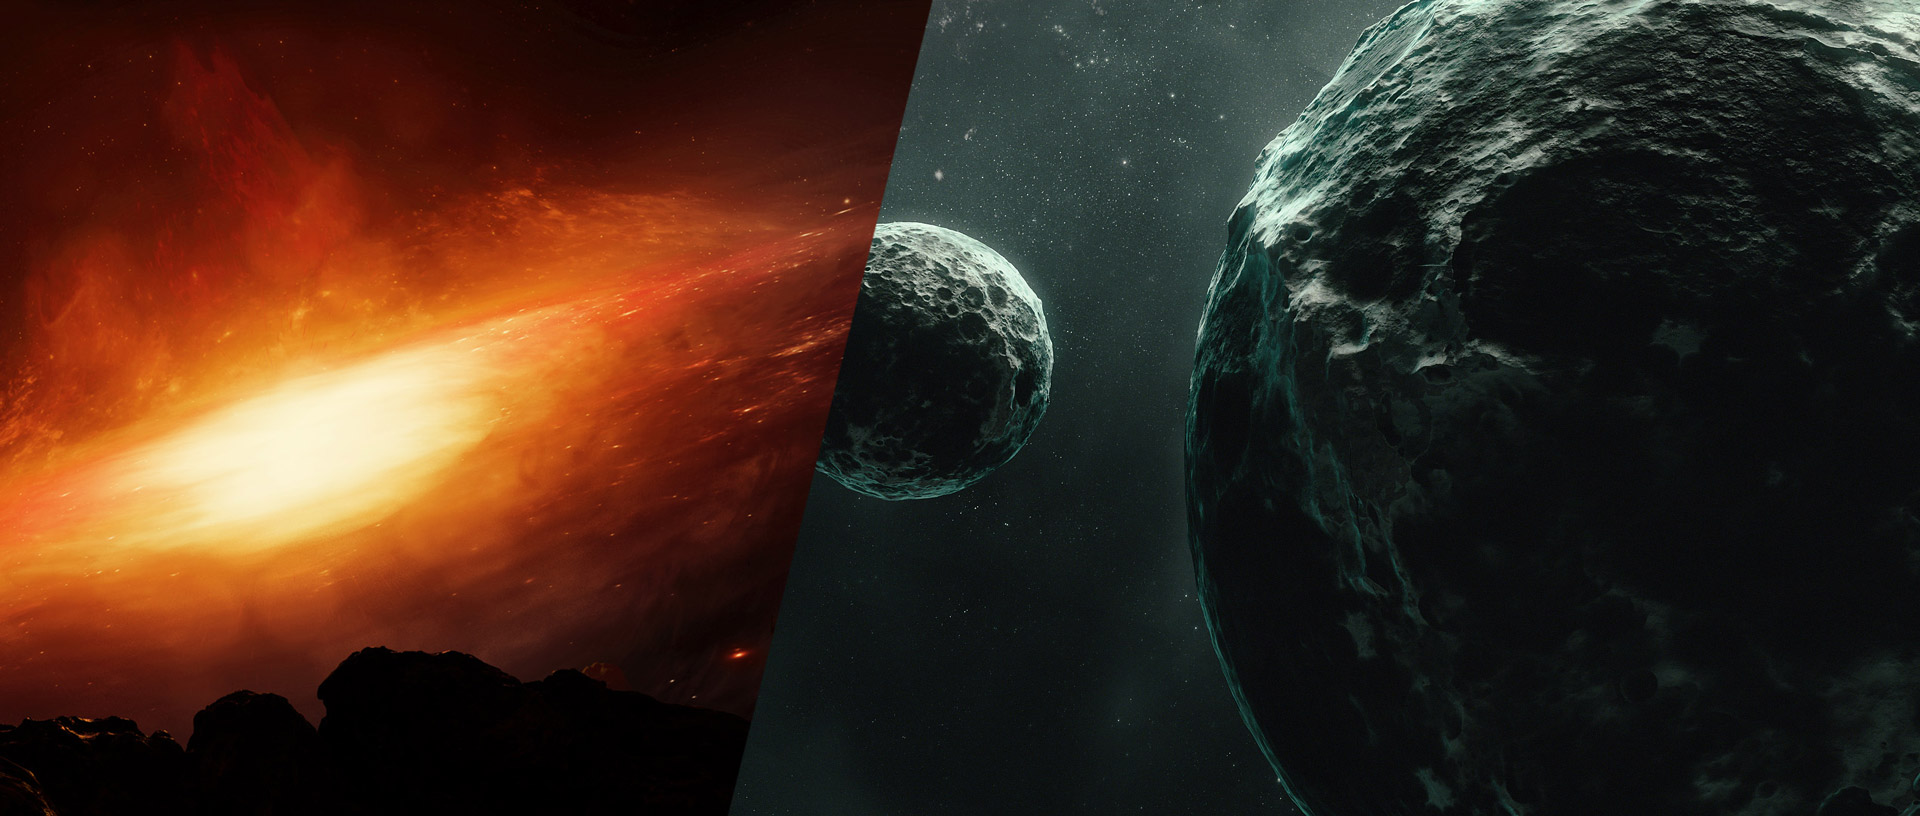
After watching this 14+ hours video course you’ll be ready to create any space object in Blender. Quasars, gas giants, planets, black holes, asteroids and more.
Aidy Burrows and Gleb Alexandrov, two Blender geeks joined forces to create this cosmic tutorial series.


Michel Rochette
Again, thanks for the share Gleb!
Gleb Alexandrov
Michel, you’re more than welcome! It’s our pleasure.
Ruben Carvalho
https://uploads.disquscdn.com/images/19f26683c2fb75434b76eaa46508a718606f77000d5eb98981f343e36e919075.gif
Thanks for the tut, I’ve experiment with dynamic paint, and you can take the nerd control of geometry with the mask modifier to a whole new level 😉
Maybe it can help in rendered animations
Gleb Alexandrov
Hey Ruben, that’s cool! Actually in the second part of this tutorial we make something similar, but with the Vertex Weight Proximity modifier (+ Mask Modifier). But your method looks promising as well! Can you share some details on how did you make it?
Ruben Carvalho
I’ve just created a cube and parented with the cam (adjust the size of the cube to the camera view). Set the cube to brush in dynamic paint wtih volume + proximity , the “sphere” to canvas in weight mode and to use the same vertex group as the mask modifier. Take the blend and see for yourself 😉
http://pasteall.org/blend/index.php?id=45230
PS: Keep the good work, i always learn something in your tutorials.
Ruben Carvalho
I tried with vertex weight modifier and i think is harder to set and control the effect. In my way you just need to play with the paint distance to make sure everything appears in camera.
Aaron Adam Rosene
Gleb, what GPU are you using?
Gleb Alexandrov
Hey Aaron, I use Geforce GTX 780.
Aaron Adam Rosene
Thanks! For the info!
Jacob Cullum
Hey Gleb! Do you just have your build incredibly optimized, or do you use SLI? I have a GTX 1080 Ti and your viewport still renders faster than mine. 😛
Gleb Alexandrov
I have just one 1080. You have an impression that I have a faster viewport because I speed up the videos for tutorials. I think that’s why, at least 🙂
Jacob Cullum
Ooh, that makes sense! Thanks! Great tutorial btw, I look forward using this feature in my projects!
Yanbo Zhang
Very EXCITED Tutorial! This is my work based using the same method: https://uploads.disquscdn.com/images/b387e9a690a6fc5c4f73171de698bc9222d6ab712f439337f5176aa54751579a.png
Gleb Alexandrov
Oh dammit, this is a whole different spin to this mountain. Well done! the sci-fi overmind is happy with you.
Enzio Probst
If you put the subtract node before the multiply for dispacement you can just keep it at 0.5. So you can adjust the displacement strength on the multiply without having to set the value of the subtract to half of it again.
Gleb Alexandrov
Enzio, many thanks for the tip, it will definitely help us to save some time. cappuccino to this gentleman!
Francois "CoyHot" Grassard
Hello Gleb,
I made some tests with the micro-displacement after its integration in Blender, and noticed that the Pointiness was took into account before the displacement, and not after.
Just to mention this limitation. 🙂
Francois "CoyHot" Grassard
https://uploads.disquscdn.com/images/7bcc4e2df3642b79521fe248b0f7889045ef12966234dd58995faf061fc38244.jpg
Gleb Alexandrov
Francois, I think it’s a bug. I asked people on twitter, and they basically share this point of view. Fingers crossed, that it will be fixed in the next version of Blender.
Holger Kds
Thank you Gleb, I used this method due to your tutorial for my new Facebook title picture.
https://www.facebook.com/photo.php?fbid=2169464129946073&set=a.1486201288272364.1073741832.100006475215134
Gleb Alexandrov
Our pleasure. More to come!
vklidu
thanks for tut 🙂
https://vimeo.com/202384304
Luis Mencos
I cannot stop rendering this mountain, thanks so much for this tutorial Gleb. https://uploads.disquscdn.com/images/39cda84abe83725868db8a36be0f227338a4242920c3bb7803d776cbde2557c8.png
Edward Baker
Those are some huge trees 😉 Still looks good.
Qin Xijie
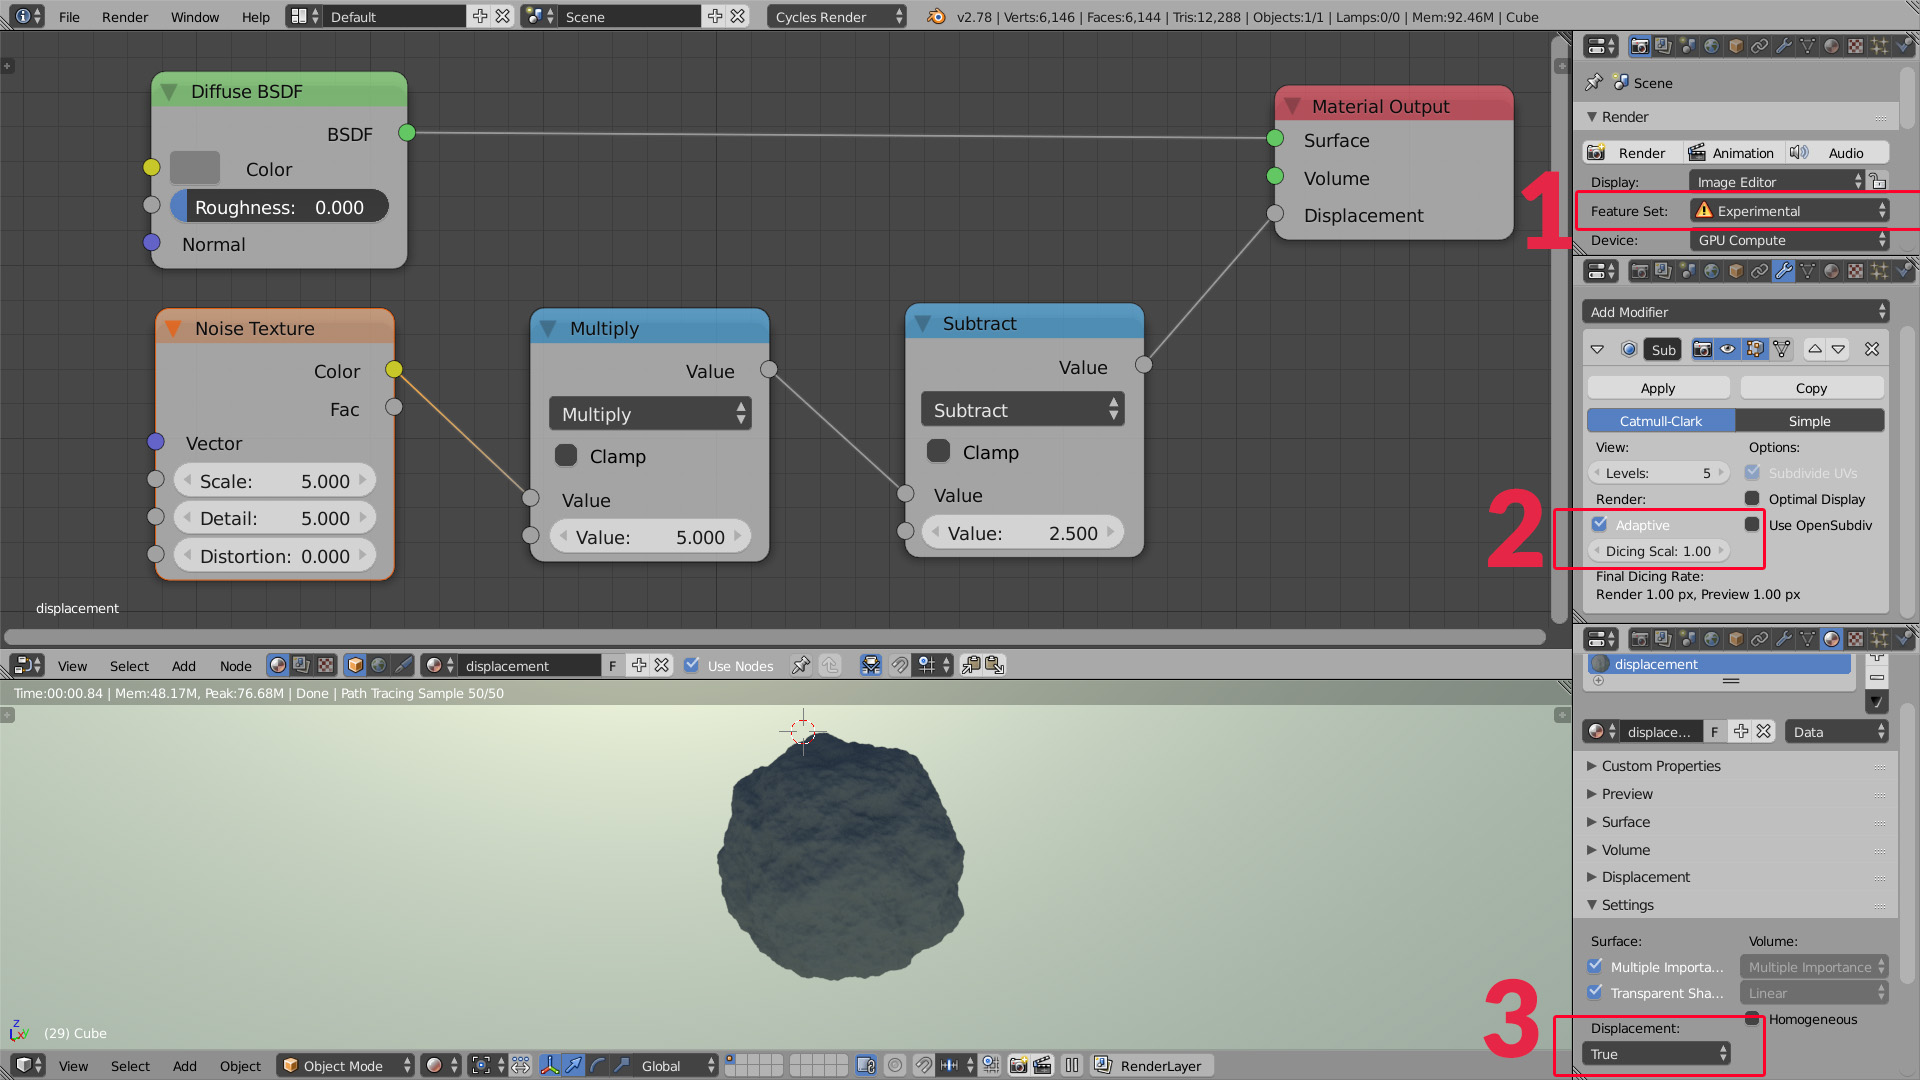
Sry I know it’s a stupid question but I cannot find the “Adaptive” in my subdivision modifier, also I don’t have “ture” in my setting.My blender is v2.78c but the interface is looks quite different with yours. How can I fix it?
Ádám Krisztián Skovrán
I have the exact same issue, I don’t know what’s going on, and I don’t know how to fix it.
Ádám Krisztián Skovrán
Turn on experimental mode. 😛
Rohan Ramchandran
Did you make the mountain color texture in photoshop? Amazing series this btw.
rohanR3
Anton Ilmyanov
Quick tip on using the procedural technique: create basic terrain features with “real” geometry before adding micropolygon displacement. A flat plane gives you less control and is bad for adaptive subdivision and navigation.
My result with the technique: https://www.artstation.com/artwork/YZmwb
https://uploads.disquscdn.com/images/8c4f9c273e566c61bfbe8fe8f2e0f07e0bd8877d352f6e2e4dd7dcc8f23b6ee2.jpg
Jean-Marc
Does this work with the ocean modifier? Is there a way to reduce mem usage by having less detail the further the ocean geometry is from the camera?
Daniel Krafft
Hey Gleb this is what I came up with. I tried using a planet similar to what you did https://uploads.disquscdn.com/images/52ae5b6a92bb57d350b84369417b377a960c5d5d6de40ae4fc7d184eb6d75428.jpg