How to create a stone in Blender procedurally, using Displacement modifier? In this Blender displacement modifier tutorial, we’ll explore layering Displacement modifier to produce large, medium and small scale details on our rock. Also we’ll prove one more time, that everything is better with stalactites.
Blender Displacement Modifier Tips & Examples
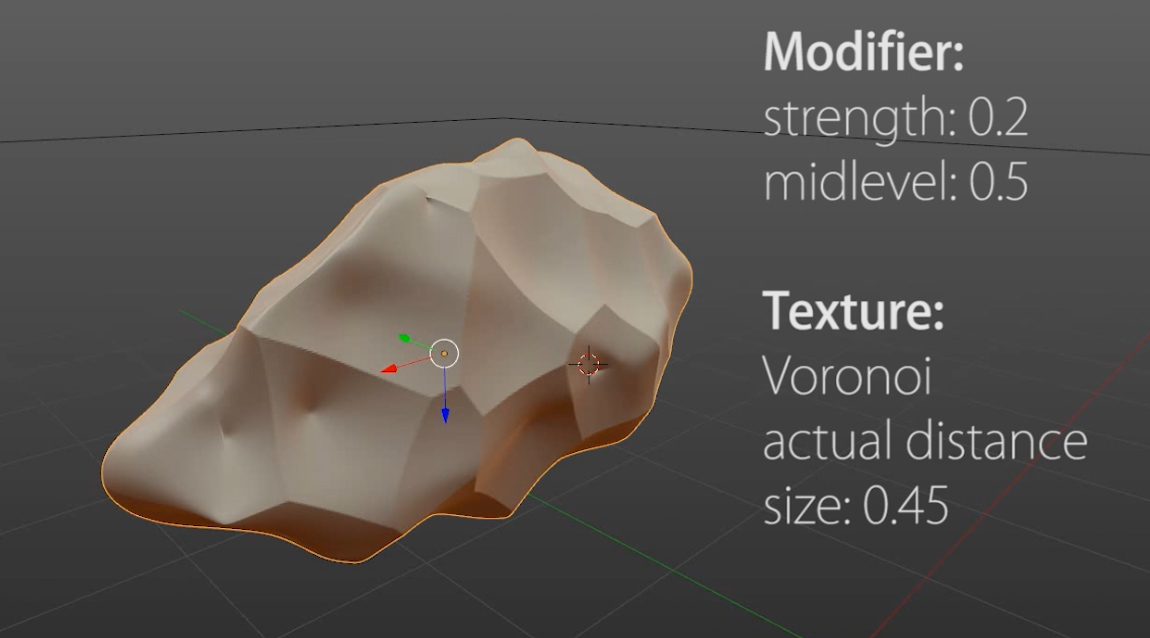
Use Voronoi Procedural Texture for a large scale details.
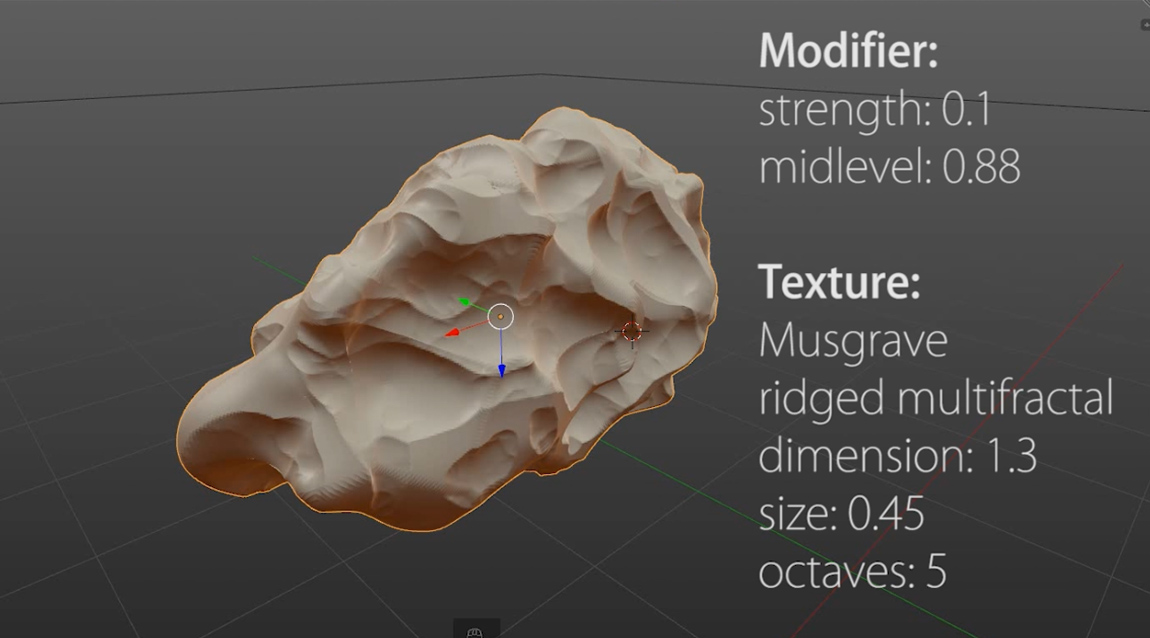
Use Musgrave Noise for a medium scale details.
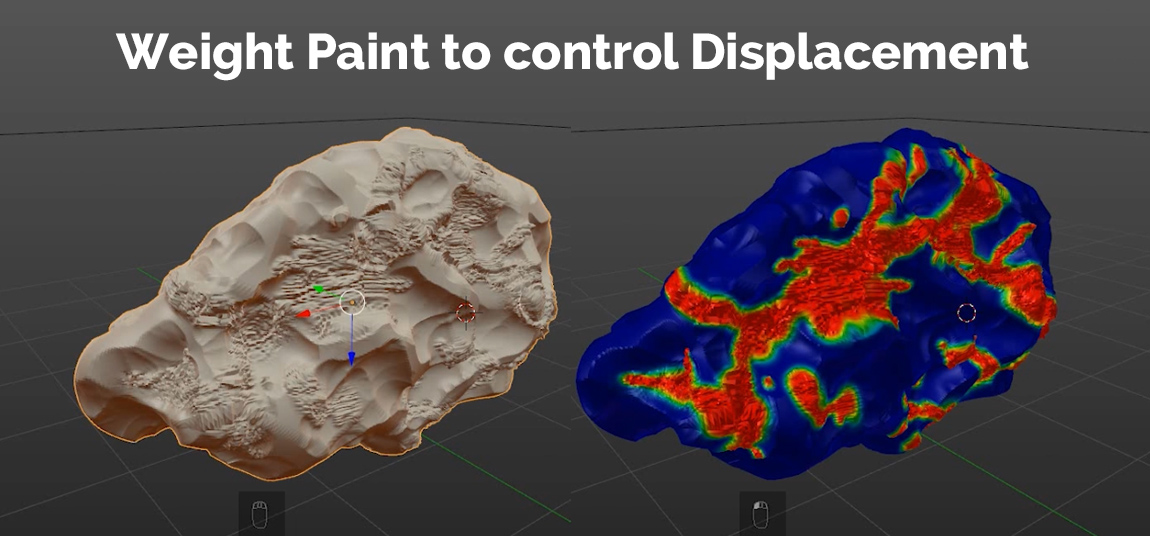
Use Weight Paint to control the Displacement
Red paint means full influence on the Displacement, and blue means zero influence. Don’t forget to click on checkbox in modifier settings.
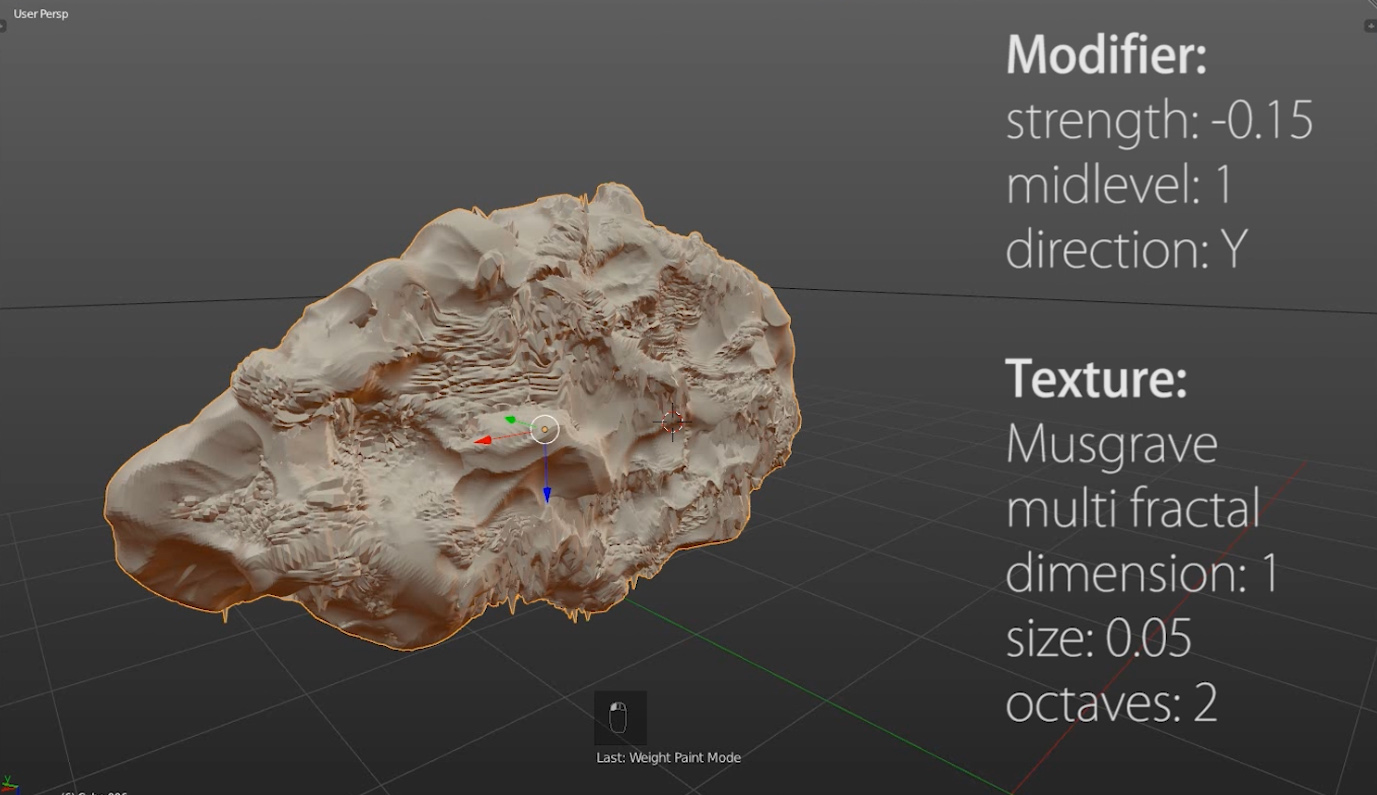
Displacement direction
To grow the stalactites, change the displacement direction to Y. See, everything is better with stalactites.
Fake light with Normal node
Use Normal nodes in your stone material to enhance (fake) the lighting on the edges and rough parts.
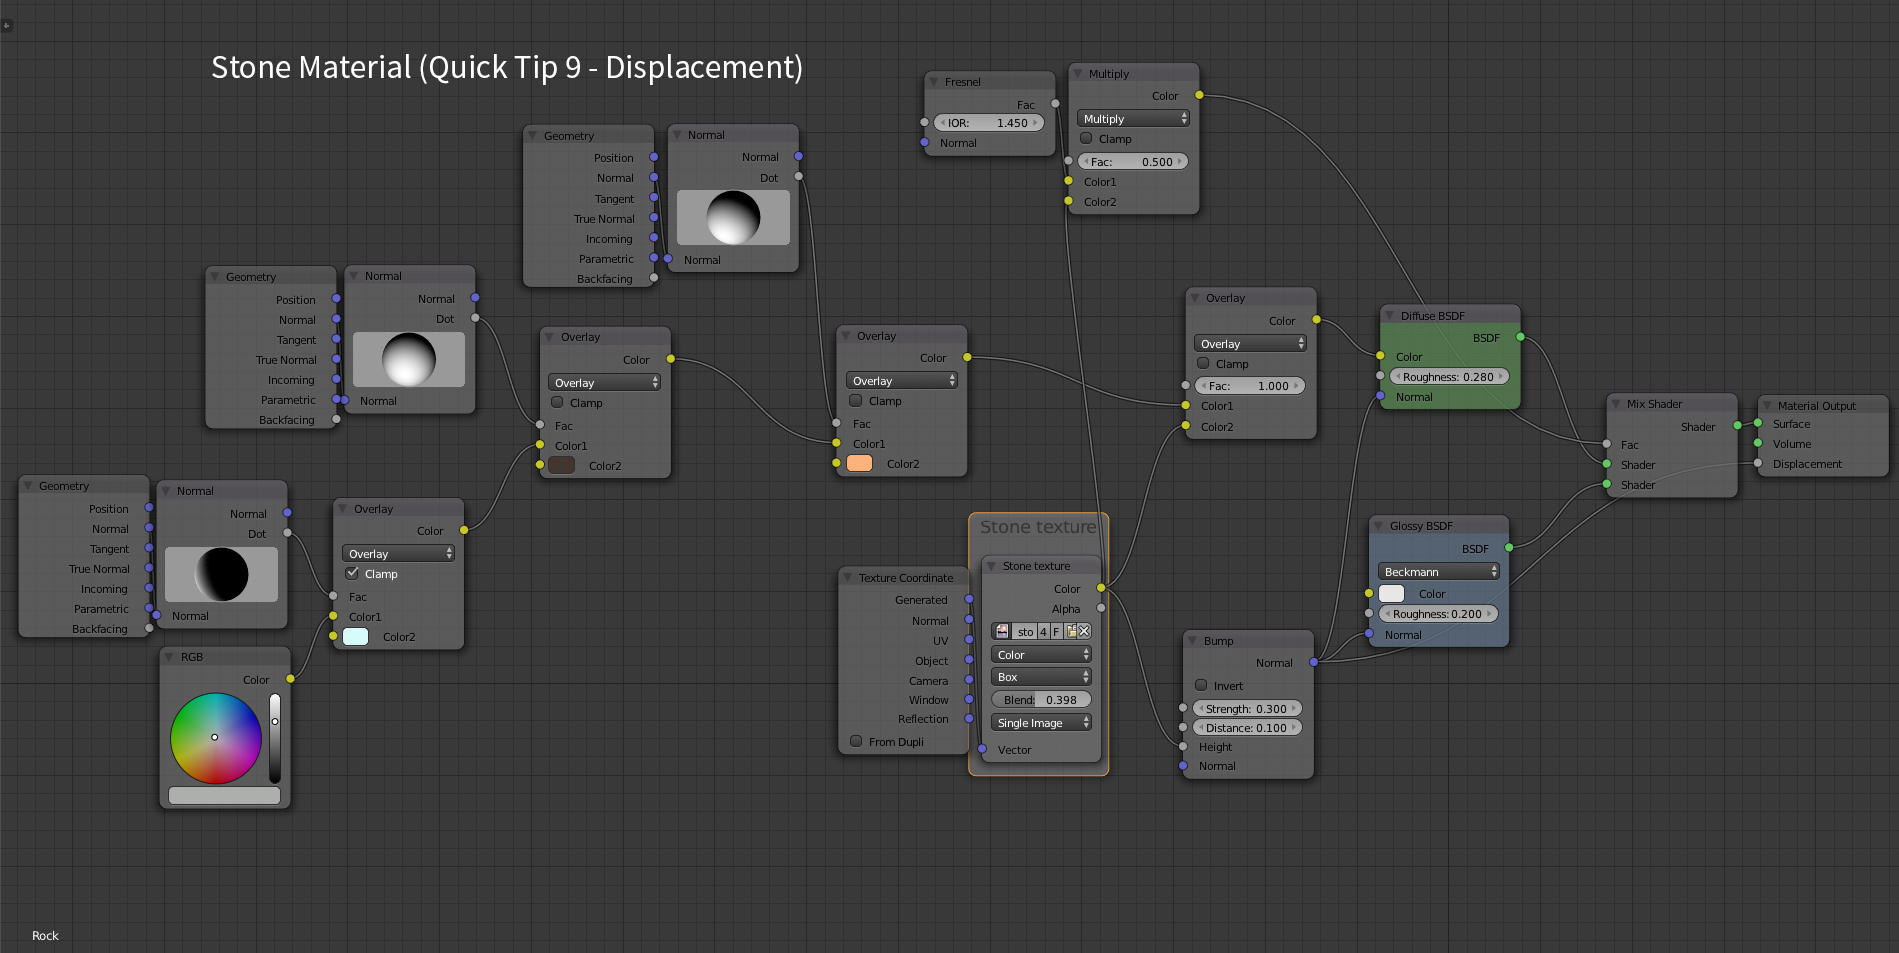
Can’t wait to see your procedural creations!
p.s. Check out Kiril Viktorov’s feedback on quick tip about Particle Textures. Nice render!


Laurin Schmidt
nice that you cane use wight paint but how?
Max Nadolny
Hi Gleb. On step 2 im getting these ugly spikes. How can i avoid them? The base mesh i did sculpting uvsphere. https://uploads.disquscdn.com/images/2e370cb2b13af220d302d550282671cfdce99e788a42e3a96756ecc8ada4d1e5.png
Max Nadolny
https://uploads.disquscdn.com/images/589d5260e21af5ee035be26a7188f35b16ff584cd341d1b9749010c43ebf8a59.jpg