This is the introduction to the set of tutorials, dedicated to game level texturing in Blender and Unity.
Discover how to texture the whole scene AS ONE MODEL using what can be called ‘megatexture’ approach. One model, 1 big texture atlas plus your creativity – and that’s all!
Game Level Texturing: What is it about?
Through the set of 5 tutorials, we’ll implement megatexture style texturing to our game level.
Texturing the whole section of the game level in one go is not very common texturing technique. In many cases, modular approach has big advantage – we can reuse and recombine stuff. Also, maintaining individual assets is somewhat more clean way of doing things.
Benefits of ‘Megatexture’ approach
But, texturing the big environment as 1 model has its own pros.
1. Artistic freedom
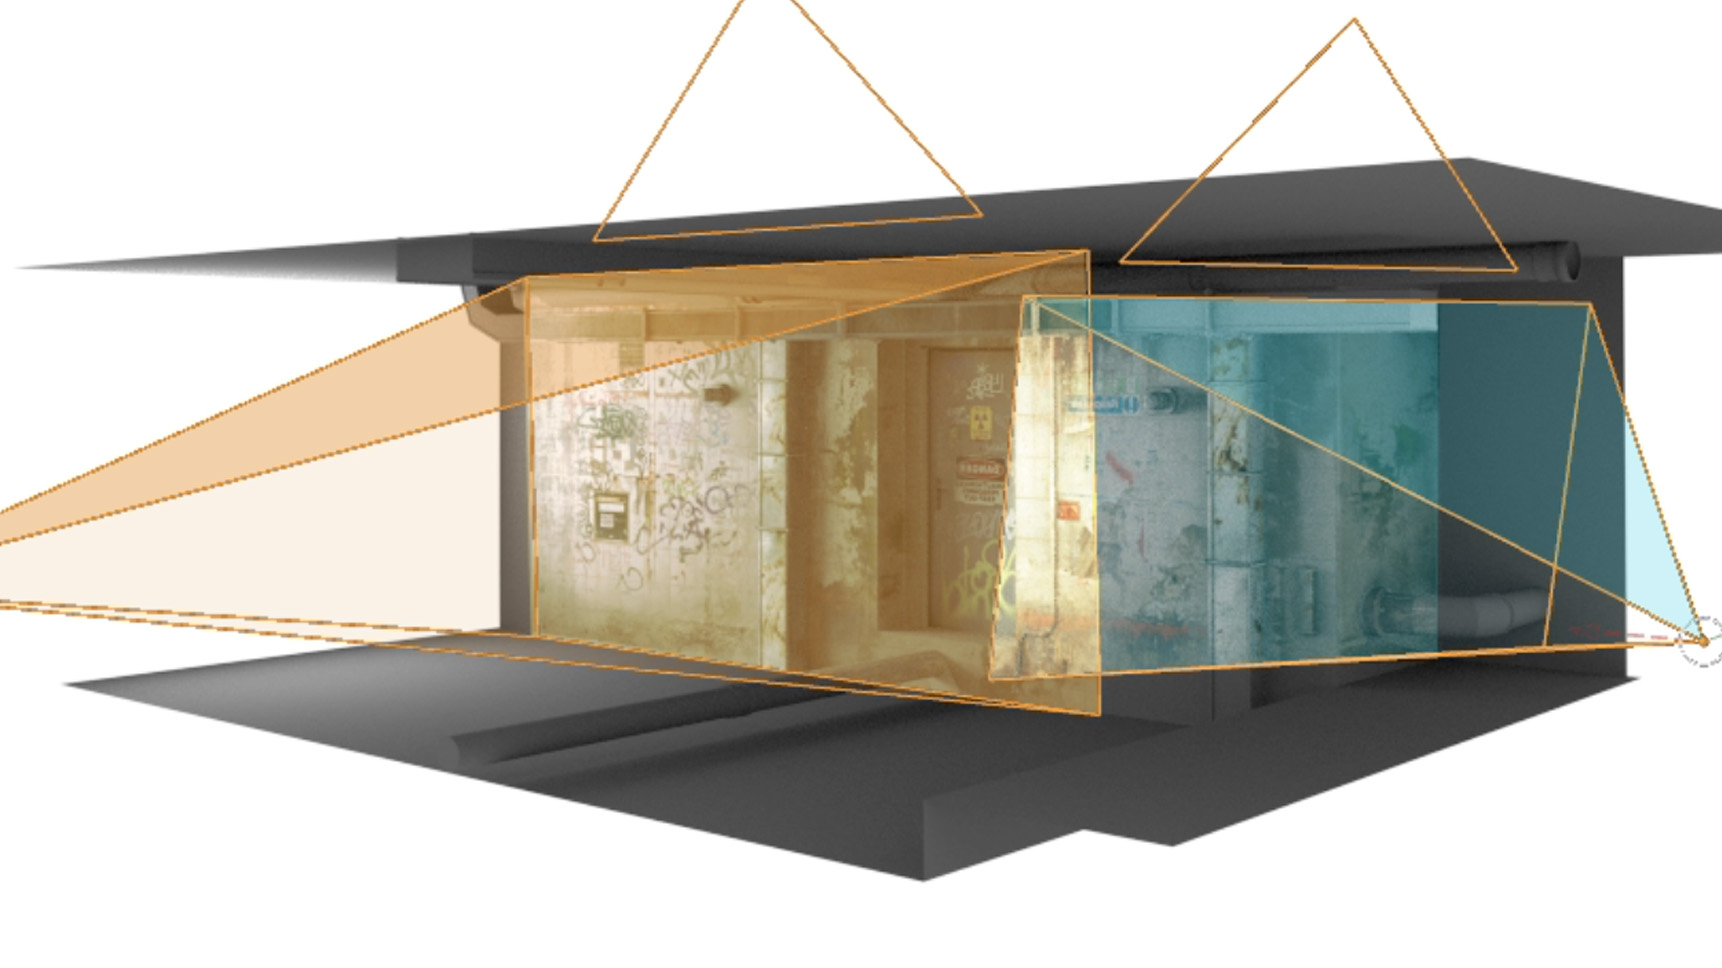
Using this technique, we can paint over the surface of 3d model as if it was 2d. In fact, we’ll use the image editor to paint texture – and then project it back onto 3d geometry. In another words, that is paint-what-you-want type of thing.
2. Realistic and Creative effects
The problem of modular approach to producing game assets is that you will have similar objects in your scene. And there is no easy way of texturing the contact surface between 2 objects. Imagine metal barrel standing on the wet ground.
The place where the bottom of the barrel meats the ground should be wet and dirty.
Of course, all this problems can be solved in any workflow, but when painting the whole scene in one go, we solve it fast and gracefully.
3. Performance on mobiles
Possible performance gain in game engines, as everything will be baked to 1 texture (maybe even 1 model). On mobile devices, drawcalls are a big concern, so having 1 drawcall in the scene is just that good.
4. Nerd achievement
John Carmack from id Software used megatexture. You use megatexture. Nerd achievement unlocked.
Contents
In these tutorial series we’ll discover how to:
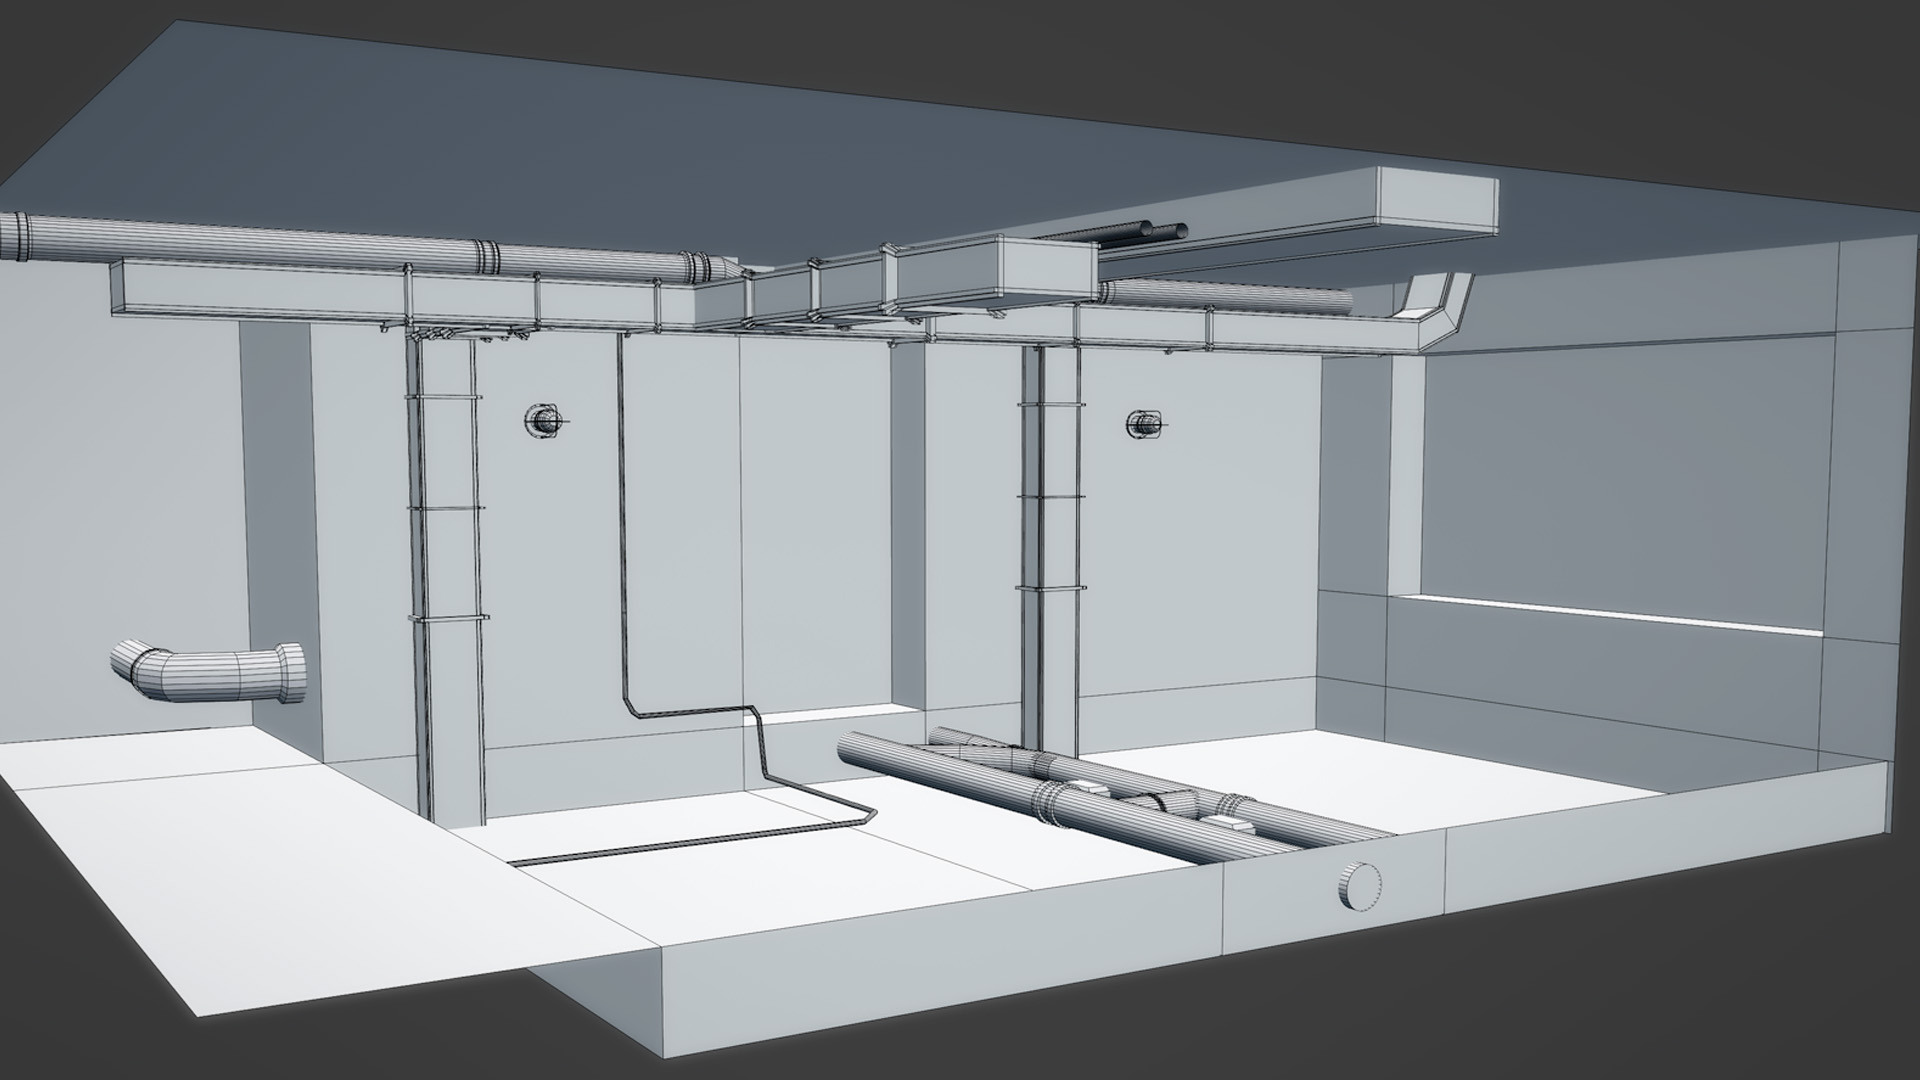
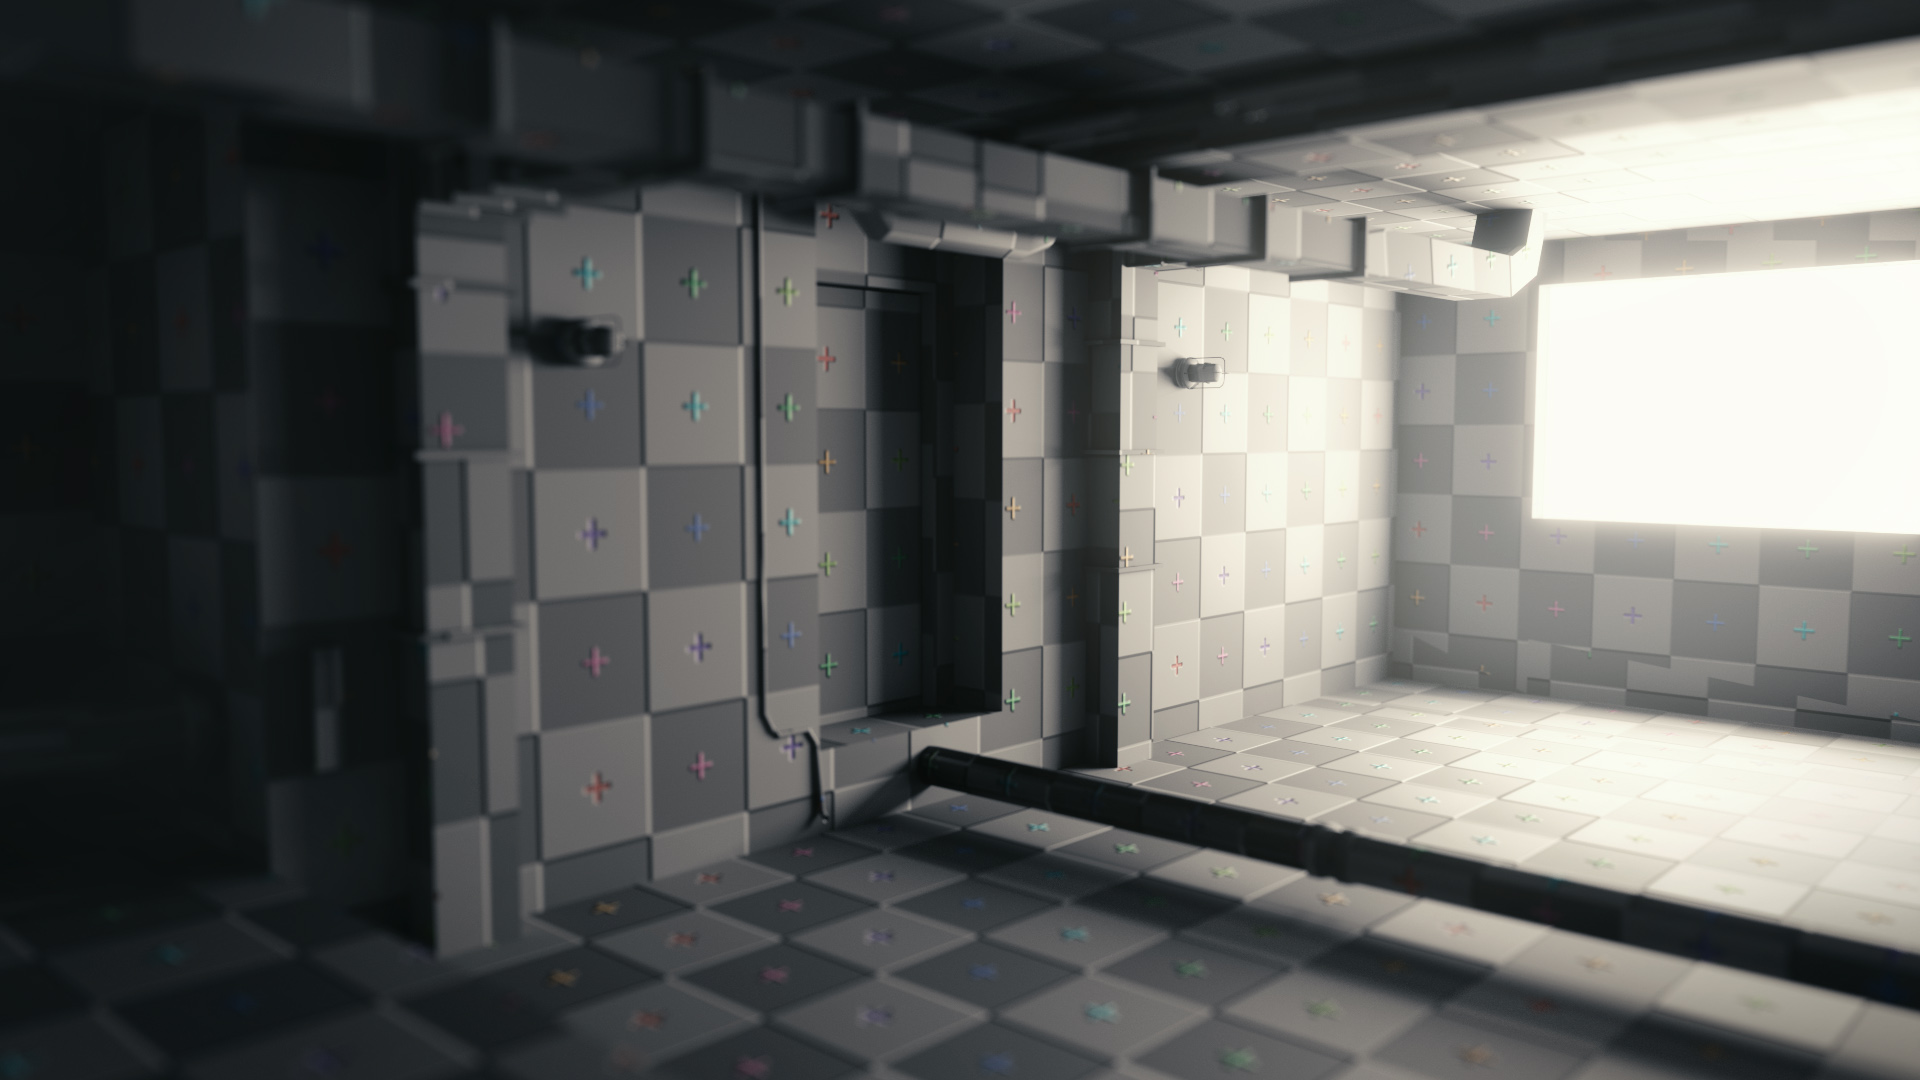
1. Block out the Model & Optimize it
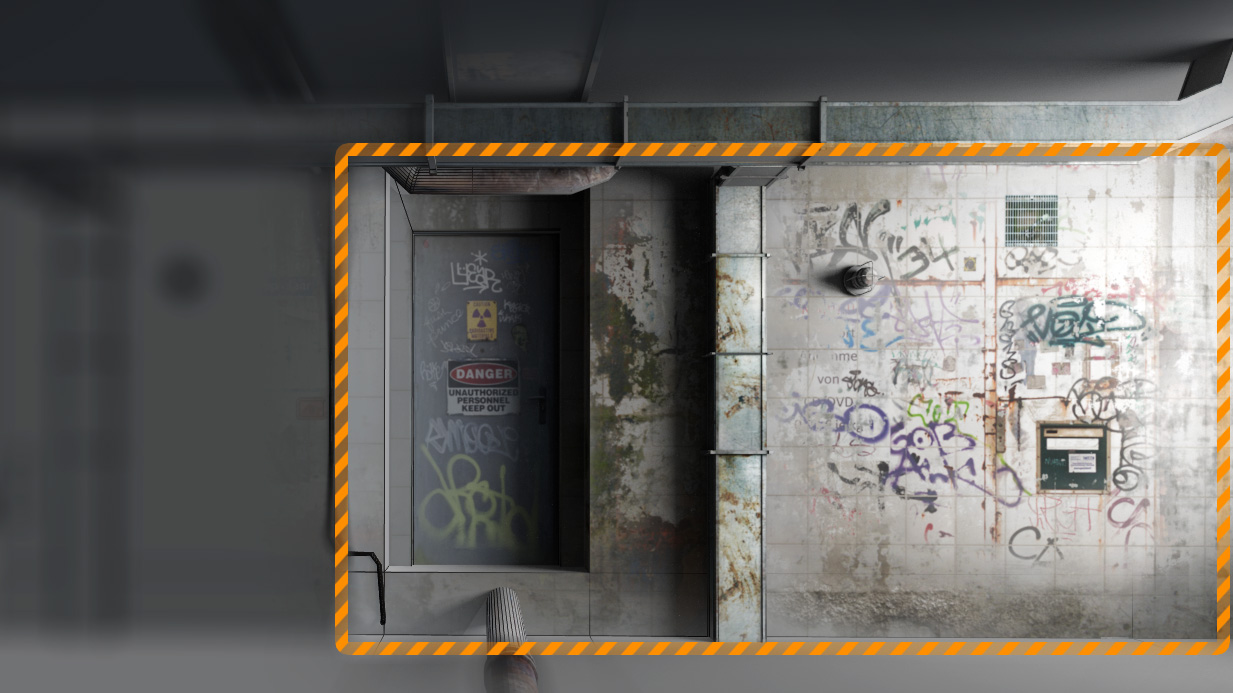
3. Paint and Project the Texture
4. Clone Details from 2-nd UV Map
6. Enjoy the result and start making games (this is optional)

Fetissa
Cool!
Gleb Alexandrov
You are welcome.
Stas Brovin
просто шикарно, спс.
Pingback: Blender | Game level texturing | Introduction 1 of 5 – Happy Game Pipeline