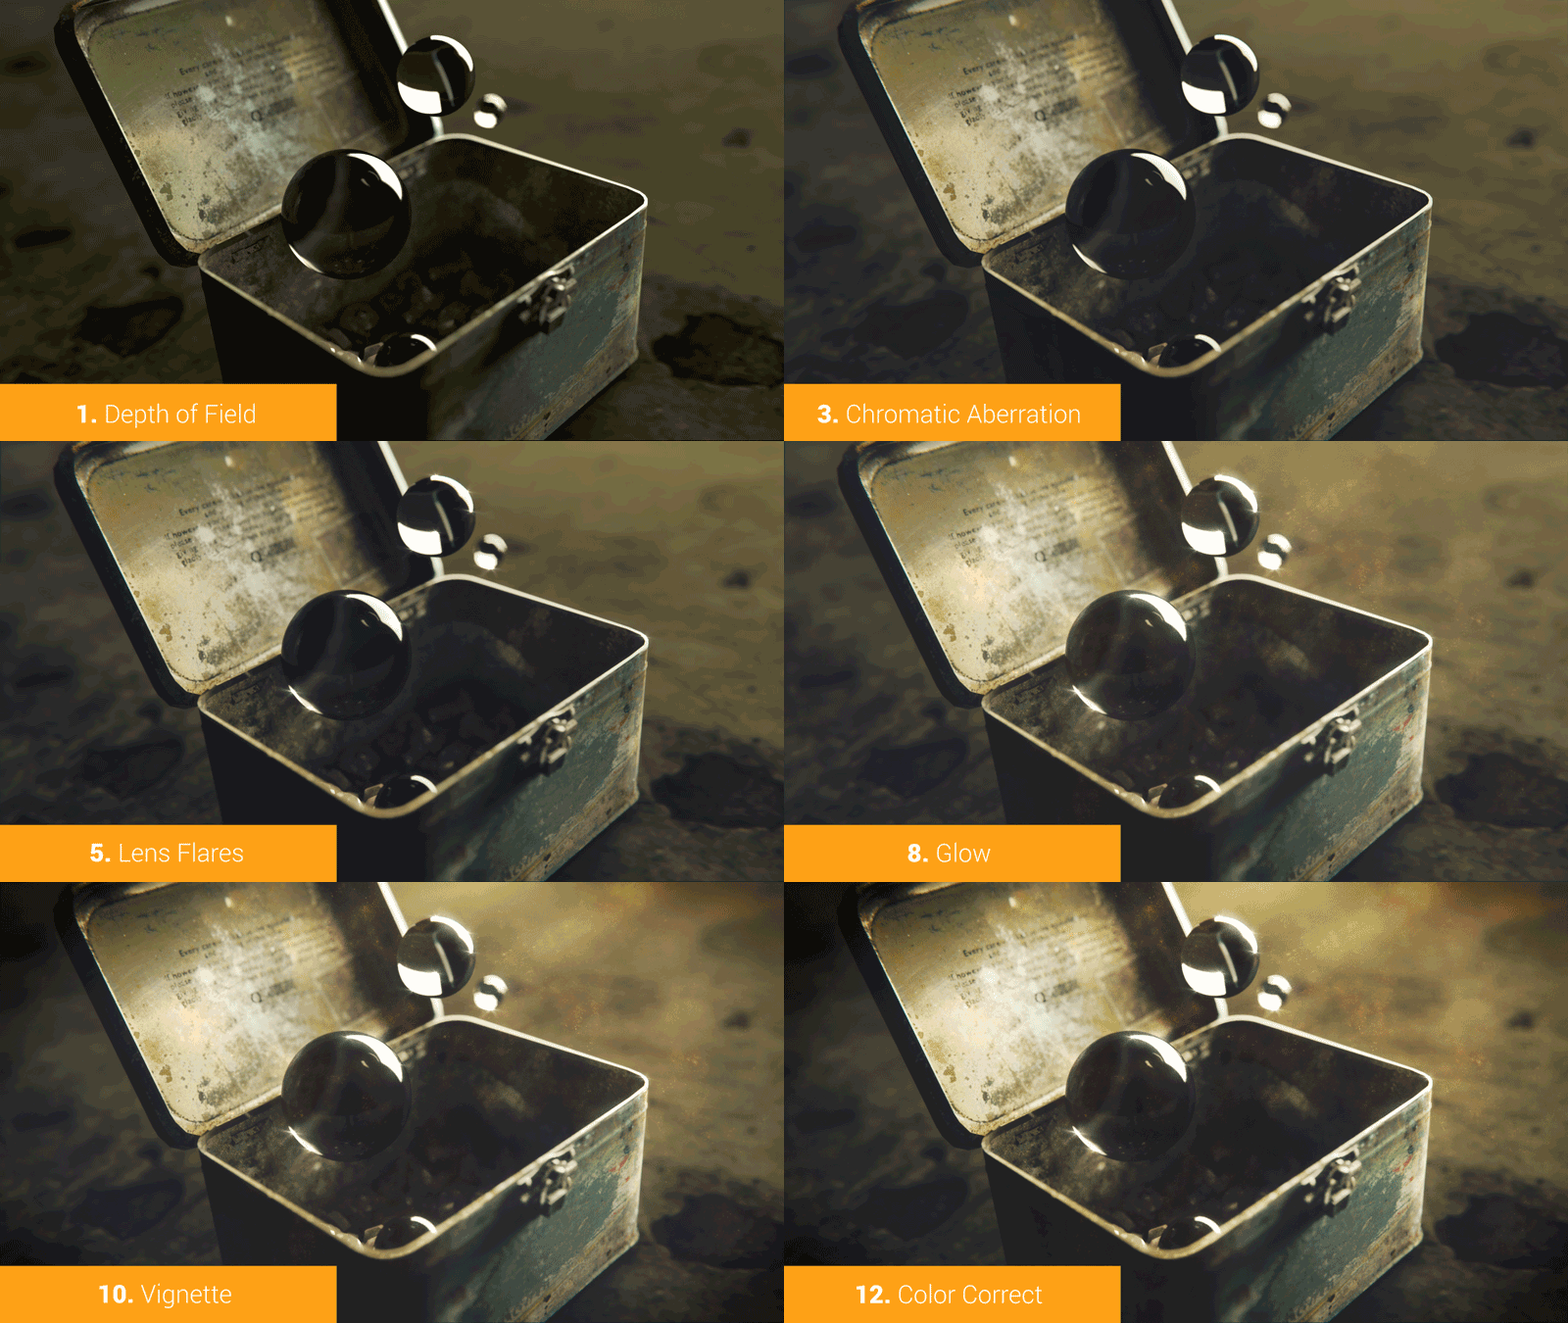
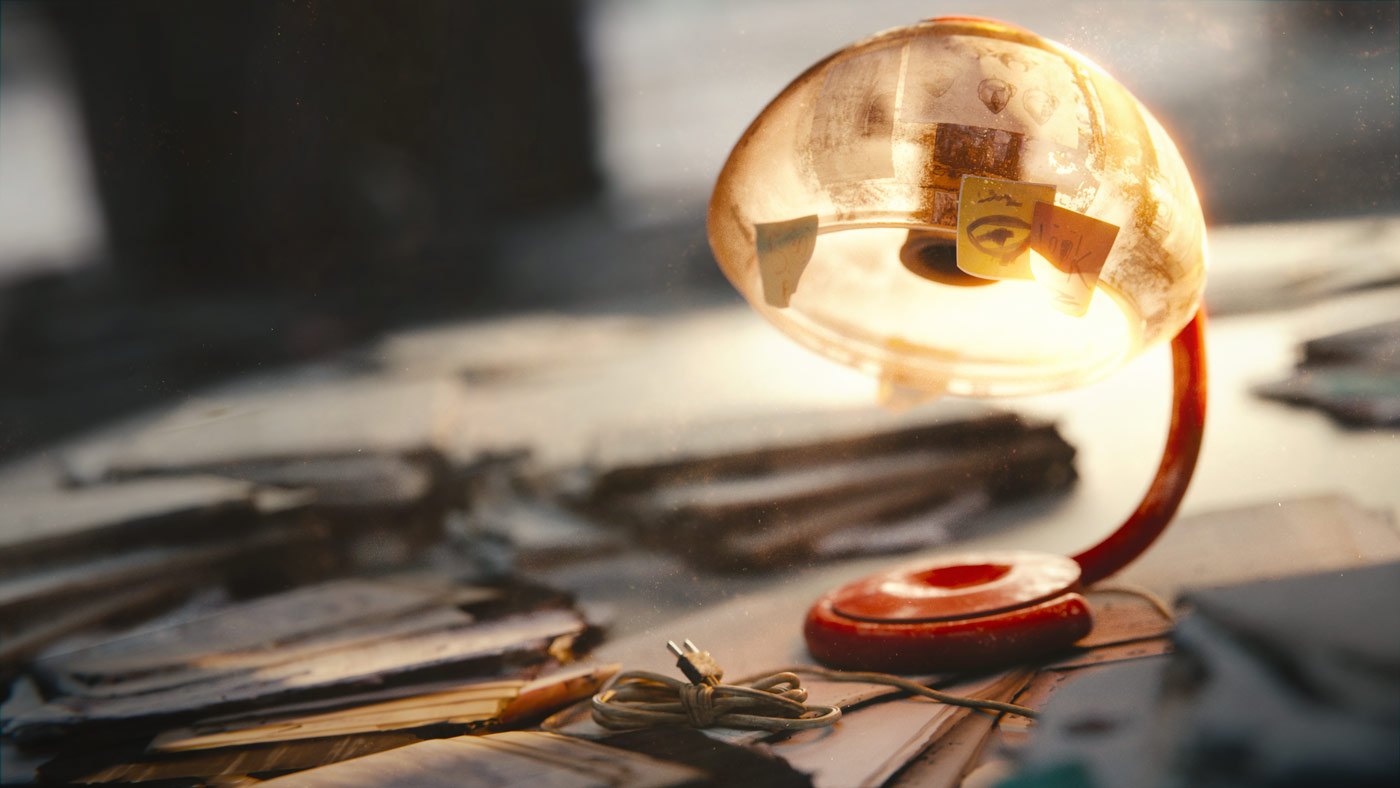
Discover a super easy post-processing workflow in Blender and Krita. You’ll need just 12 minutes of free time to watch this tutorial for dummies.

What I’ll Learn in This Tutorial?
• How to abuse the color management in Blender
• A few tricks to boost the OOMPH of the lighting
• Why dust is crucial for realistic renders
• Kittens!
You May Also Like
Universal Post-processing Tutorial in 12 Simple Steps (Using Blender and Photoshop)

Realistic Lighting in Blender: 11 Hacks You’ve Probably Never Tried

Over to You
Hey shrimps! If you like the techniques described in this tutorial, share your juicy post-processed renders in the comments. I’m looking forward to what you can do.
Thnx!


Weston Jones
Fantastic 12ish minutes! I just became a better artist, my thanks you to!
Gleb Alexandrov
Weston, I’m so happy to know that you got an experience boost, hopefully 🙂 That’s terrific!
Vasile2k
You’re awesome, dude!
Gleb Alexandrov
Thnx a ton!
Walid
I growing so faster by your tutorials ! http://www.artstation.com/artist/Imspecialwinner
PLEASE Check it !!! (FIXED)
Gleb Alexandrov
Walid, the artstation link leads to 404. Can you edit it plz, and I’ll check it out? 🙂
Walid
Thanks Friend it’s fixed love you !
Walid
Fixed My master
Louis vdberg
Gleb you did it again… i love the part where you blur it been using that technique for a really long time and it works super cool 😀
Louis vdberg
https://www.artstation.com/artwork/PgJ3n >>> my excercise
Gleb Alexandrov
Oh wow!! Jouis, that is beautiful. I wanna see more of this. Subscribed to your Artstation portfolio.
Louis vdberg
OMS Thank you Gleb i feel very Honoured 😀
Michel Rochette
Nice. I think I will steal some parts and make something else with.
Jugaad Animation
I feel like I learned something in 12 minutes that takes artists years to understand. Thanks.
Gleb Alexandrov
That’s a bit of an overstatement, but anyway thank you for your kind words!
Jugaad Animation
For a dummy like me, it would have taken years. 🙂
Michel Rochette
Inspiring tut Gleb. Will apply your graphic recipe soon I hope, and thanks for the share.
Rory Winterbourne
Great tutorial 🙂
My attempt, before and after.
Gleb Alexandrov
Rory, that’s what I’m talking about! I bet you’d agree with me, that these post-pro changes make it look much better. Even if the changes are subtle 🙂
p.s. I would increase the overall brightness just a touch further, to make sure it looks awesome even on the bad displays.
Rory Winterbourne
That does look better, cheers 🙂
Gergely Roboz
Hi Gleb, Thanks for the awesome tutorial. Here is the render I’ve done based on it:
Gleb Alexandrov
Gergely, I like it! Thnx for sharing 🙂
Kasia Grochowska
Hi Gleb! Thank you for the great tutorial. It helped me a lot. I made this thanks to your tutorial: http://fabrykaimaginacji.deviantart.com/art/Watch-637195490 .
Kamil Pietrzak
https://uploads.disquscdn.com/images/76573ff7dd7fd316e1d77925a98c399a35453e61eeb283d971b48fd95ed50f67.png
https://www.behance.net/gallery/43636511/Vintage-Vibe
Great textures and video!
Thanks!
Kelthor
Thanks for this Gleb! I hadn’t delved into color-management much before, but doing so really helped me bring out the vibrancy in my image. https://cdnb.artstation.com/p/assets/images/images/005/910/001/large/tim-senzee-the-net-3.jpg?1494609301
Jean-Christophe Sekinger
Gleb, I’m 53 years old, french, painter and I learned Blender for a month — thanks to you (and Andrew Price — very different style !) and Blender ! — Many many thanks to you !!
https://uploads.disquscdn.com/images/844b944a232e32861950ac10b84a5cd56dbf843313a07f36b08f4dfe3bd99f32.png
Marco Baumann
https://uploads.disquscdn.com/images/70f4af84c3ab36850ddf44bacb48285cf8a883deec31658e9c29dc2705442964.jpg
Absolutely amazing – thank you Gleb
I tried it out: