Here is my complete rendering workflow in Blender, jammed into a 30-minutes video. I’ll reverse engineer the animation that I made for MasterXeon and walk you through all creative choices and Blender tools.
Blender Tutorial Steps:
0 – 0:00 – Introduction
1 – 1:25 – Object info
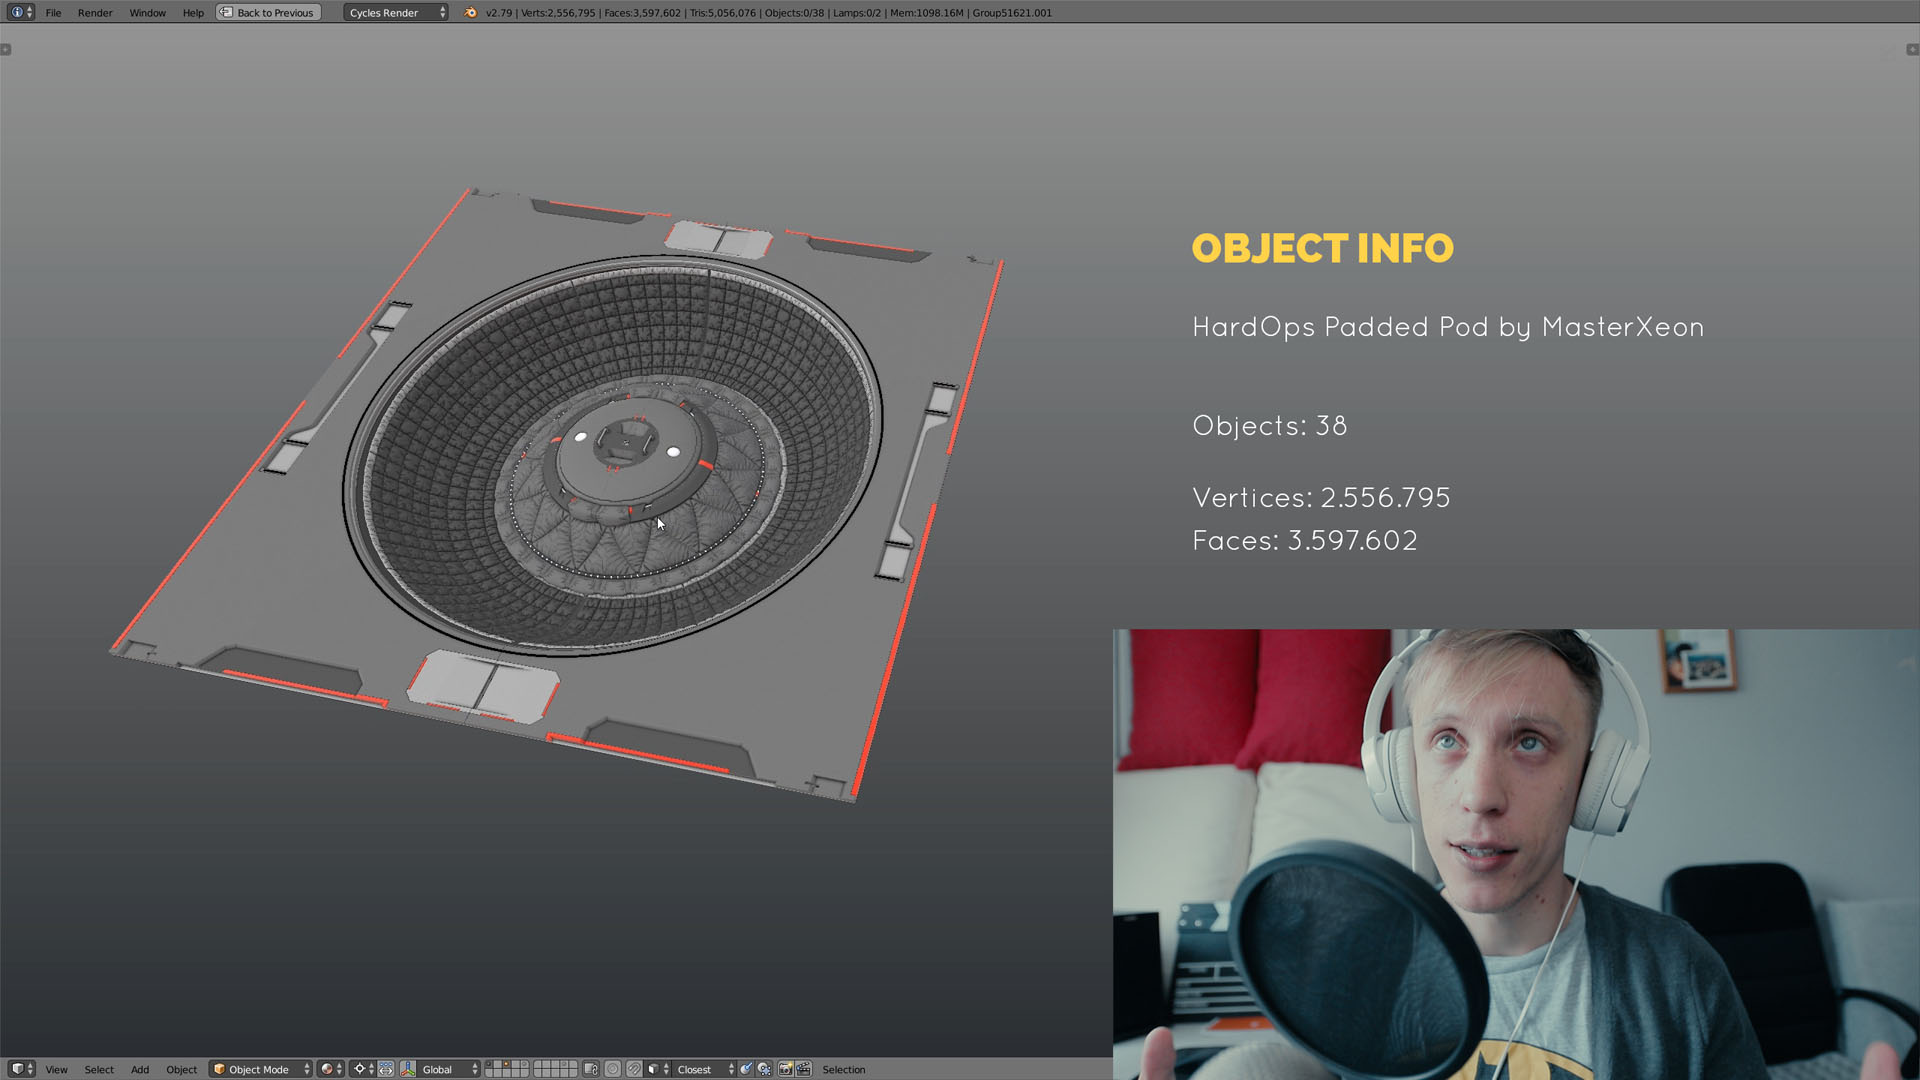
2 – 1:48 – Optimize the geometry
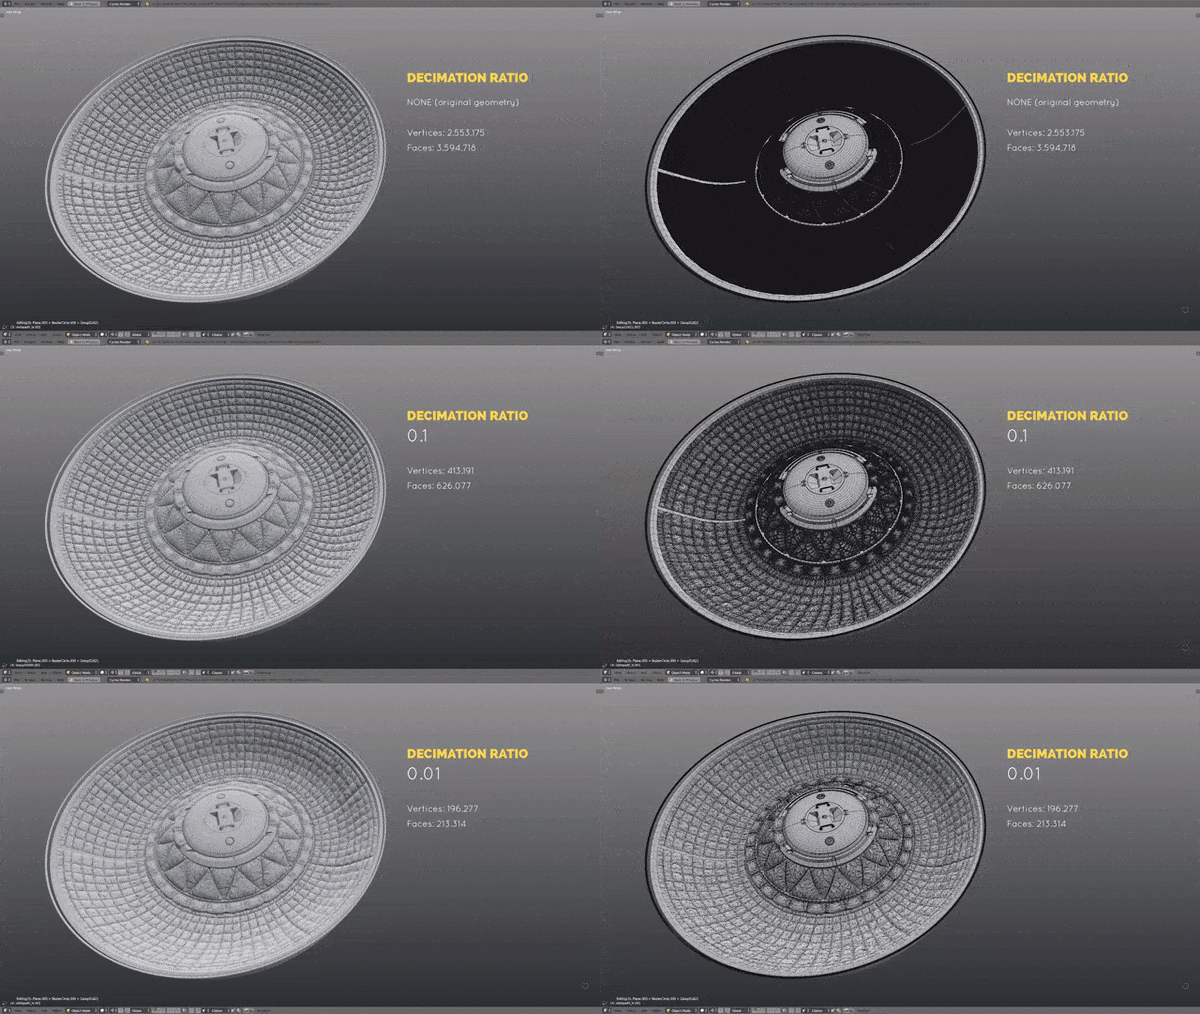
3 – 3:59 – Working with layers
4 – 4:50 – Set up a basic lighting
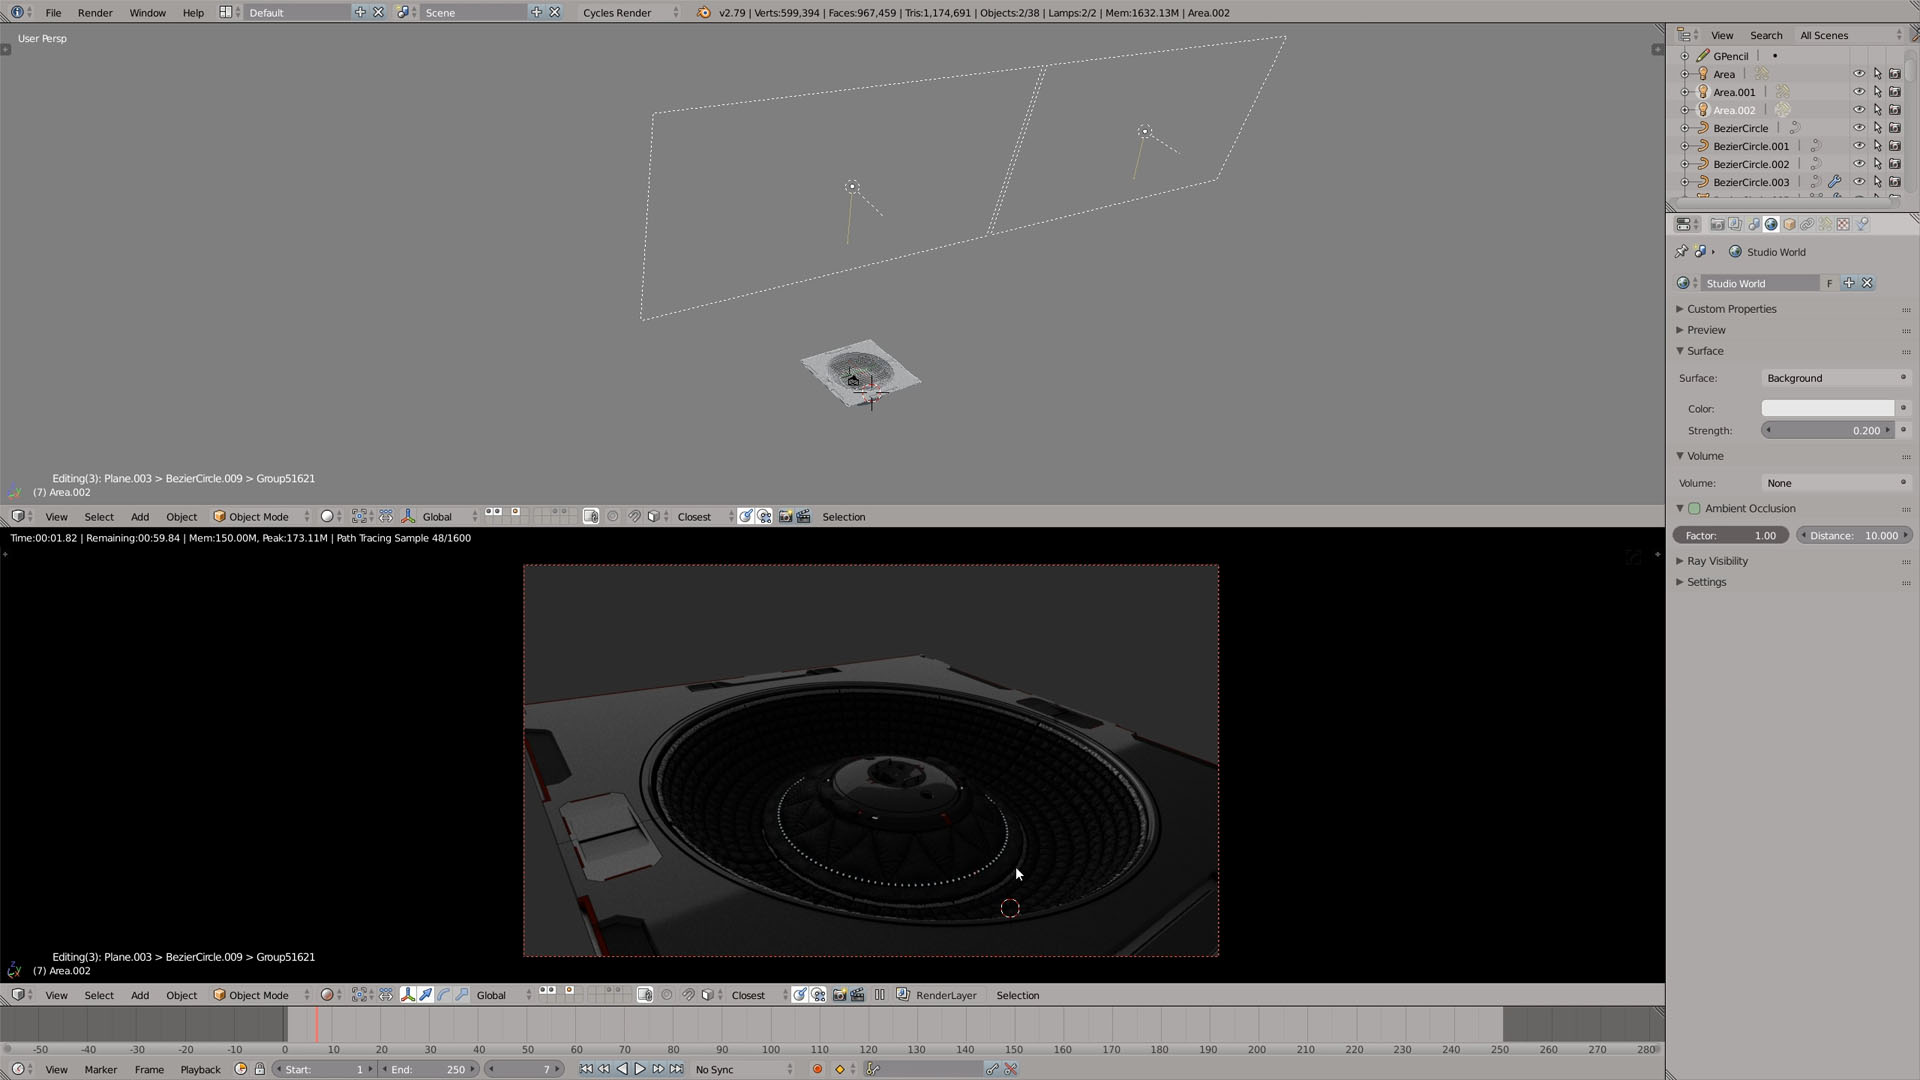
5 – 5:56 – Simplify the shaders
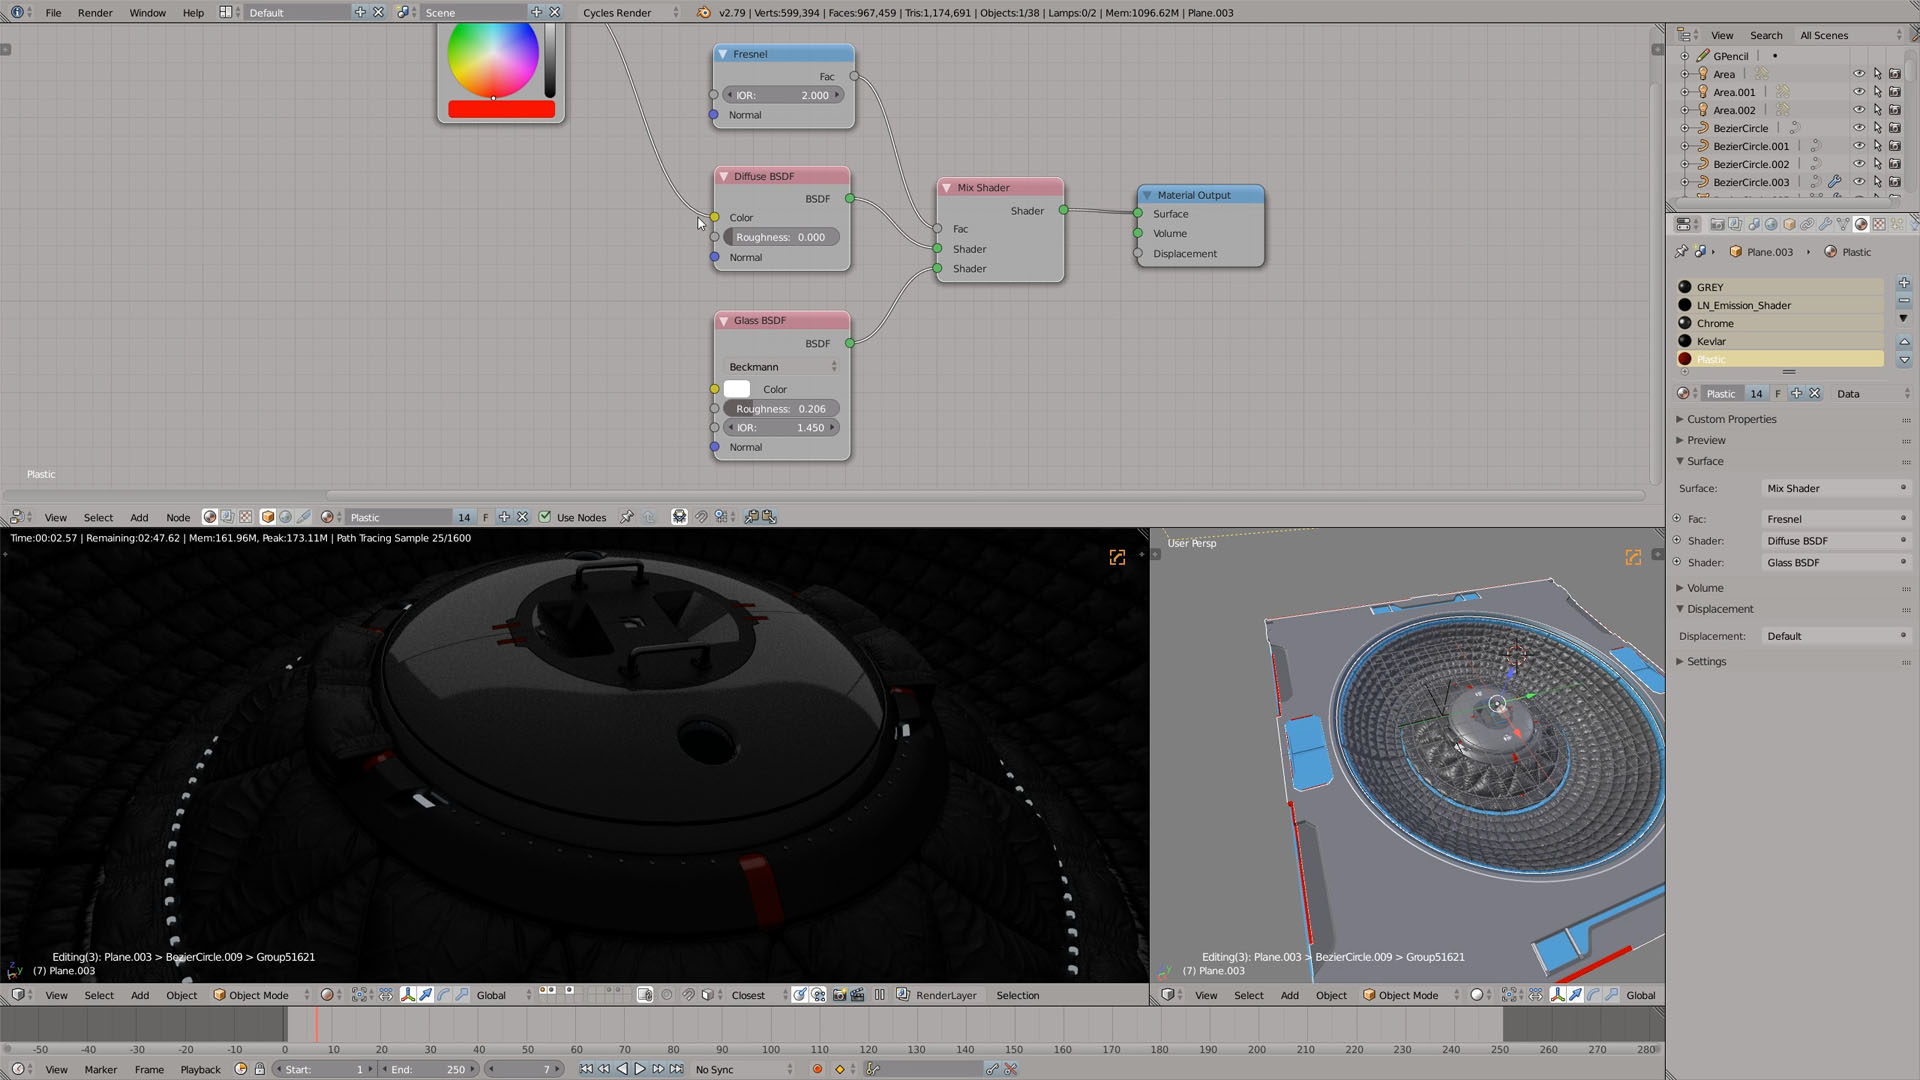
6 – 7:42 – Group Instances
7 – 9:06 – Group Pro add-on
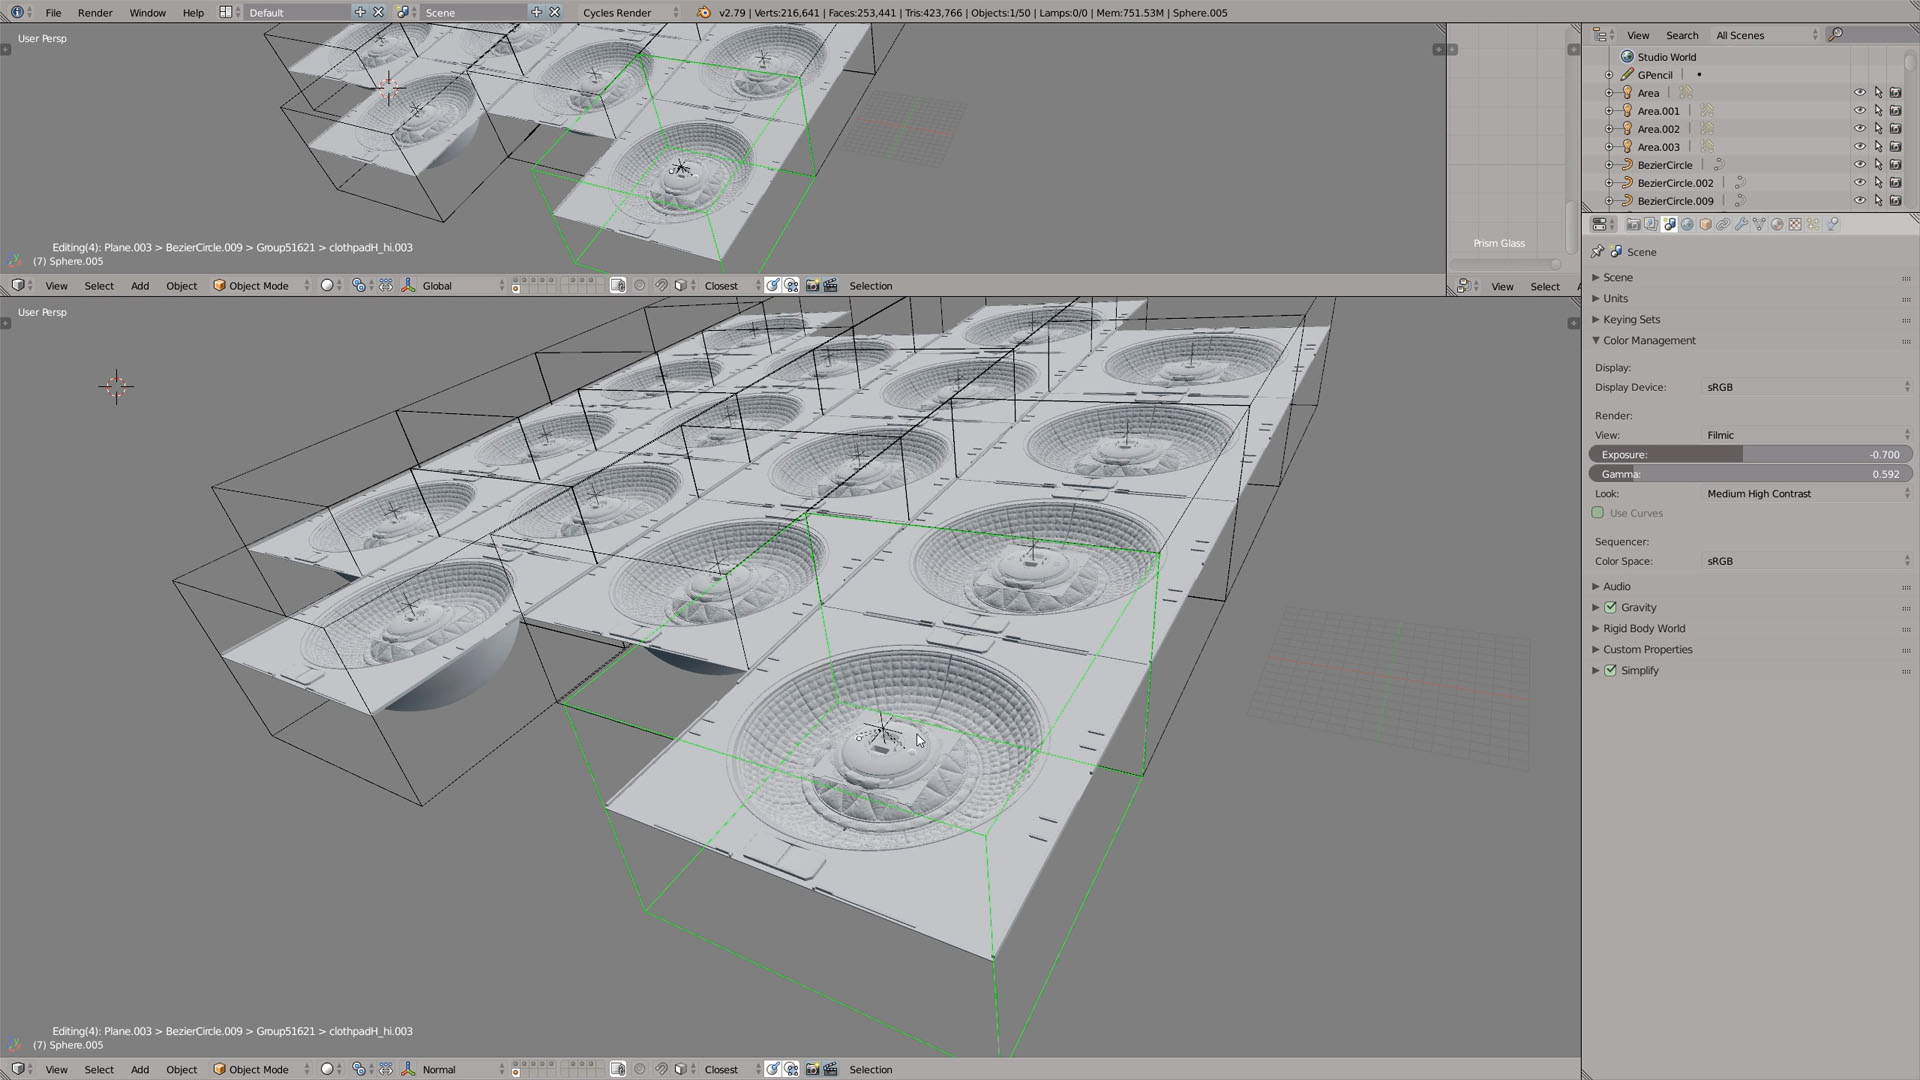
8 – 10:08 – Navigate like a pro
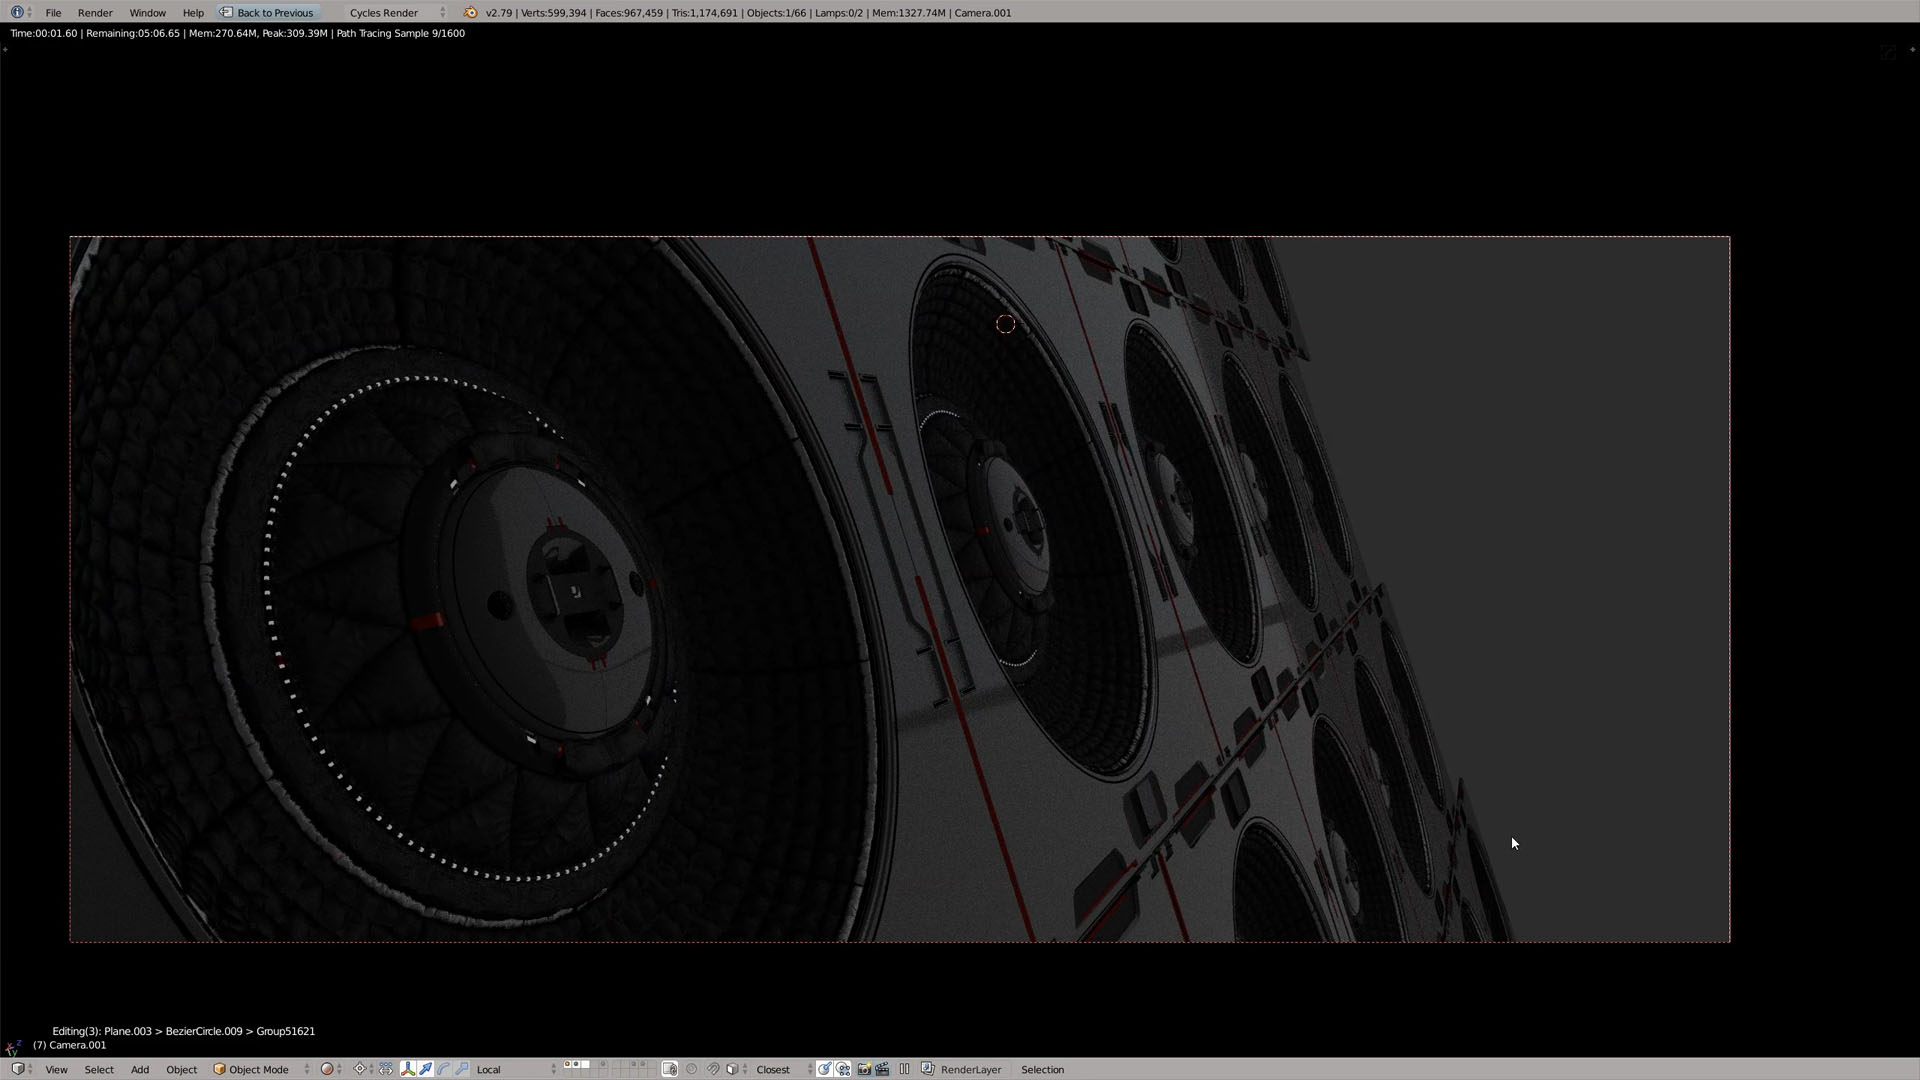
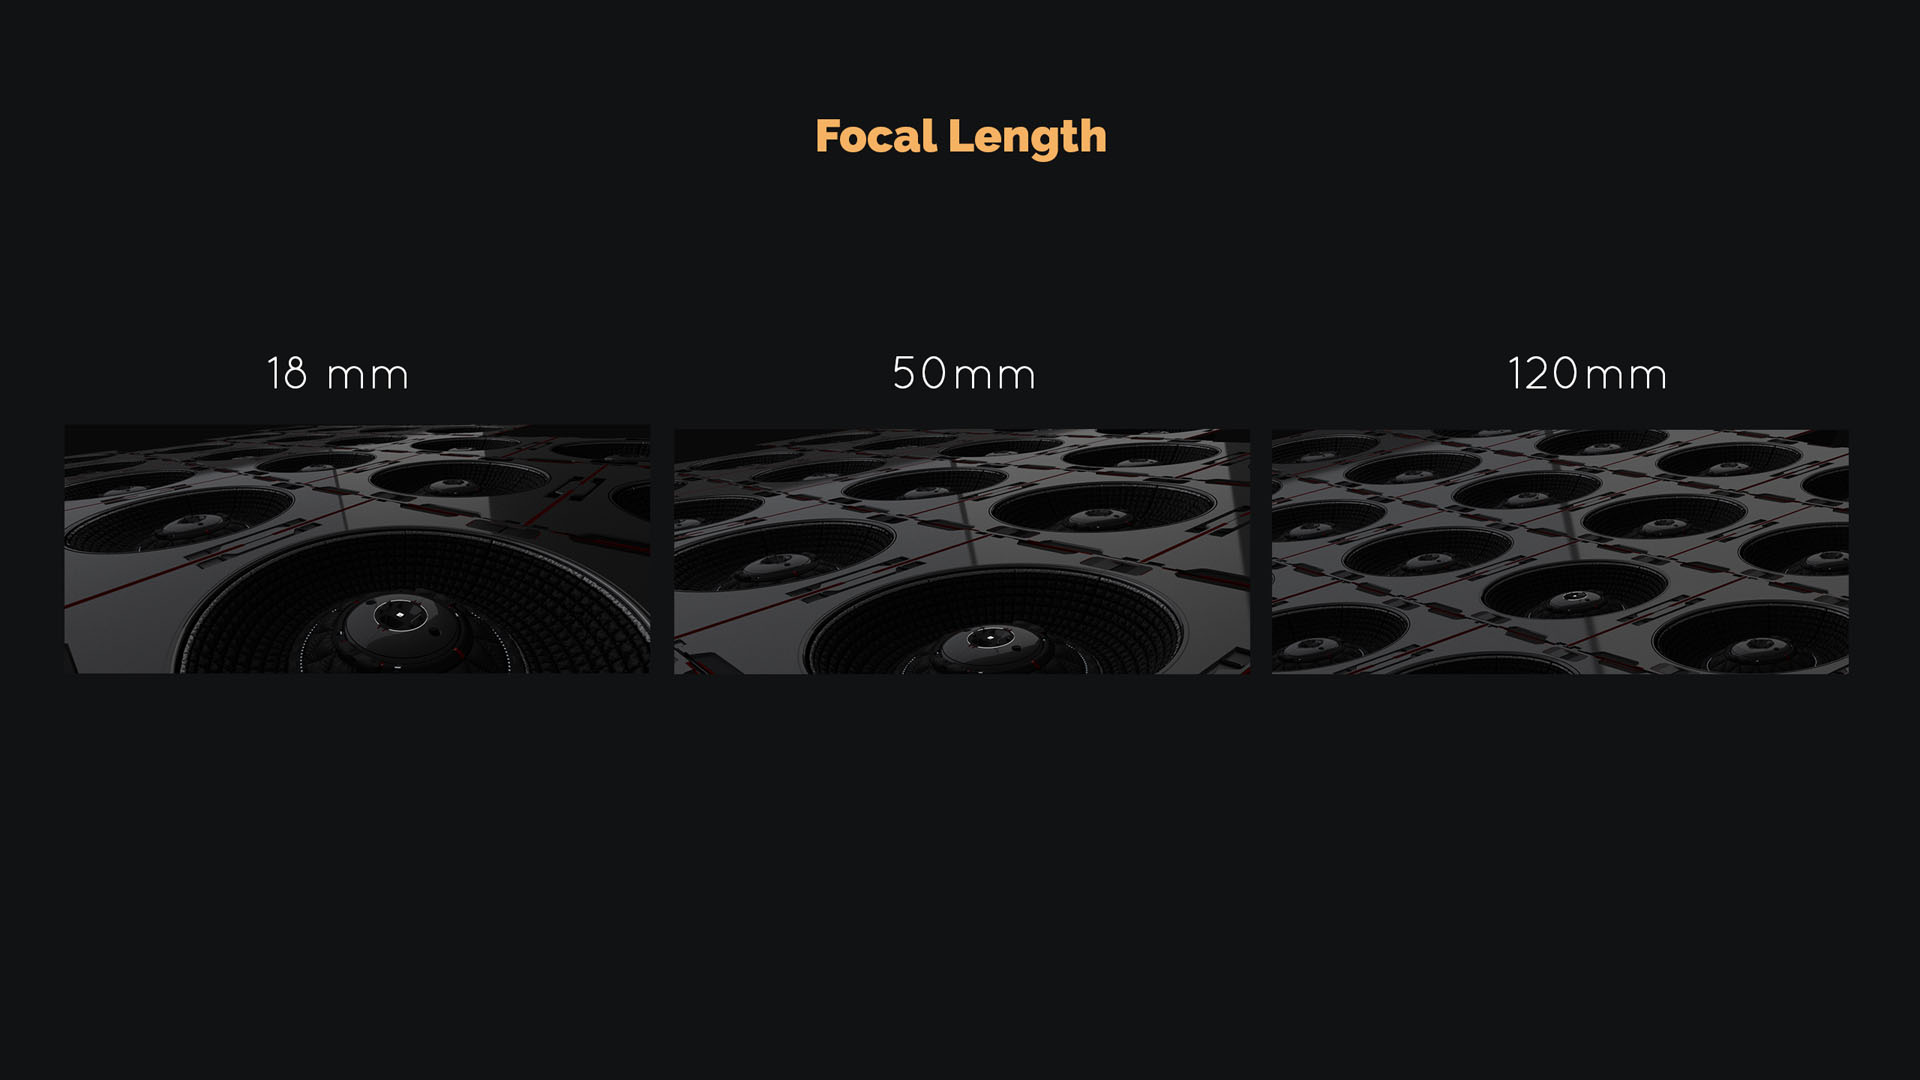
9 – 10:54 – Camera focal length and type
10 – 13:22 – Set up mixed lighting
11 – 15:43 – Filmic color management
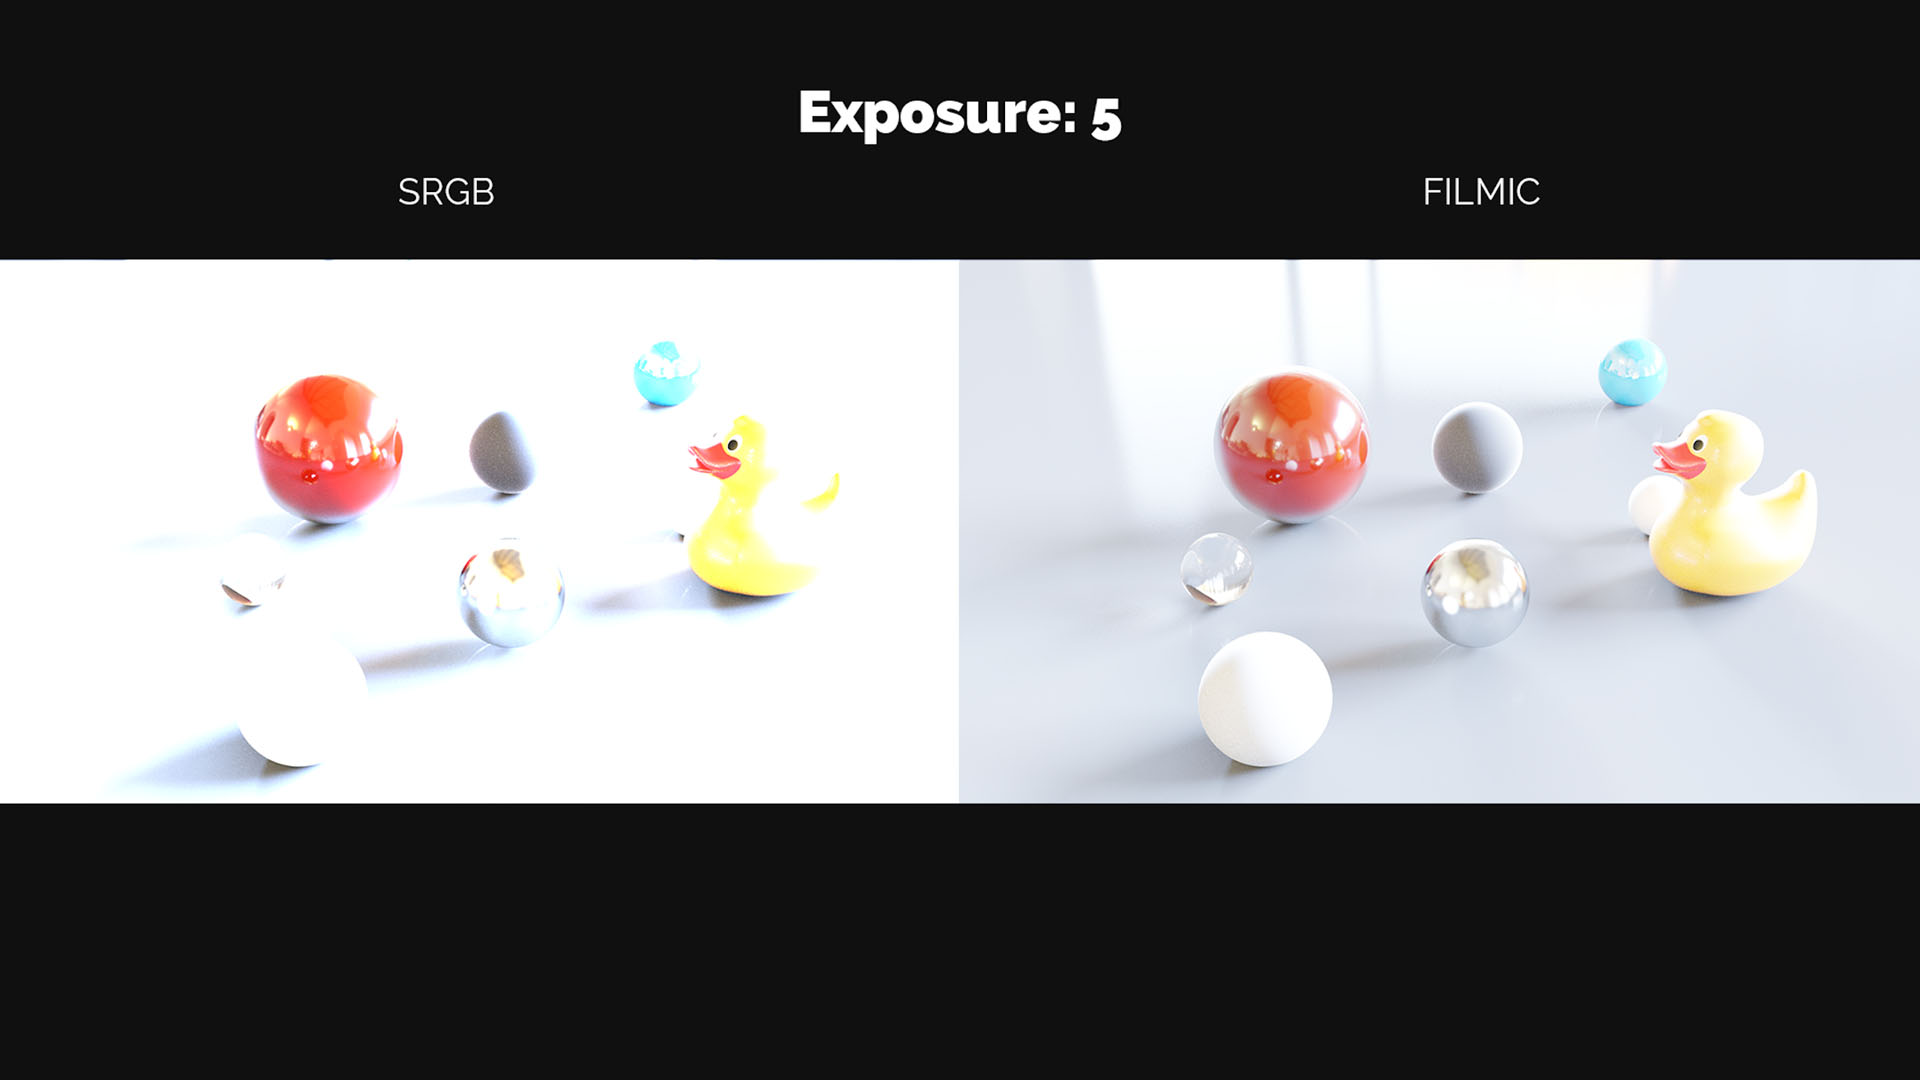
12 – 17:31 – Render settings and denoising
13 – 19:52 – Post-pro in Krita
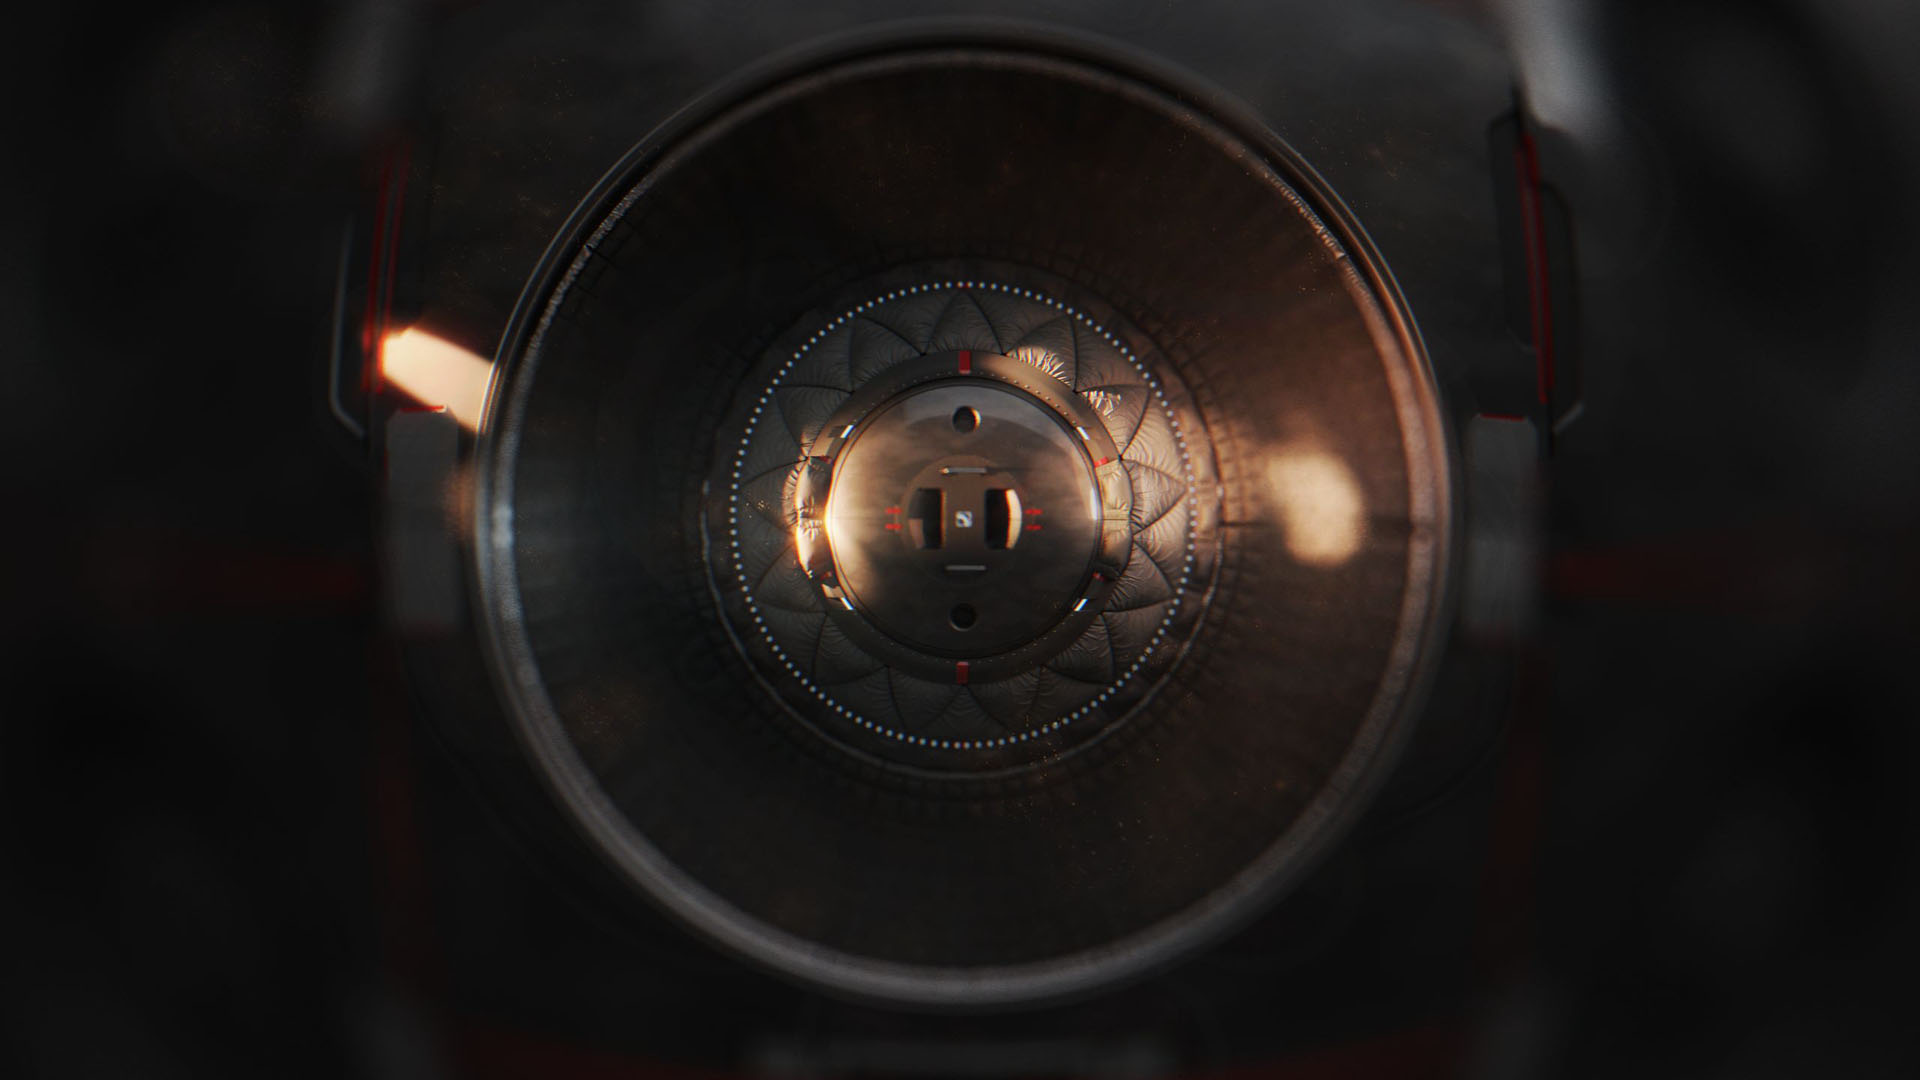
14 – 21:52 – Post-pro in Gimp
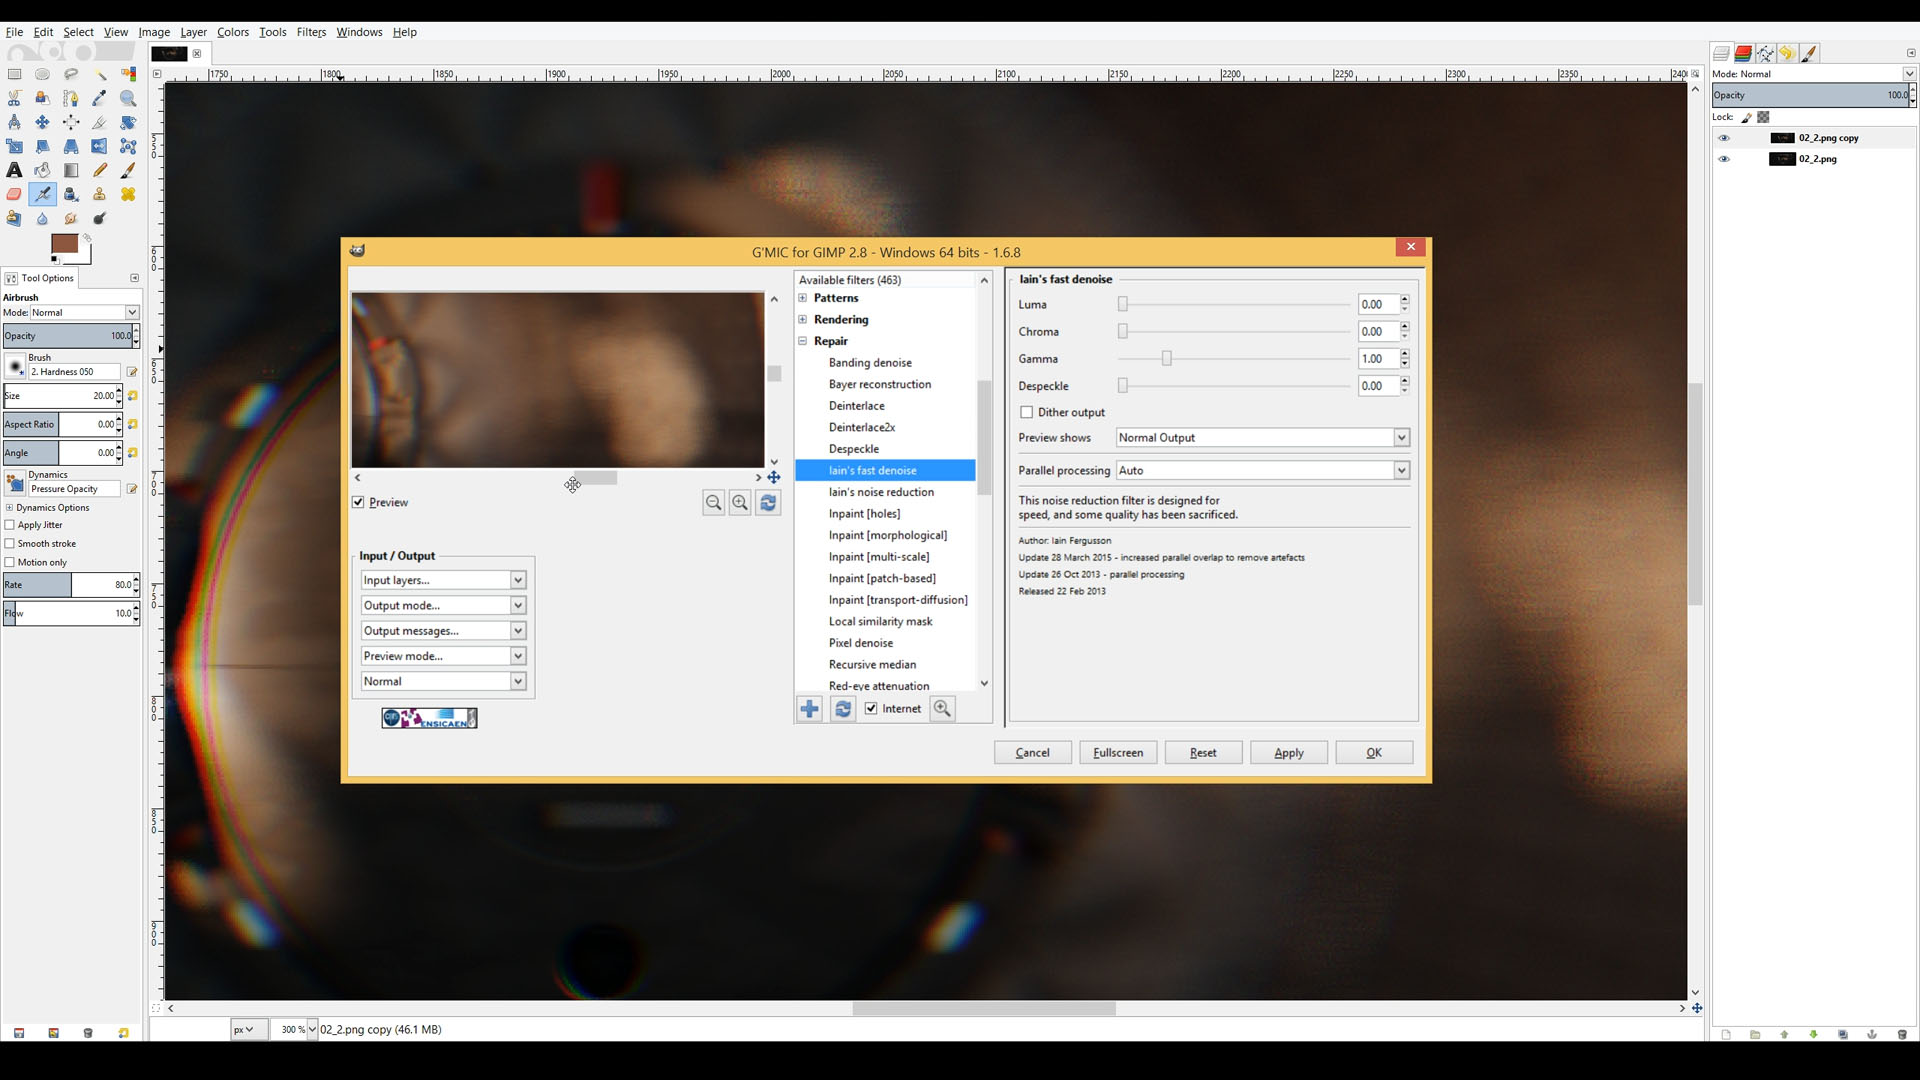
15 – 22:56 – Animate a handheld camera
15 – 25:54 – Render it out efficiently

Rock On!
Thanks to Jerry Perkins for this amazing idea, I think that the result was well worth the effort! Check Jerry’s hard surface experiments and his game-changing HardOps add-on for Blender.


Gleb Alexandrov
Also make sure to watch this new tutorial by MasterXeon: https://www.youtube.com/watch?v=OXs6NDhn3Aw
Tiago Deliberali Santos
Amazing work and tutorial! Really loved it!
Gleb Alexandrov
Awesome) thanks Tiago.
Paweł
Another good tutorial. What I like about this one is: 1. Breakdown of the lighting setup, 2. Interesting techniques for camera movement, 3. Tips on how to stay lean and not waste time on long rendering process during animation production. The final result is very impressive, especially that the scene consist of just one multiplied asset 🙂
About the add-on Hard-ops: it’s available in the price of a pizza, it’s constantly updated – definitely worth checking out!