(The waves whisper Alisssss, Alissssss… Who the f#ck is Alice?)
When it comes to defining high dynamic range imaging, Christian Block said it best.
“High dynamic range imaging is a method to digitally capture, store, and edit the full luminosity range of a scene. “
Some don’t like the Velvet Elvis over-the-top look of the tone mapped HDR images.
Some don’t like the photos failing to capture the full luminosity range. Old-school junk, they say.
But everybody agrees on one thing. Tone mapping is your very important creative choice, when it comes to high dynamic range rendering.
Continue reading…
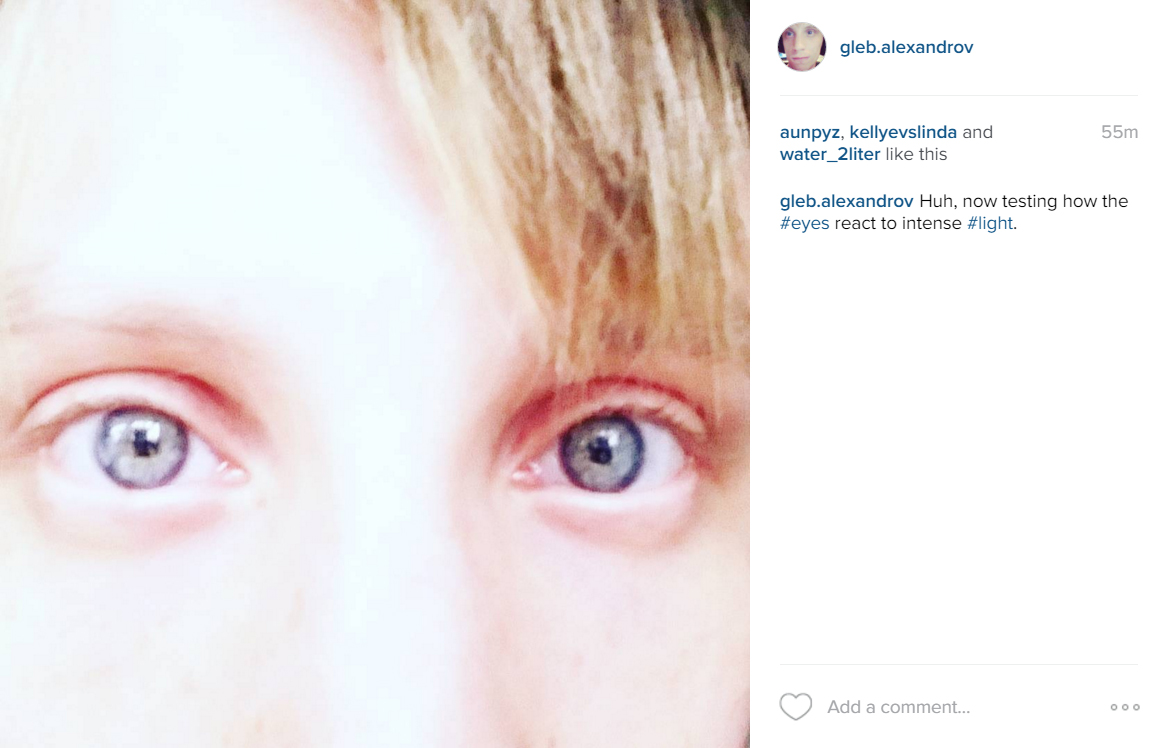
“With tone mapping you can simulate the local adaptation mechanism that our eye is capable of.” — Christian Bloch [2]
Indeed, by tone mapping the image you decide what will be visible. You decide what to burn and dodge. You decide how the heck you’re going to display it on the monitor. And whether or not you like the clown-puke looking stuff.
Obviously, Cycles (Blender ray-tracing engine) renders everything in glorious HDR.
And you have 4 tone mapping tools to change the look of that HDRI and to fit it into the display color space.
What are these tools?
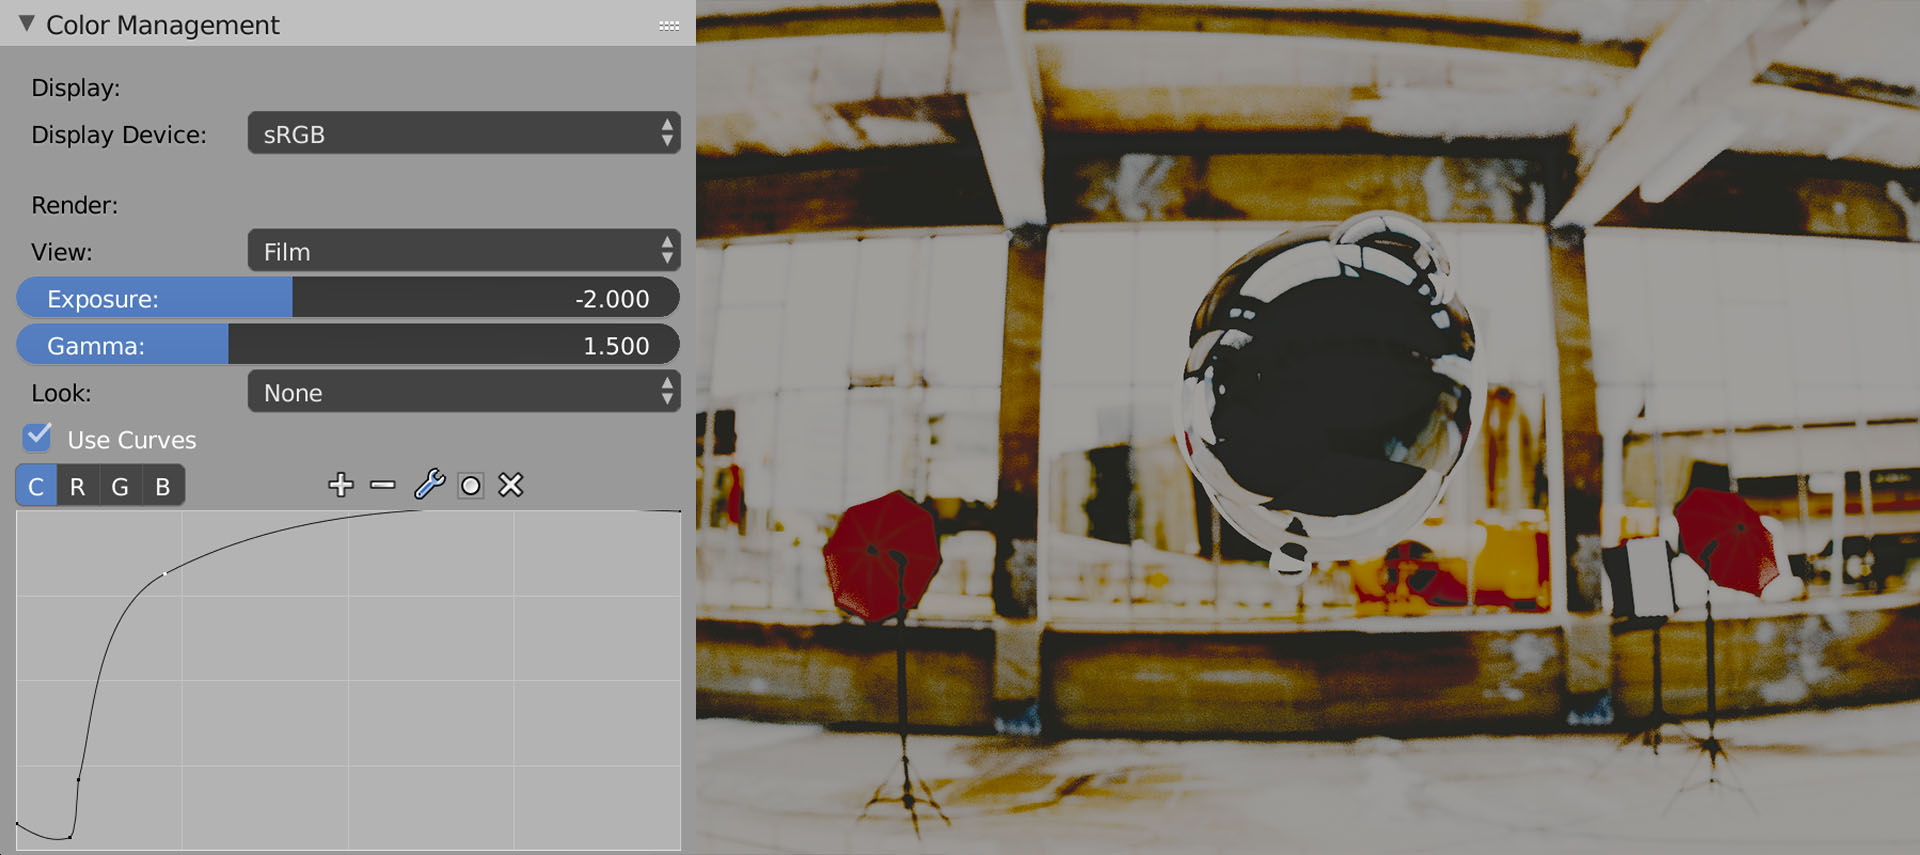
Find all of them (besides the Tonemap filter) in the Color Management tab.
1. RGB Curves
2. Gamma and Exposure
4. Tonemap filter in Compositor

What is crucial, by tone mapping the render you decide who is the virtual spectator and what she sees.
(The waves whispering Alisssss, Alissssss…)
Let’s call her Alice.
Wait… what?
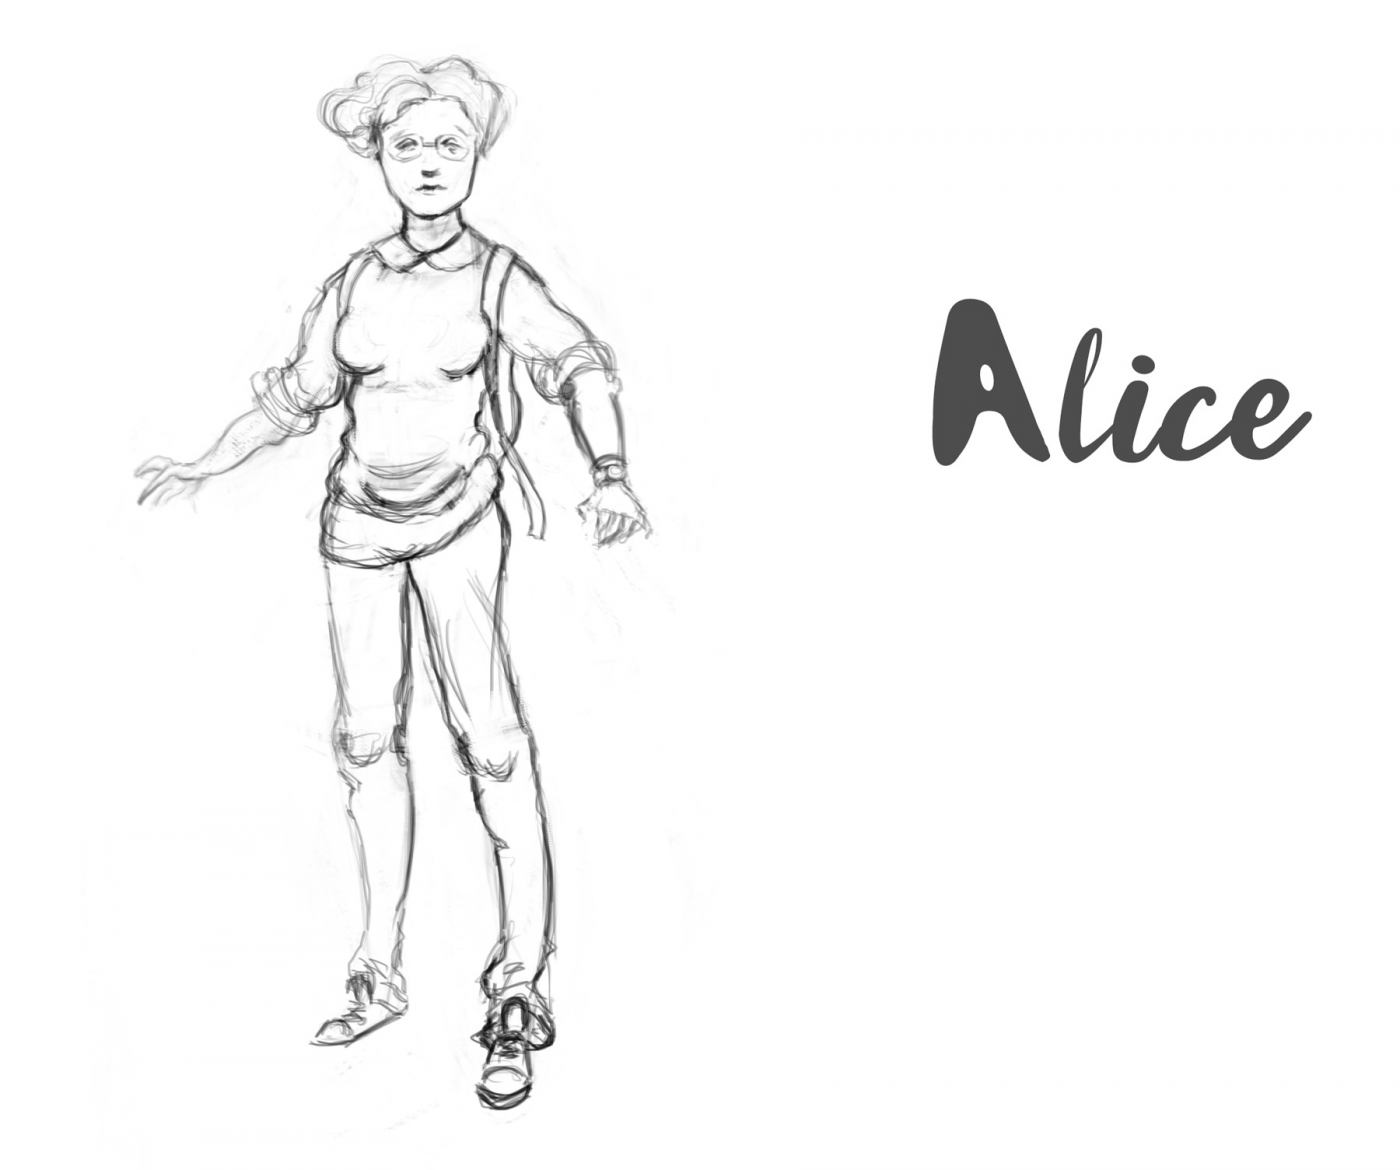
Alice and Tone Mapping
The creative process of tone mapping an extremely high dynamic range to your granny’s monitor is where all magic happens.
You use Blender or 3ds Max or anything else. But you neither touch the physical devices like cameras, nor you see the virtual scene directly with your eyes.
Computer graphics is abstraction, damn it.
The question is:
You render the virtual world through the eyes of… who?
A god? A dog? A Nikon lens? A little girl with a dry eyes syndrome?
How you deal with the tone mapping tells the story of Alice and how she experiences the world.
• Has Alice just entered the room?
• Does she see it for the first time?
• Do we see a photo made by Alice, rather than see through her eyes?
• Does Alice have a cataract or a dry eyes syndrome?
• Who the f#ck is Alice?
• Is Alice a dog?
The lighting needs an observer.
The lighting IS how observer observes it.
3 Versions of Alice
So tone mapping is a great opportunity to imagine how Alice experiences the world, and using what device.
Let’s explore three different versions of Alice.
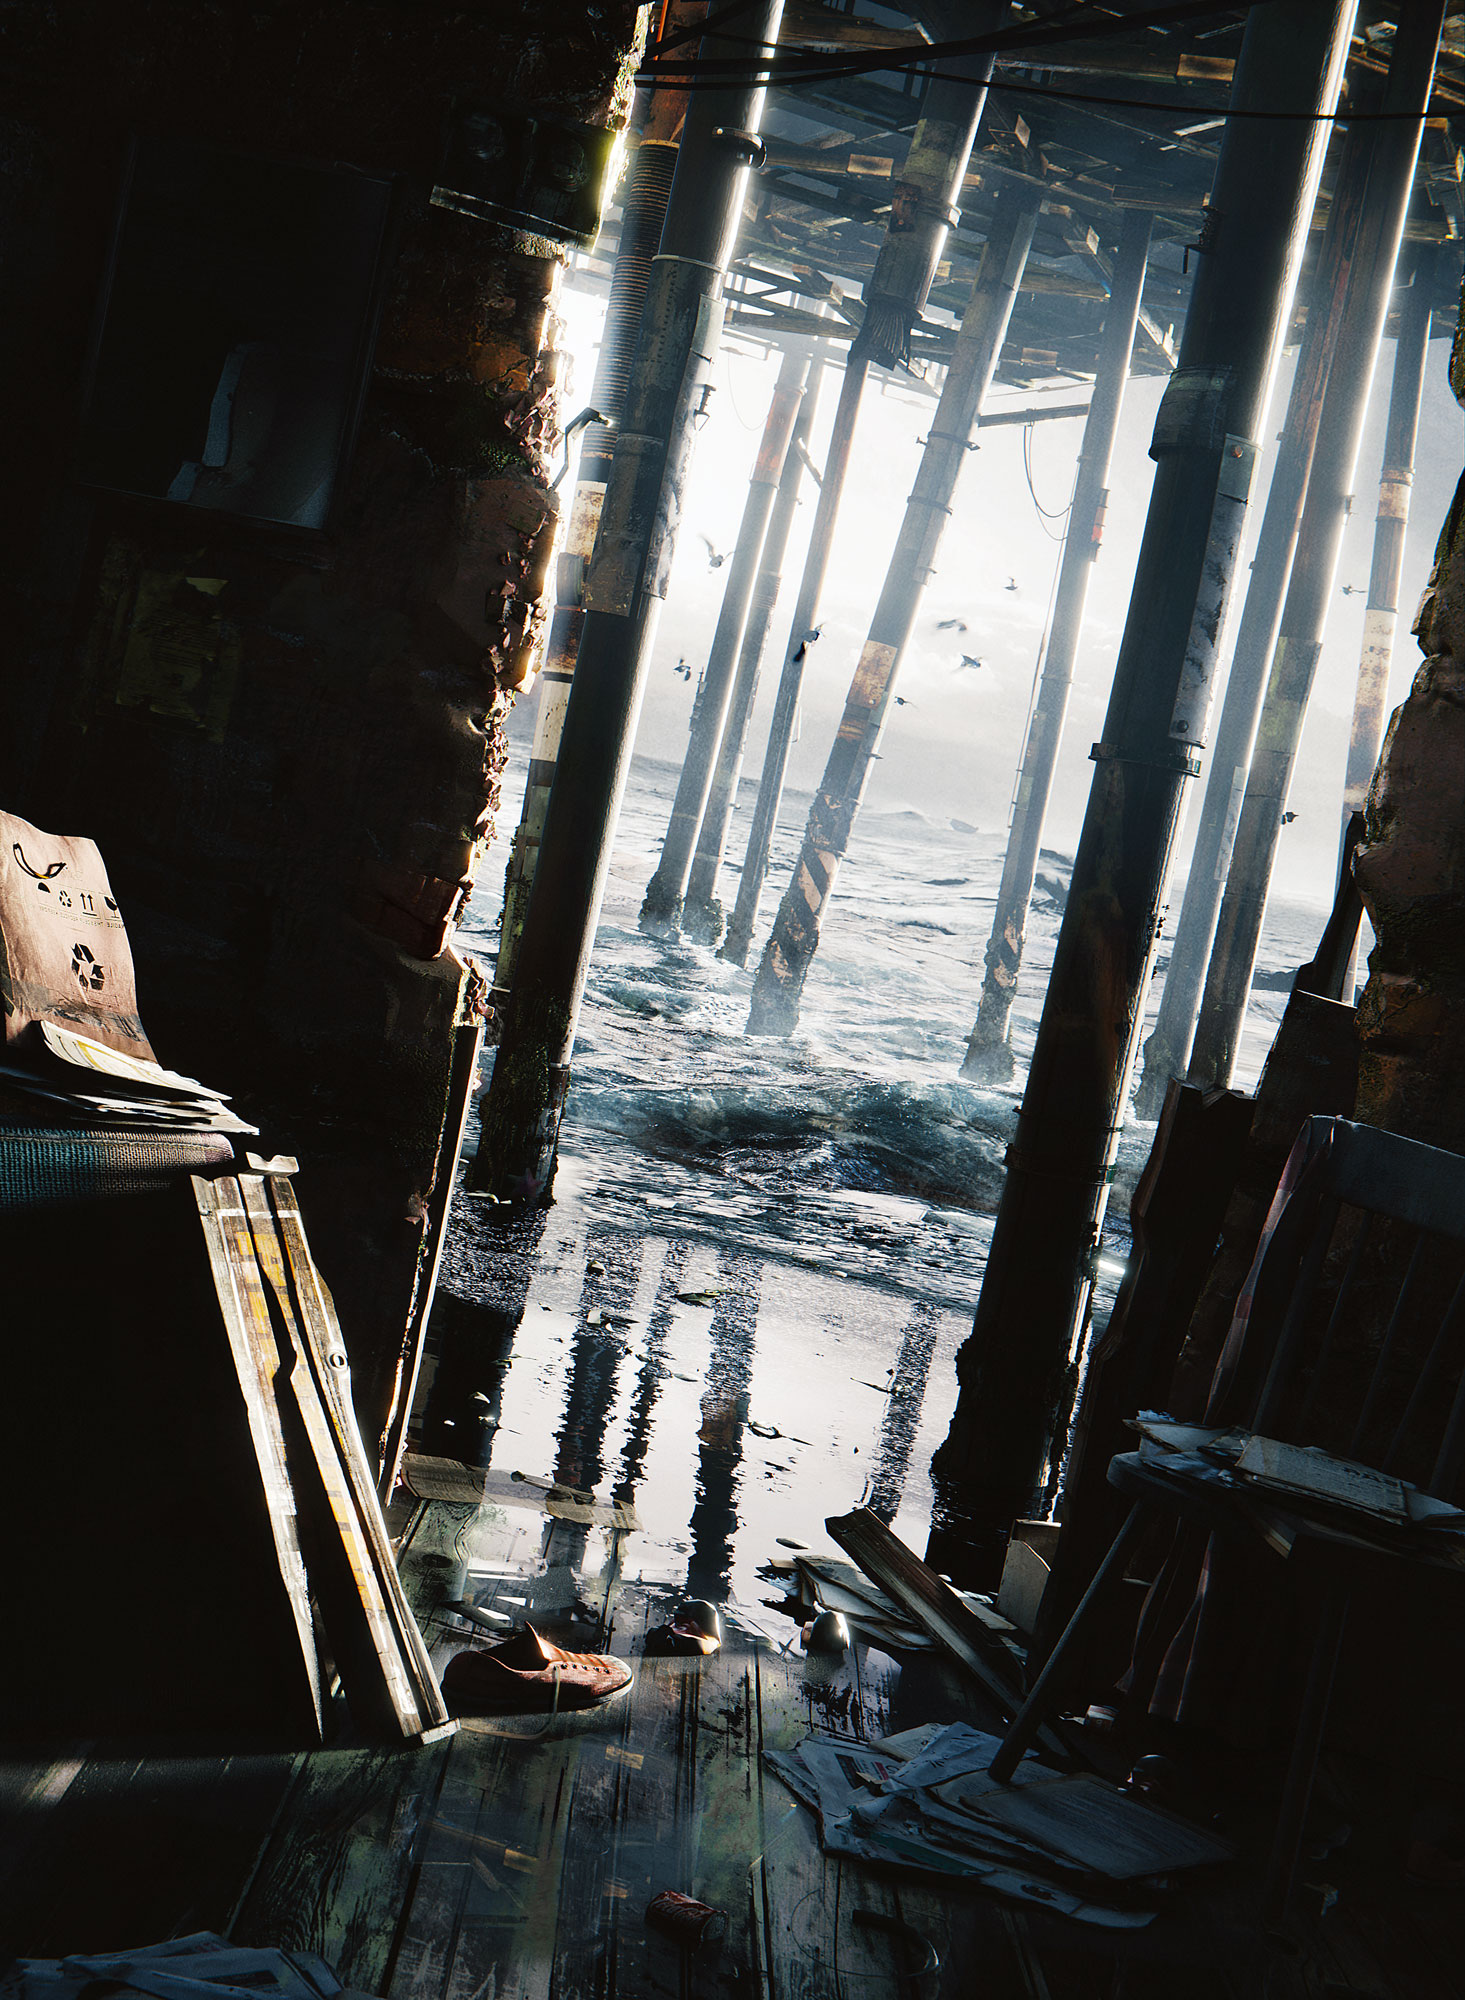
Version 1. Alice Has Just Entered this Weird Room and Sees it With Her Eyes
White shimmer of waves hitting the shore. Cries of seagulls. Such impolite brightness!
Where am I?
Oh dear Alice, should I explain?
You’re nothing more than a spectator in our little simulation. I can call you Gordon if you wish.
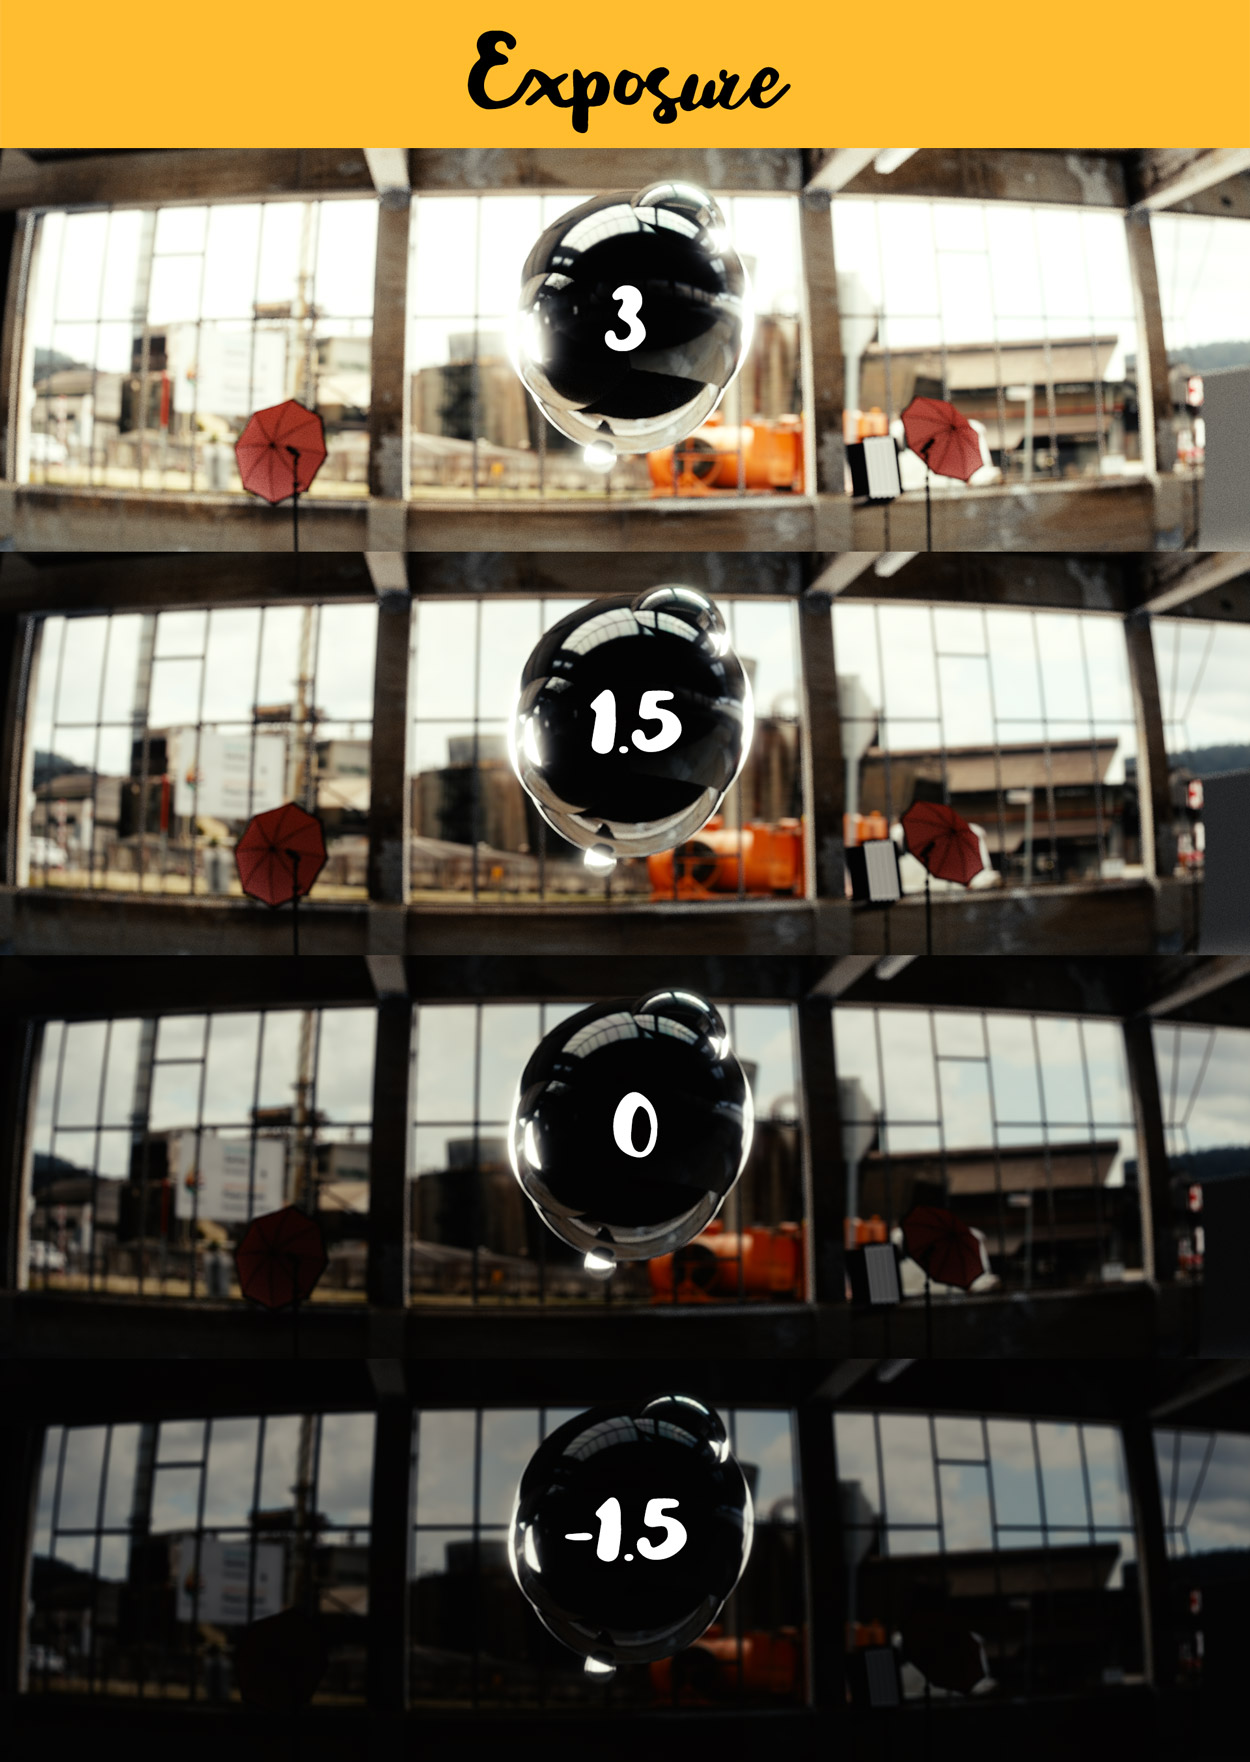
Gordon, your eyes has not yet adapted to the bright light hitting the retina. A chemical reaction will kick in soon. Young people need less that 5 minutes to adapt to such light.
• Tone Mapping in Blender
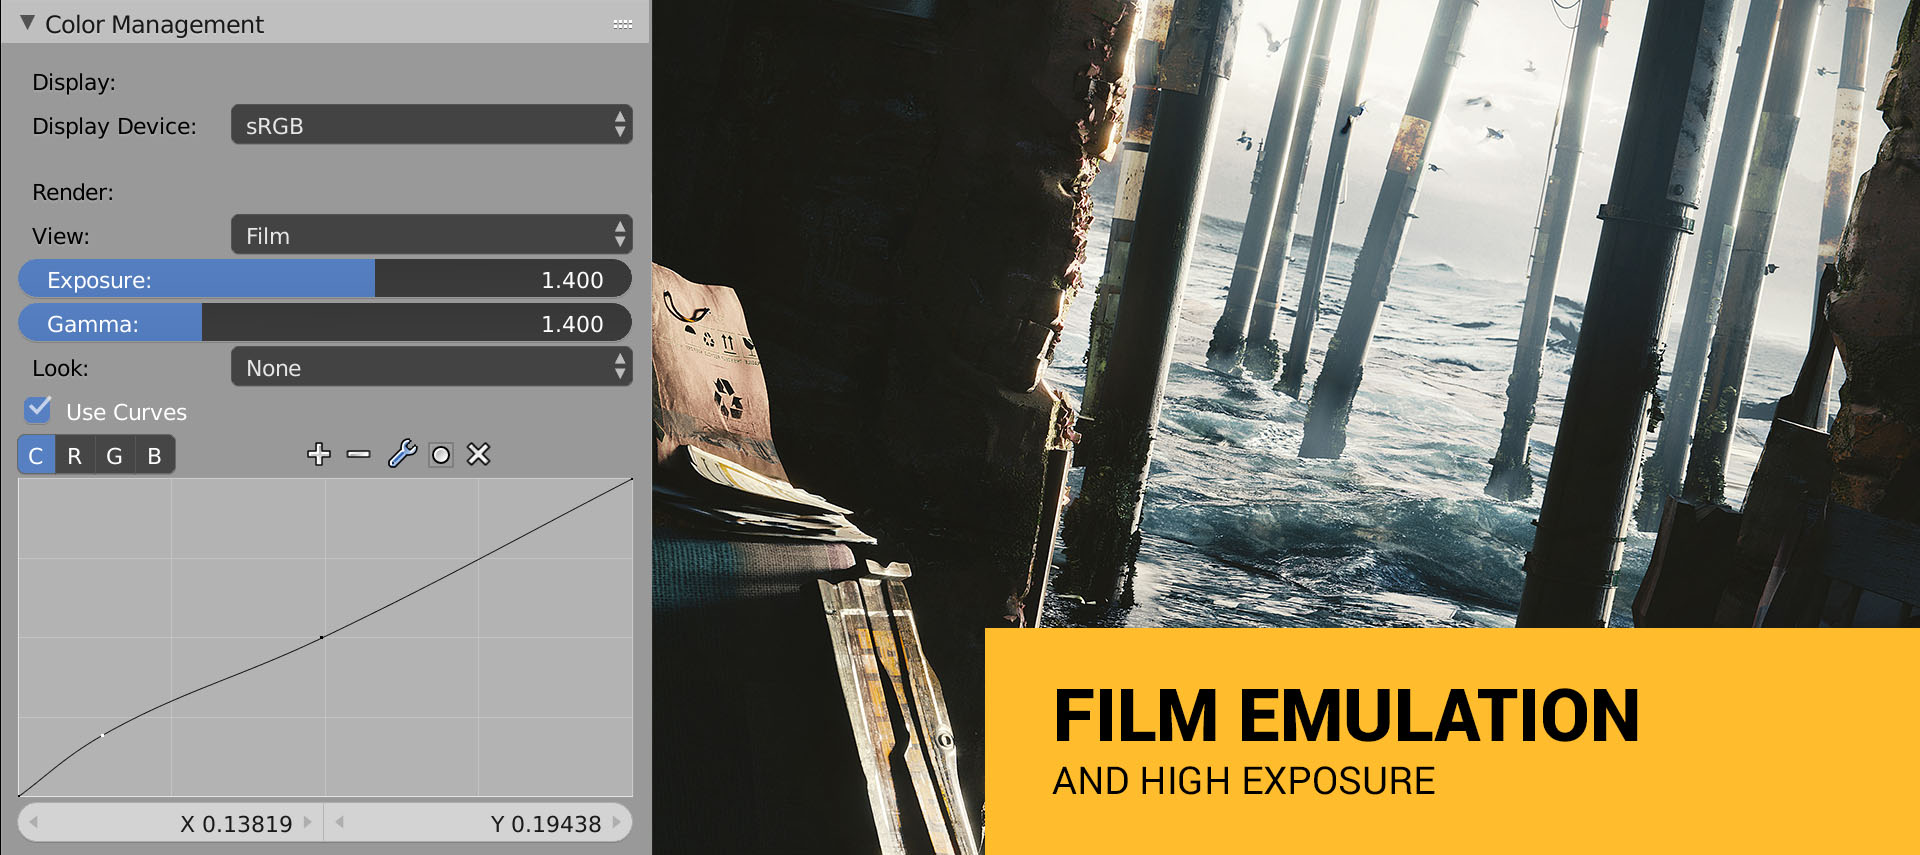
In such lighting scenario you’ll have a few minutes of the pitch-black shadows. The Schrödinger’s cat shadows. The Legacy of the Void shadows. And the light saber light.
In Blender you can try the film emulation to lower the “eye” sensitivity to the dark spots. And please don’t be confused by the film part. It can be used not just for the film looks.
So, by tone mapping the image this way you create the impression that Alice has just entered the room.
And that she sees it with her own eyes.
Quite sensitive eyes, still failing miserably to see every detail.
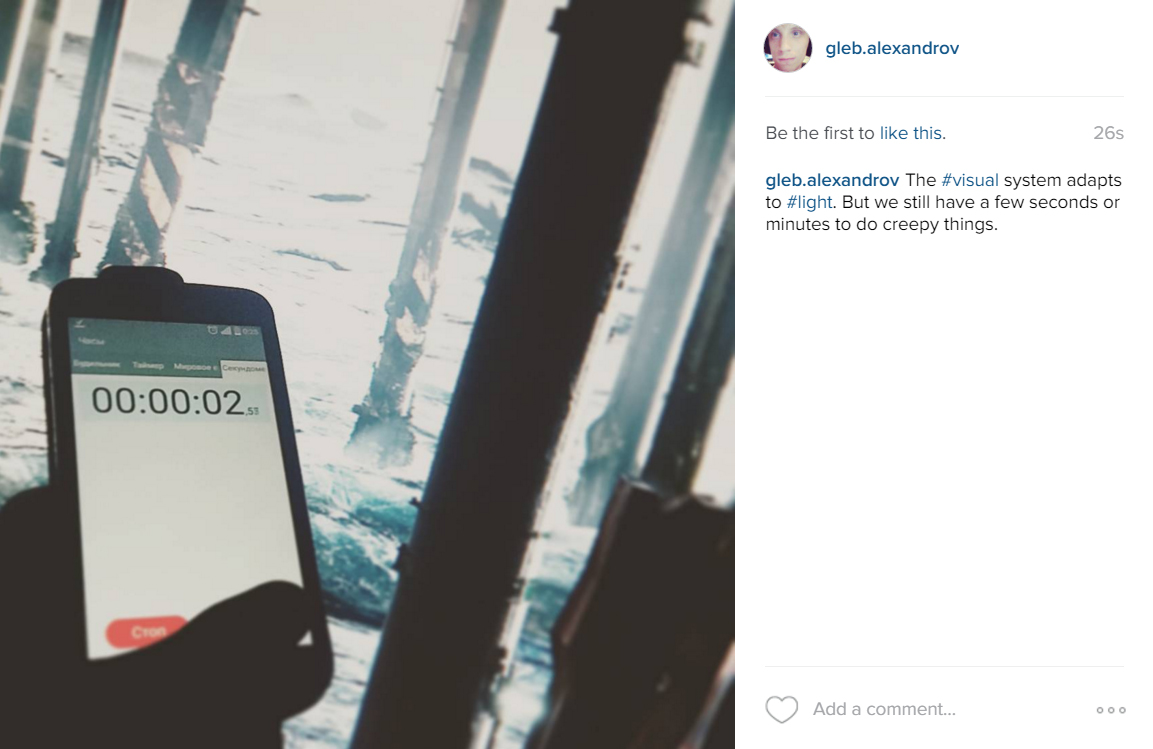
Alice, say thanks to your brain that knows the tricks like:
• Local adaptation
The chemical reaction in your eye adjusts the amount of light that reaches the retina.
• Reconstruction
Your eyes make a rapid movements around the scene, assembling the kind of a visual cache. Imagine taking a dozen photos of different exposures, then merging it into an HDR panorama.
So after a few minutes of adaptation you’ll see the image like this:
This type of tone mapping sucks, in my opinion.
Bo-o-o-o-o-ring (say this in Benedict Cumberbatch’s voice).
Let’s explore the second version of Alice.
Version 2. Alice Wields an Old Zenith Camera with an Analogue Film
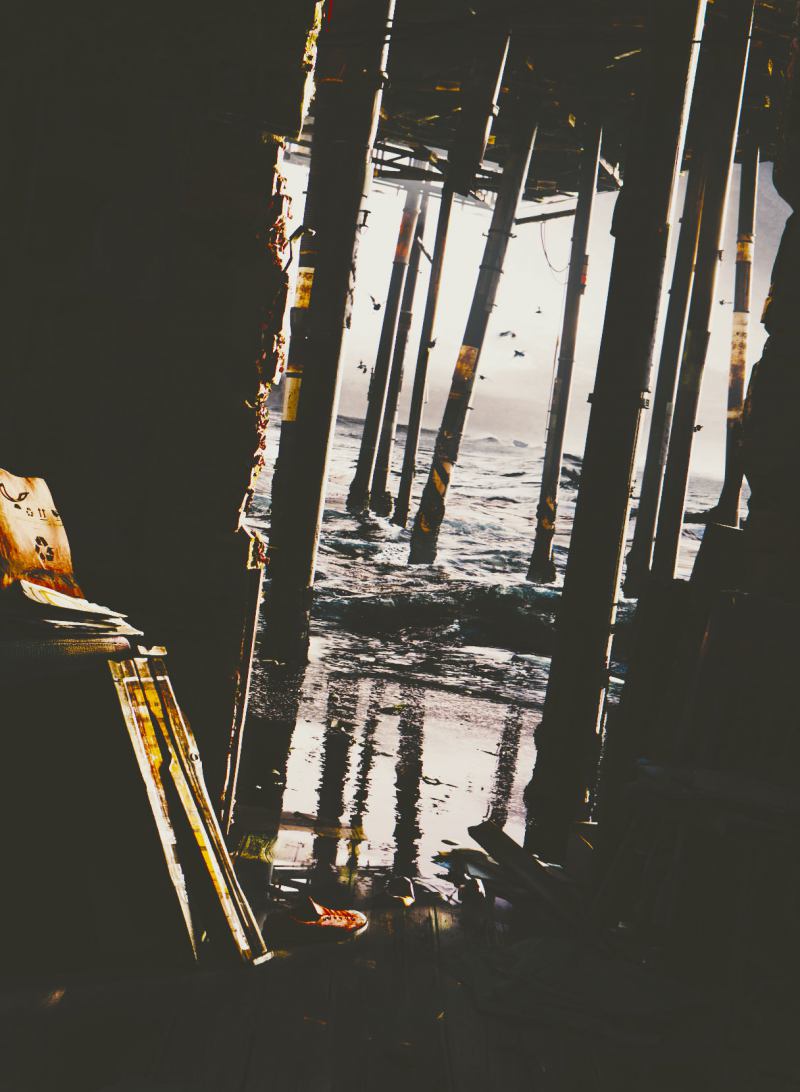
A white shimmer of the waves hitting the shore. That’s all we can see by looking at the old photo.
Thankfully, we CG artists don’t have to use bracketing and other tricks to capture HDR images. We have it naturally.
But you can surrender the glorious full luminosity range willingly. You can screw the tone mapping.
Why?
We are not afraid of pitch-dark shadows. We know how to use it to our advantage.
That’s why Alice wields the camera, the old Zenith thingy.
Photographers often use a low dynamic range film. Painters use limited palettes. Bass guitarists are okay with 4 strings.
That kind of a screwed tone mapping is awesome.
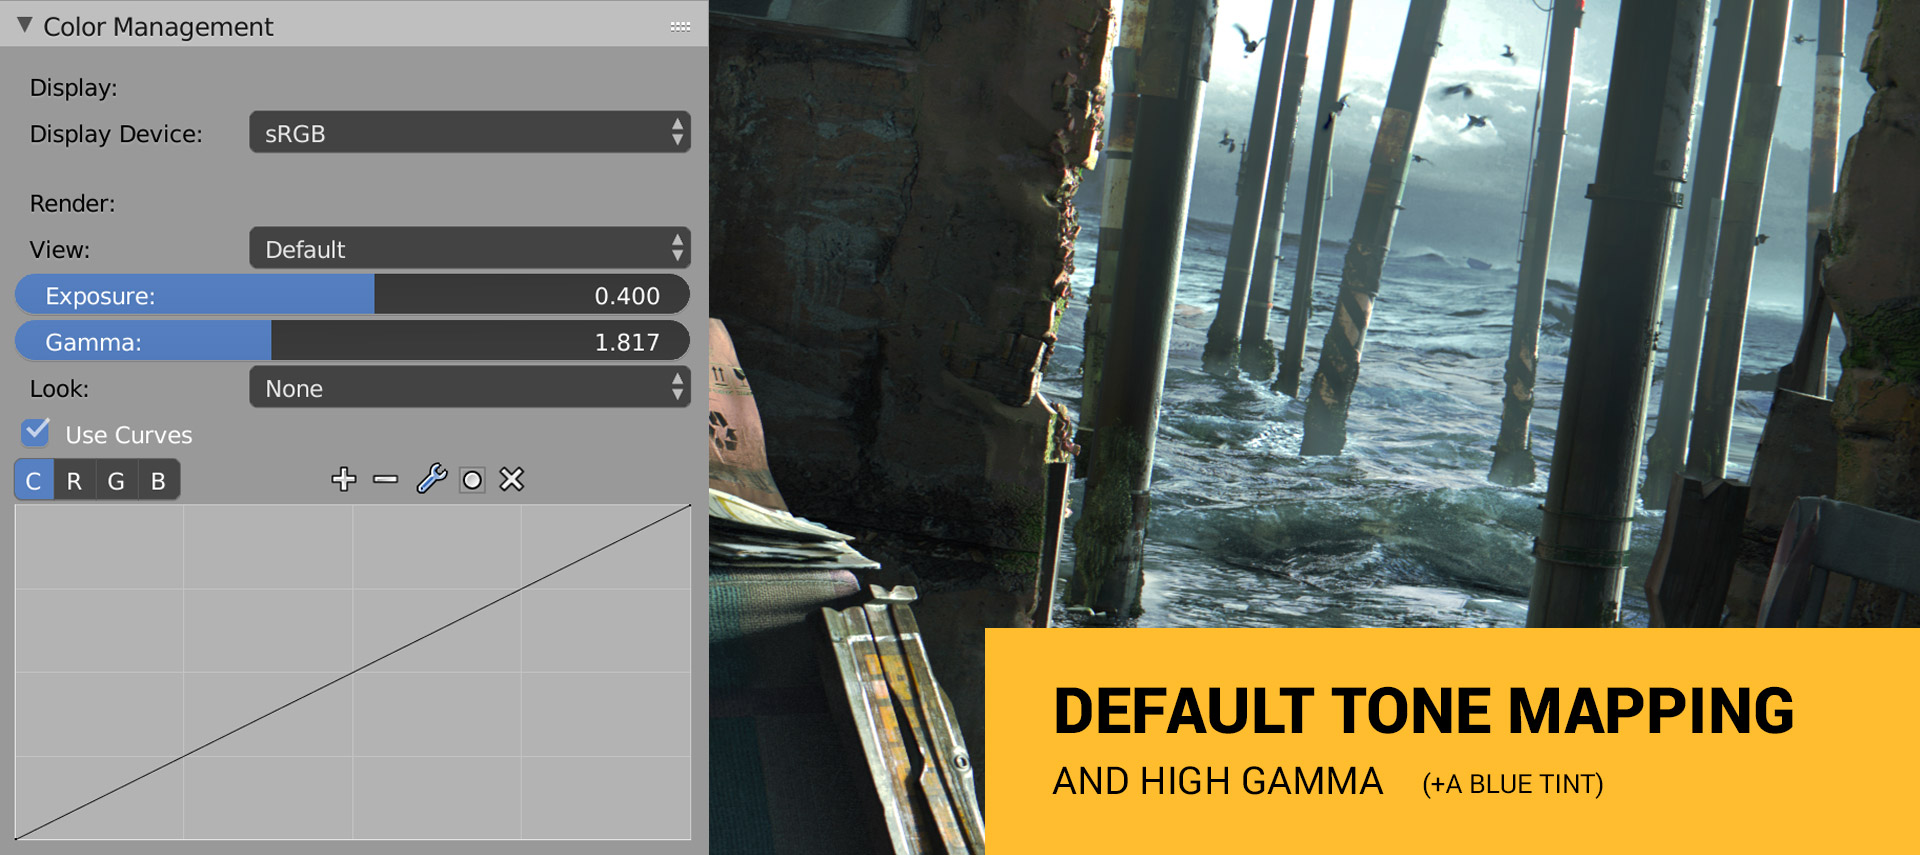
How to do it in Blender?
• The Screwed Tone Mapping in Blender
Firstly, you pick the exposure that you like.
Secondly, you screw the tone mapping using RGB curves. Kind of an S-shape in RGB curves produces a weird tone mapping.
Bam!
Just like an old analogue photo.
Alice wields the old Zenith camera, remember?
Version 3. Create Your Version of Alice
Wait, wait, wait…
Can you imagine your version of Alice?
Stop reading (for a moment) and imagine this:
• Alice sees the room in her dream
• Alice is color-blind
• Alice has a cataract
• Alice has a perfect visual system of a robot
• Alice is a rendering engine of a famous real-time HDRI demo by Paul Devebec
• Alice is a dog
How would the tone mapping look?
Conclusion
So, what everybody ought to know about HDRI rendering and tone mapping is that it needs the observer.
We need Alice to observe the virtual worlds we create.
You can tone map to simulate the human eye, or the analogue camera, or whatever you like.
Now your turn.
Experiment with tone mapping in your next breathtaking render. Only practice will allow you to boost it up a notch.

SUBSCRIBERS’ BONUS:
6 Practical Tips to Creating the Impression of Intensive Lighting
How can you achieve the being-almost-blinded-by-the-light impression in Blender or any other 3D modelling app?
Stack these six things on top of each other.
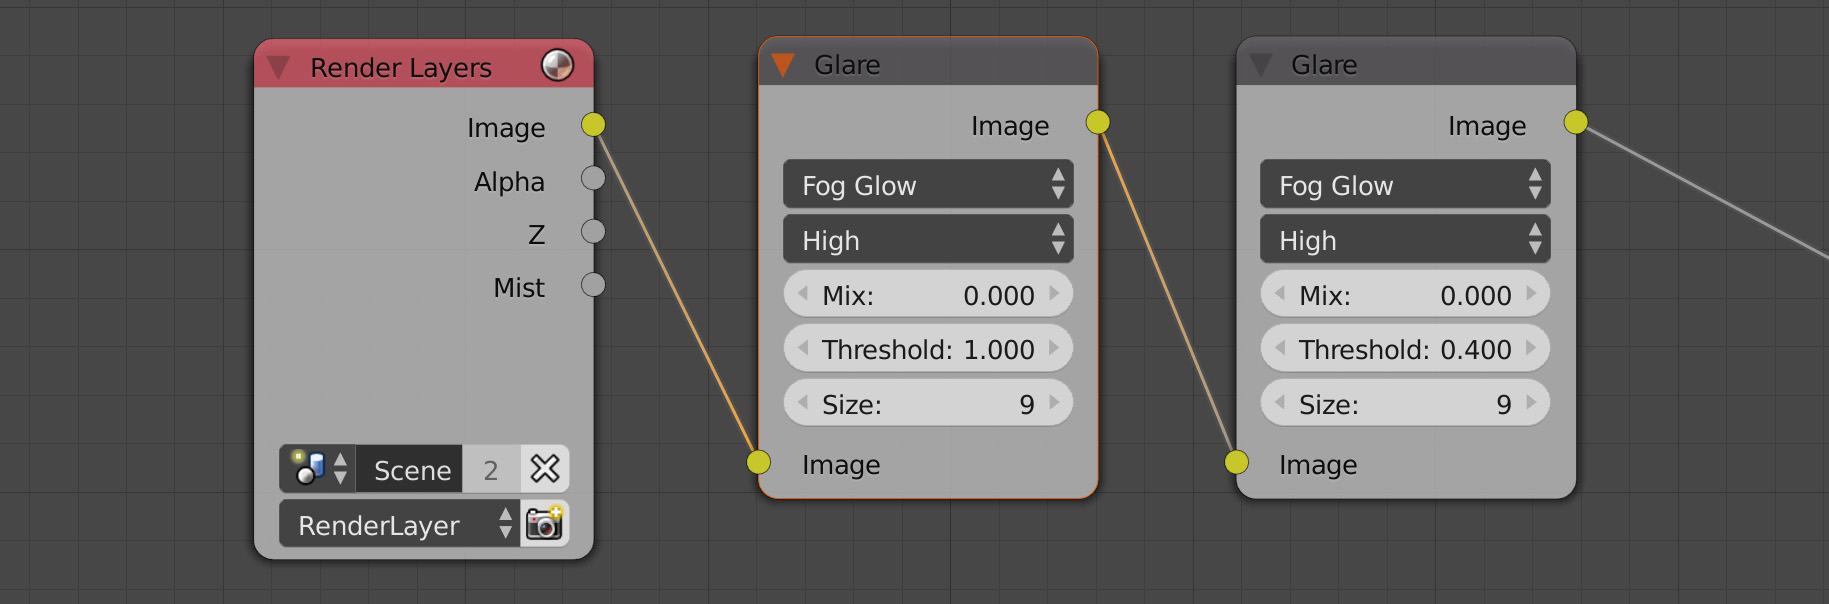
1. Glare
Add a glare effect (which is caused by excessive brightness, you are right). The physically correct glare is one of the reasons people drool over HDR rendering.
2. Bleaching of Colors
Have you noticed that the colors look bleached in the bright day light? Here we go.

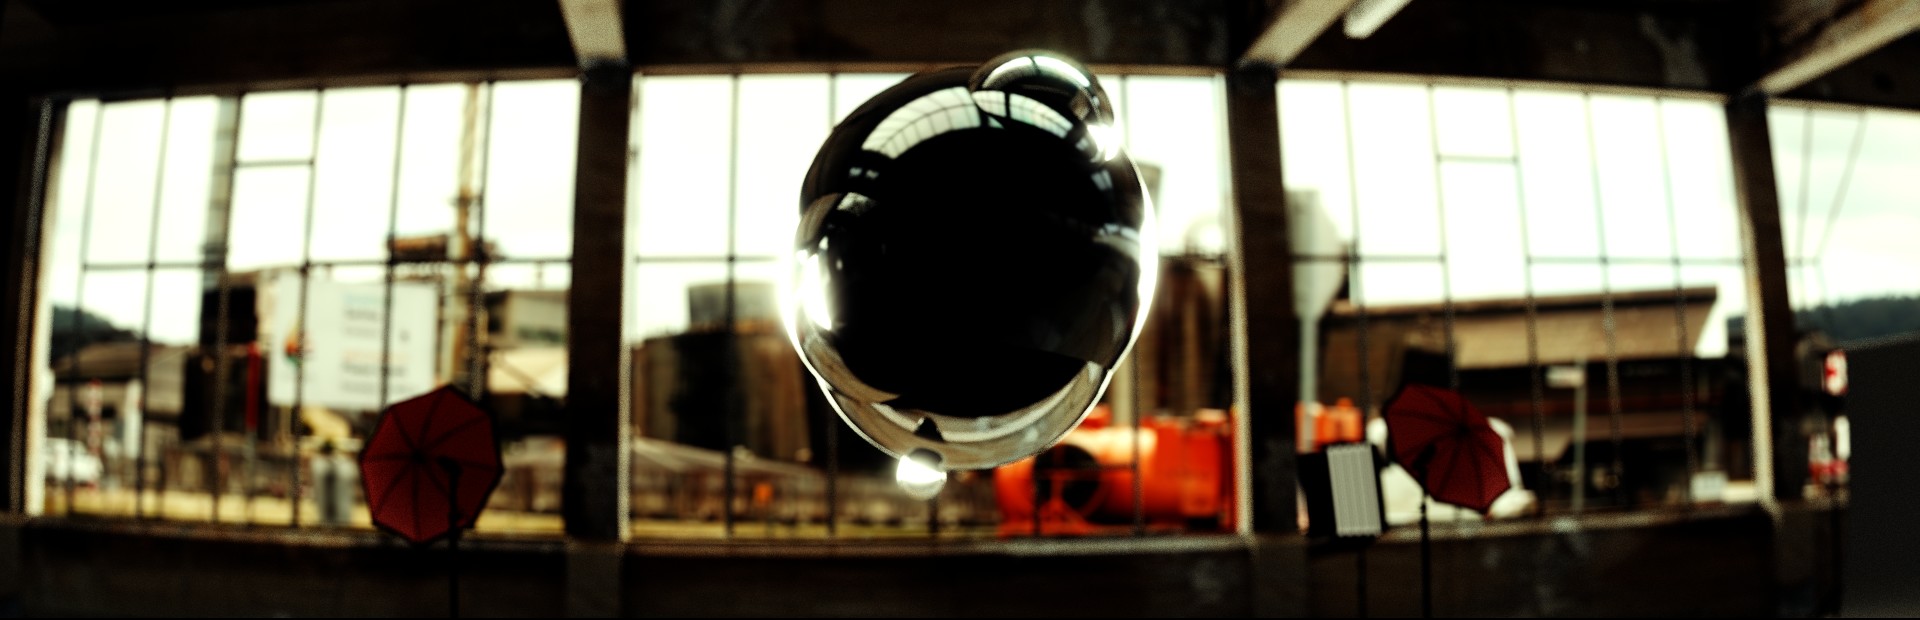
3. Light Spilling Over the Edges
James Gurney, the author of Color and Light: A Guide for the Realist Painter book gives us a great tip:
“One approach to contre-jour lighting is to think of the light area behind the subject not as flat white paint but as a sea of illuminated vapor, with light streaming out of the background, melting away the edges of the form.” [4]
It can be done using the glare effect in Blender.
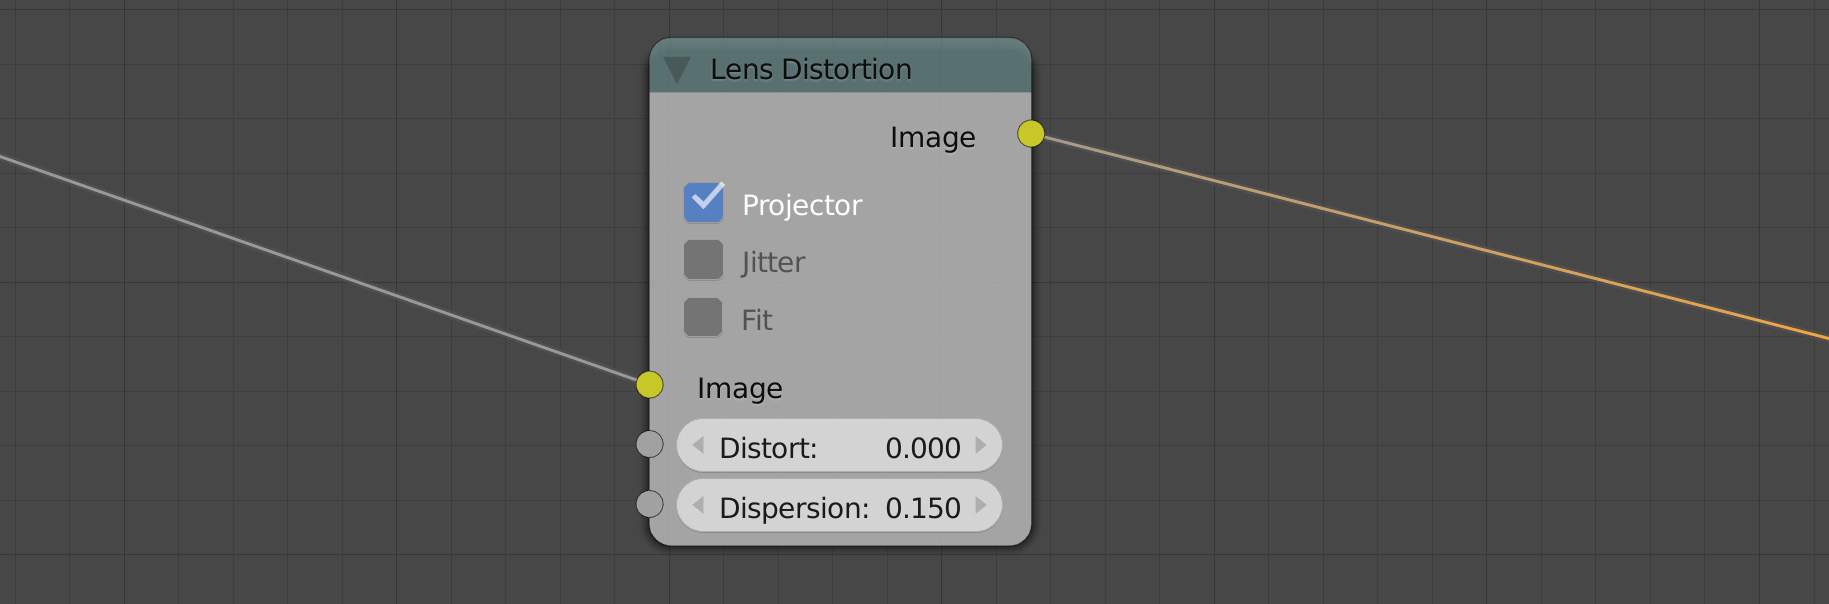
4. Chromatic Aberration
For some reason, it feels to me that chromatic aberration boosts the perceived light intensity. As if the viewing device can’t handle the dazzling light and produces glitches.

5. Washed Out Shadows
The old analogue film sucks when it comes to capturing the high dynamic range. So you get the pools of a cosmic darkness here and there.
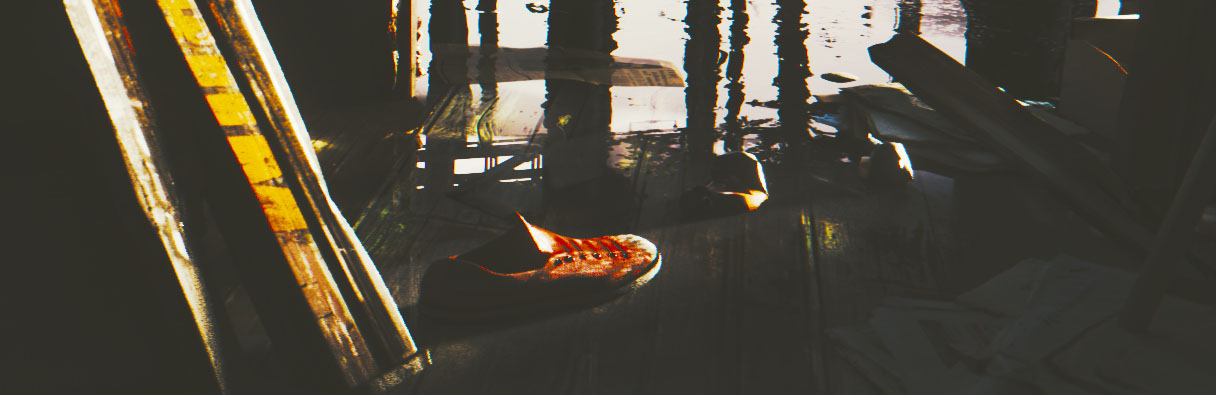
If you want to push this effect over the top, add the film emulation.

6. Wormy shapes called floaters, slowly drifting inside the eyes (actually we see our own red blood cells when we look at the bright light) [3]
Just kidding. I didn’t implement the goddamn floaters.
But you can go further!
Lighting Project and Lighting Tutorials
The Lighting Project is a manifesto of a think-different approach to digital lighting.
This book will help aspiring artists to revolutionize CG lighting by embracing artistic weirdness and aesthetic perception.
Literature & Links
1. Smokie. Living next door to Alice
2. Christian Bloch. The HDRI Handbook
3. James Elkins. How to Use Your Eyes
4. James Gurney. Color and Light: A Guide for the Realist Painter

kropaman2
As always very good tips! btw why Alice lives in such weird place?) can you give me her number?xDDD
Gleb Alexandrov
Her number is stored in 32 bits floating point number. 😉
kropaman2
ahah )))
CrazyEngine
Ahaha, as good as usual. Funny to read, pretty interesting way of looking at things. Yeah, gonna try that out. :3 Thanks!
Gleb Alexandrov
You’re welcome!
Hugo
Brilliant and succinct as usual.
Thanks Gleb for giving another overview without the super complexity 🙂
Gleb Alexandrov
And still, color management is a bit mind-boggling.
Uncle Snail
Nice job giving the character names, and creating a story to tell the information. Also a nice job throwing in little info facts. Fresh and simple illustration images. Also very great tips and tricks, with a good message.
Your tutorials just keep getting better.
(also, a good job creating some mystery asking who Alice is, and a good way to draw people into the article. And nice quick tip at the end. Is it really only there for subscribers? I did use the link, so I guess it could be…)
Gleb Alexandrov
Oh thanks! I’m so glad you like the quasi-story that I implemented. And soon I’ll start rewriting the earlier chapters of the Lighting Project, because I think I found the right kind of format.
Reynante M. Martinez
Another sublime article from you, @Spelle:disqus. Your posts and cleverness always makes my day.
For chromatic aberration, you can also disable “Projector” and use “Fit,” then counter the dispersion effect with a negative distortion—so the dispersion won’t affect too much the center of the frame. Just thought I’d share.
Cheers, man!
Reyn
Gleb Alexandrov
Nice tip, Reyn! I’ll use this trick the next time.
masterxeon1001
nice read.
Gleb Alexandrov
Thanks man!
Spooikypok_Dev
Great as usual! Things such as lighting and materials really seem intuitive for you, as when i see one of your tutorials, i’m like Ohhhhhhhhhhhhhhhhhhhhhhhhhhhhhhhhhhhhhhhhhhhhh…
Pingback: カラーマネジメント (Color Management) [Blender] – Site-Builder.wiki