
This is bokeh tutorial, aimed mainly at CG artists. Why? We won’t speak much about aperture and lenses here. Our main focus will be general principles of bokeh effect and how it relates to creating stunning images.
Let’s face it: everything looks better with bokeh. Ask your friend photographer, every CG artist in the world should try bokeh at least once, she’ll say.
Why? Simply because it is very artistic way to spend LESS time and get MORE awesome pictures. Hide the trash and showcase what matters.
Bokeh is dangerously effective – so why not abuse it like photographers do?
What is Bokeh?
It is pronounced as a boʊkeɪ/, sometimes as a boh-kə. The term comes from the Japanese word which means ‘blur’ or ‘haze’.
Before actually knowing about bokeh, many of us already have a feeling that it must relate to depth-of-field somehow. Well, photographers define bokeh as a subjective quality of the blur produced by the lens. This special quality relates to softness, creaminess, artistic feel.
Here is more strict definition, if we need one:
“The way the lens renders out-of-focus points of light”.
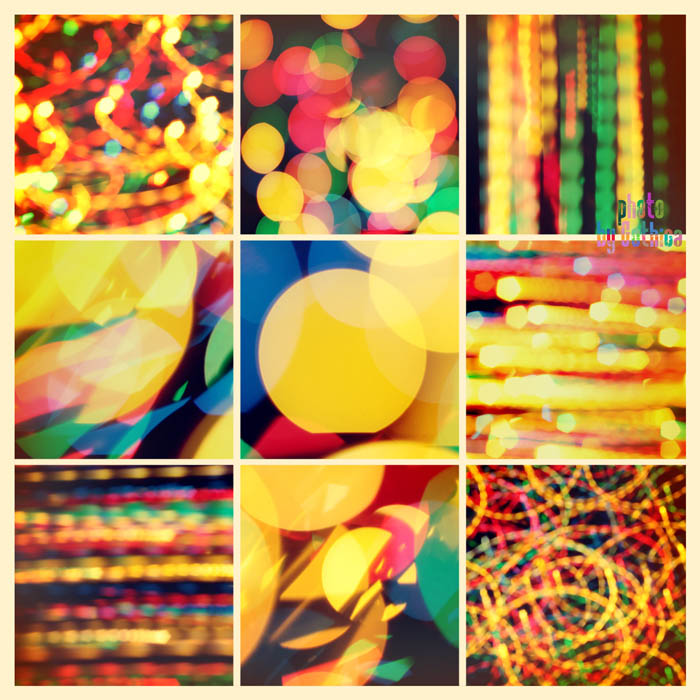
Bokeh Shape
Remember these blurry circles of light in holiday photos?
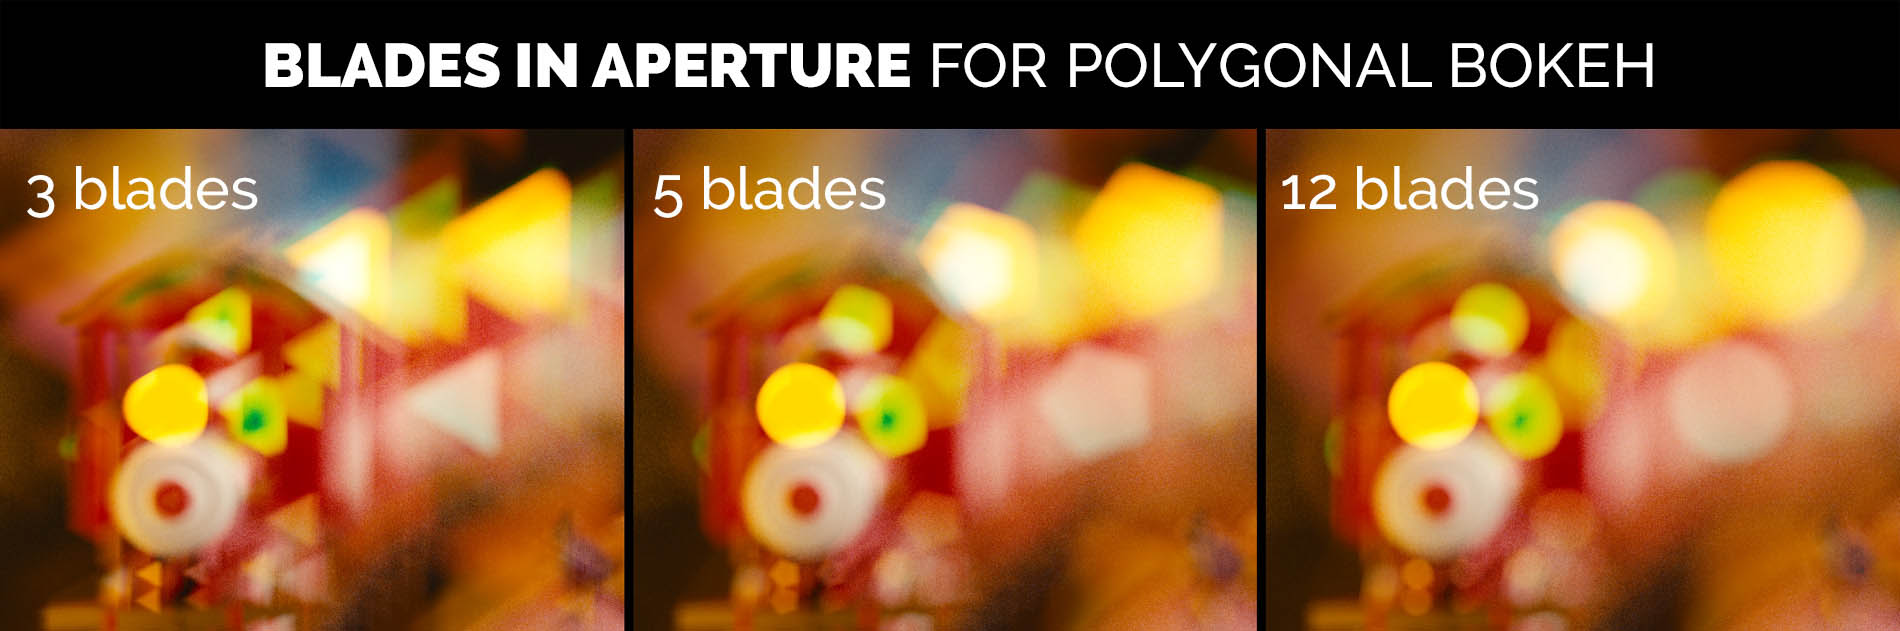
These bright spots can also look as N-gons, because its shape depends on the shape of aperture.
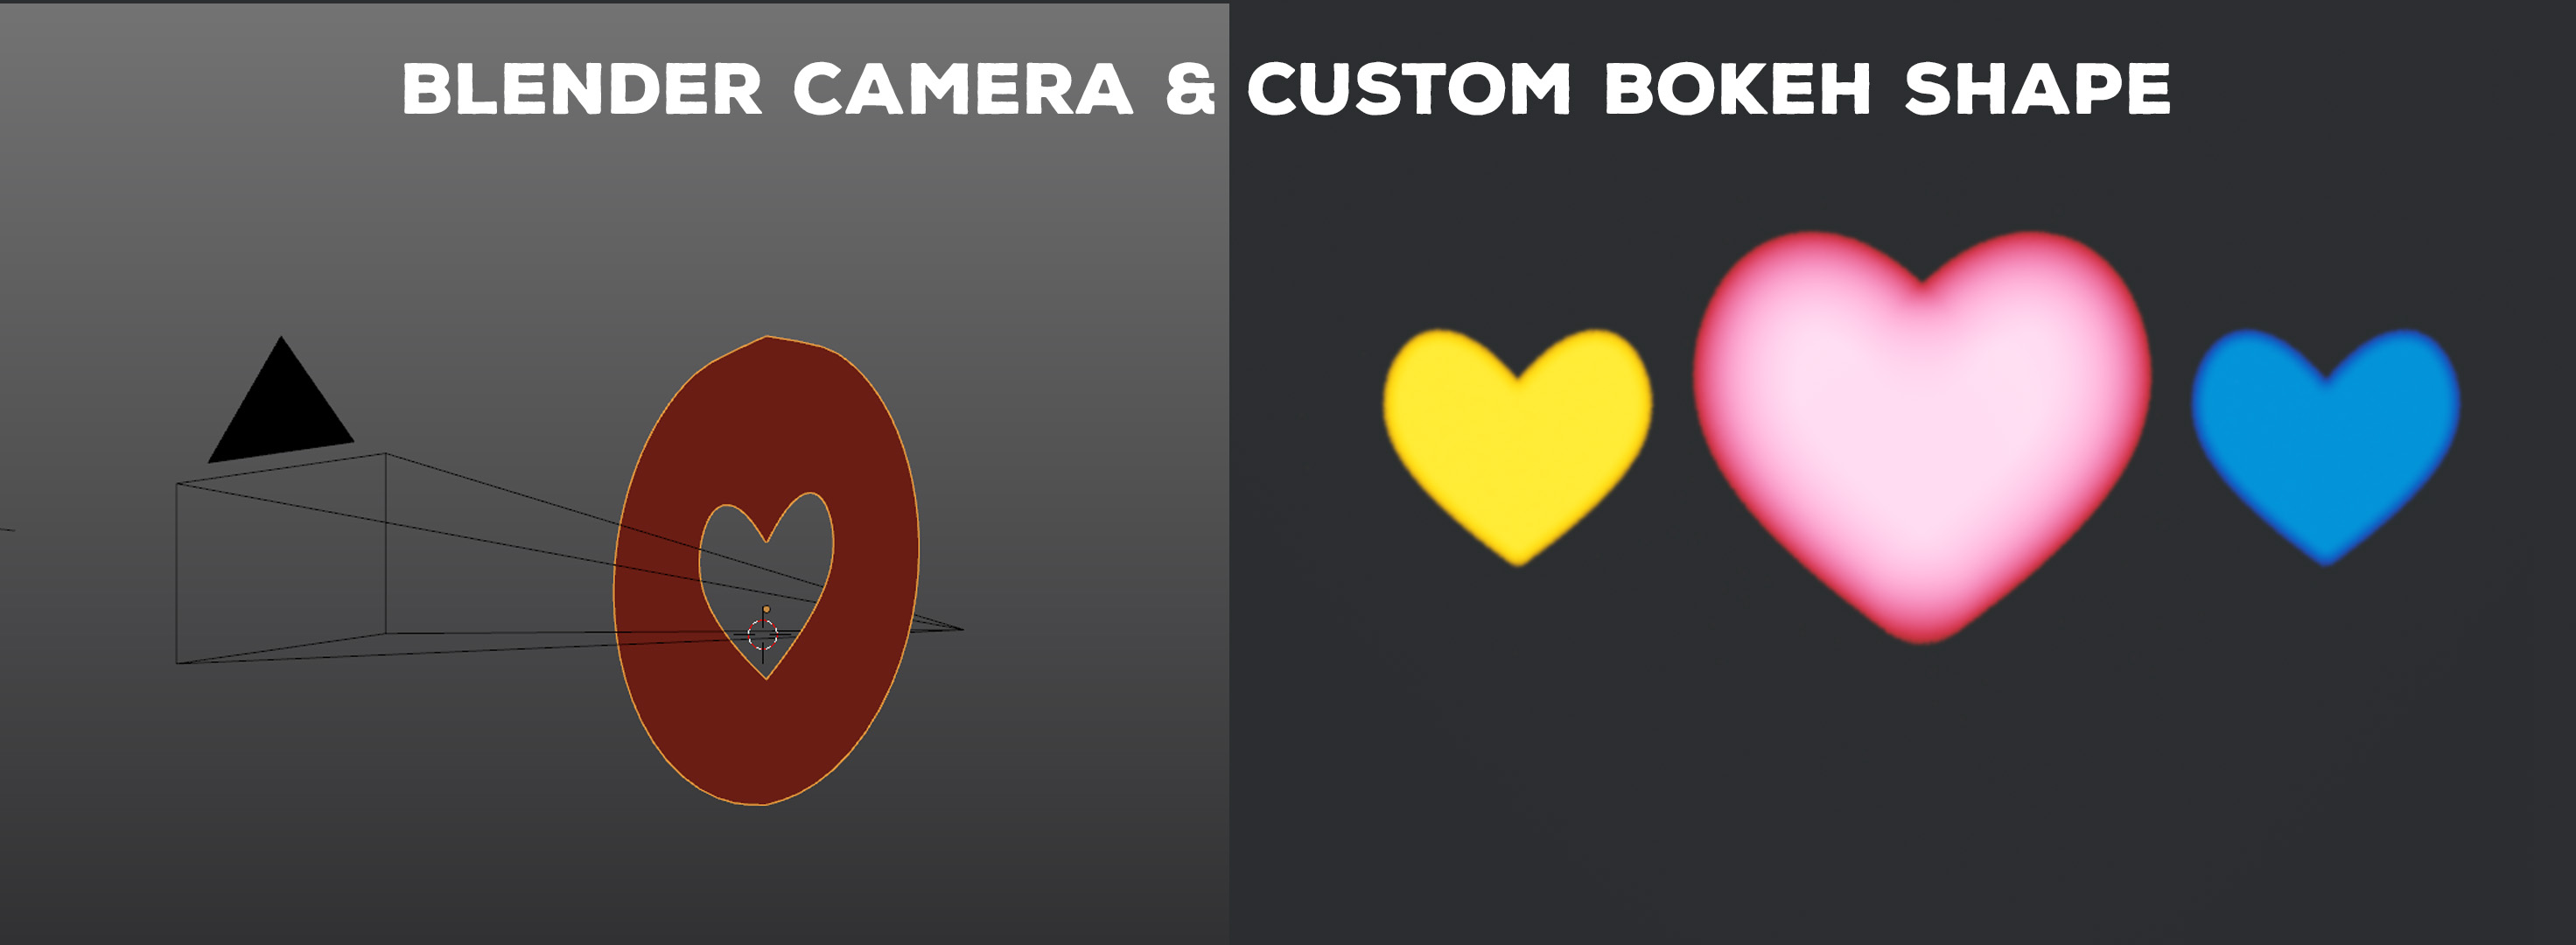
Custom Bokeh Shape – Hearts and Smiles
But what about hearts that flow from the cup? I bet you’ve seen this effect before. Good news: we can reproduce it in Blender by using a stencil, placed in front of the camera.
(Tip by Reynante Martinez – thanks, man!).
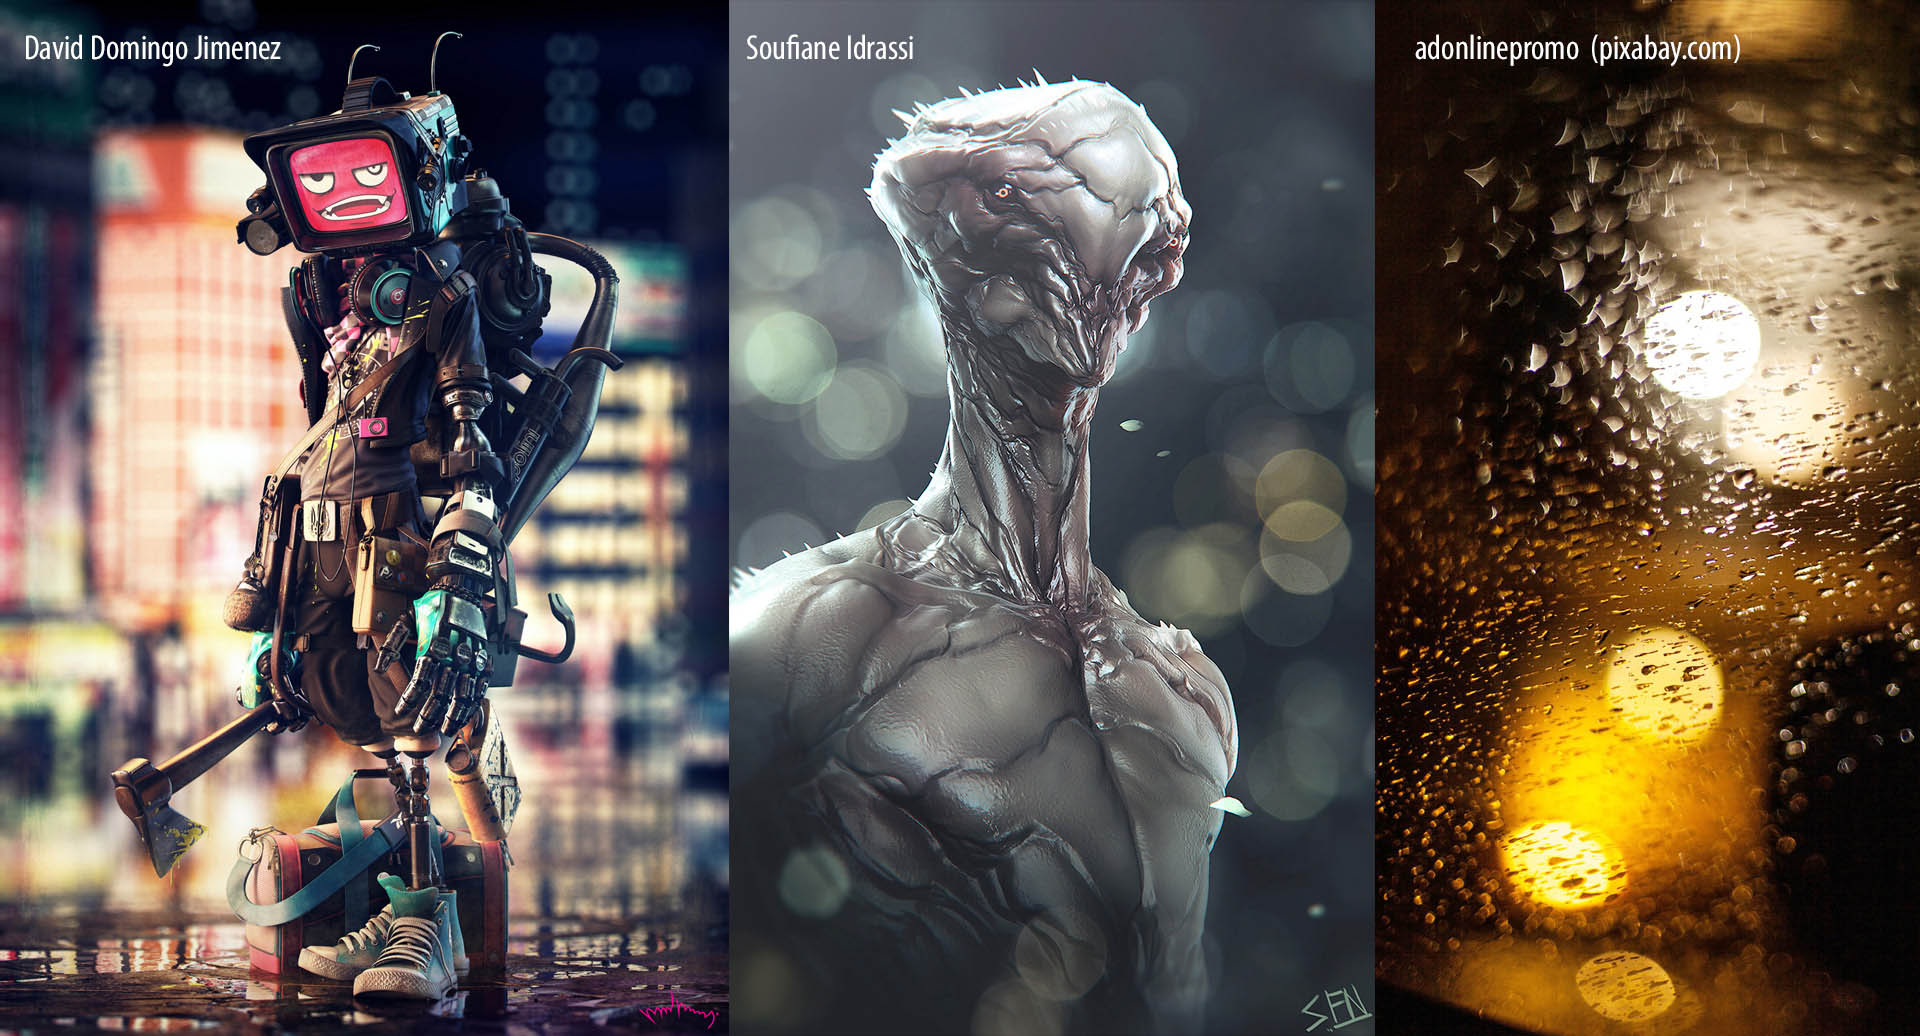
Reminder: despite the obvious awesomeness of the highlights, bokeh is more than that. All blurry areas contribute to the final feel of the image. So everything is bokeh, my friend.
How Can I use Bokeh in My Renders?
1. Give background a dreamy look (and separate it from object)
What we don’t see holds a mystery. Given only the slightest cue to what we see, we imagine the rest. And the rest is gorgeous.
2. Enhance the depth impression
Gradual defocus and the scene falling in bokeh – that’s the way to enhance the depth of the scene. It almost gives the impression of 3d image in 2d medium, so strong it is.

Check Reynante Martinez works, he uses soft focus quite often.
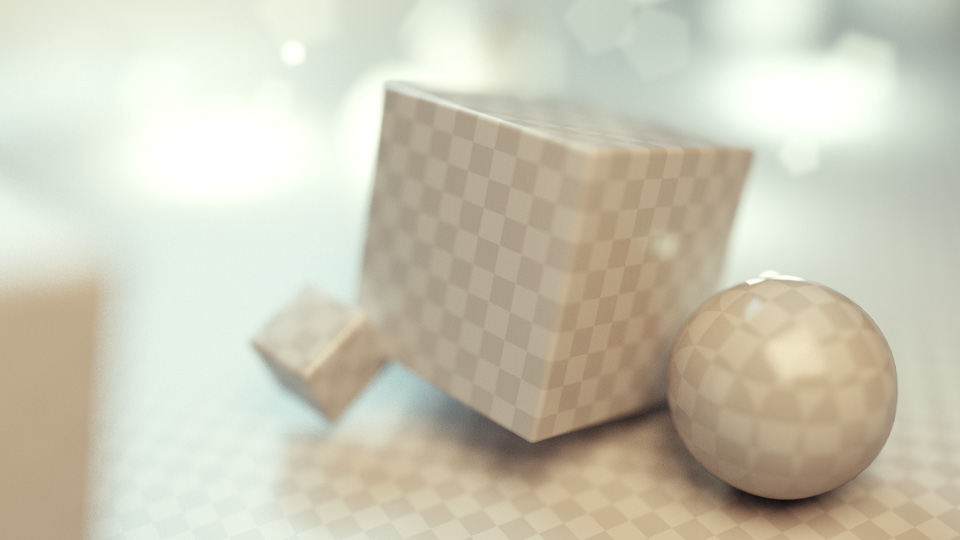
3. Beautify the background by turning mess to light

Imagine you have a pile of trash in the background. Quite literally, it can be trash. Or if you modelling the 3d scene, it can be ugly placeholder assets from some other project. Anyway, we can easily soften it, hide it and turn it into aesthetically pleasing splotches of light. See?
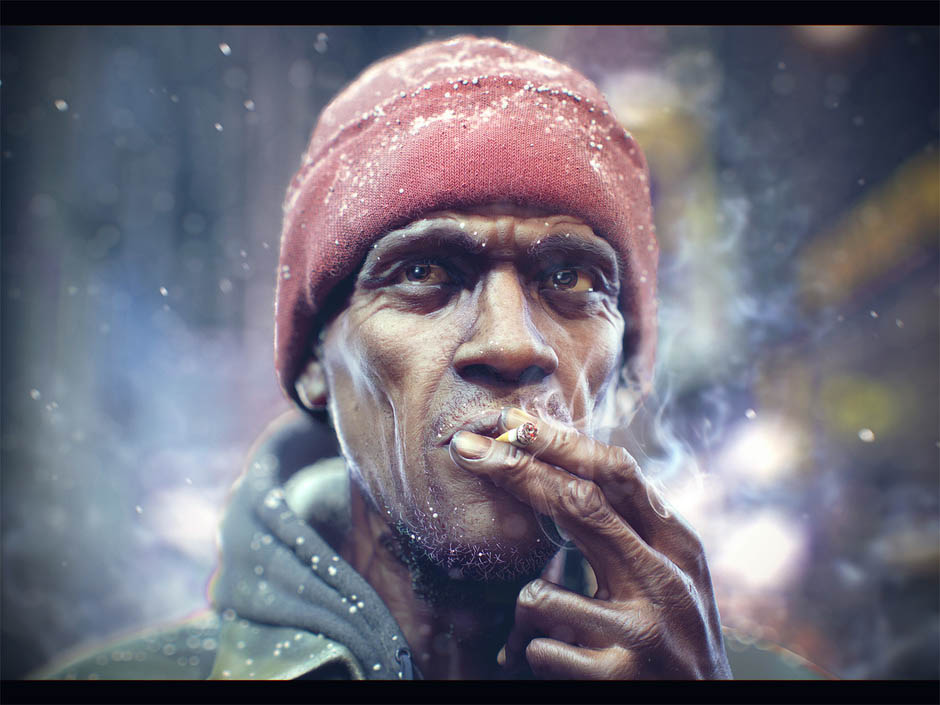
4. Give viewer the reality clue

The language of photography is tightly linked to ‘reality capture’ (illusion, but still). We can use this link to our advantage and inject some photo-real magic into our images.
5. Achieve creative effects
Bokeh can be used for the sake of itself. Formal and decorative effects of this technique is another reason why you should try it. When you think about it, bright circles of light can be a cool motive for a killer image.
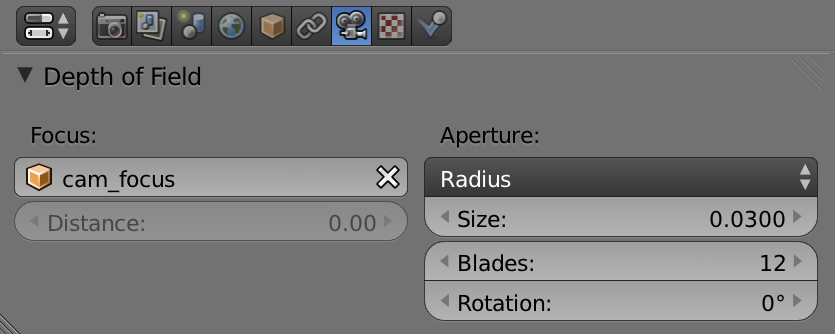
How to Create Bokeh in Blender?
For us, CG nerds, achieving awesome bokeh is simply a matter of doing 2 things:
1. Activating checkbox in the camera (using Blender for this example)
2. Setting up the scene to create an interesting pattern for the blur (often, we need highly reflective/emissive objects to get the splotches of light)
While the first step is easy, the second one is tricky to get right.
Actually, How to Achieve a ‘Cool’ Bokeh?
In photography, there are all sorts of lenses and some of them have aperture shape and lens aberration that produces a ‘pleasant’ bokeh.
It’s very subjective quality that can’t be measured. Personally I don’t think that near-ideal circular bokeh is the only option. Polygons are fine for me. They have style.
Speaking about environment, getting the ‘right’ bokeh is no easier than getting the right composition or the right lighting.
You just need to figure it out in practice.
For stating such thing in the tutorial I’m shooting myself in the foot, but I don’t see the other way around. Photographers do it everyday and eventually they crush it.
I think that’s the point.

Bonus Tips:
1. WYSIWYG (What You See is What You Get)
Try enabling bokeh somewhere in the middle of the modelling process. Don’t wait for the post-processing. Knowing how blur will be distributed, you can see which objects need your love, and which not.
2. Effect can play a leading role
Techniques, developed by photographers, can be implemented here and there in your renders. Try making a render, in which bokeh effect is THE MAIN OBJECT of the picture.
Not a finishing touch, but a hero.
3. Lighting is the key to amazing bokeh
When illuminating the background, think about adding texture to the light, to achieve an interesting lighting pattern. Or just do what everybody else do: place the shine holiday garland somewhere in the background.
Thanks to Matthieu Sévère for a great photo (which you can see on the thumbnail). Also, cheers to other artists, whose photos and renders are featured in this article.
And, of course, thank you so much for reading. It means a ton for me!

NIWO
Wow, thank you very much for the tips.
Keep going.
Love to see your content! ♥♥♥
Steve
Hey Gleb, some nice tips! I have a question, any idea what the Blades option changes under the aperture setting? always give it a random number, but don’t really know what it does.. 😛
Gleb Alexandrov
Steve, that may be the shape of bokeh. Check ‘bokeh shape’ section. 🙂
Steve
Wow, I must be blind! somehow didn’t register that part. 😉
Gleb Alexandrov
Heh)
Patrick Depoix
Hi Gleb: Have you try to use a texture on the camera to change the shape of the bokey?
Is’it possible with Blender….yes with Cinema4D!
Gleb Alexandrov
Yep. That’s the main thing that I would want to add to that article now.
Ethan Hansen
Great article!! I really appreciate how you break down and explain techniques such as aperture blades.
rickles13
As always great useable information
Pingback: Introduction to Bokeh for CG Artists
blackdot
thanks for this. i find it especially cool that you did this with text/images too, not just a video.
Crimson Call
The text-mode tutorial is a good choice. Thanks a lot for explaining everything so detailed 🙂
Giuliano D'Angelo
“The Rabbit and the Train”, wonderful xmas pic. How did you get the star rays effect on lights
?
Thomas Dumonet
It can be done with the glare node in the compositor.
Giuliano D'Angelo
Yees, I figured out then. Thanks!
Rombout
Is there a more clear tut on how to this in blender. I miss the info about how to set the shape for the aperture
Diego Conte Peralta
Hi Gleb! Thanks a lot for the article. I love using depth of field in order to create better images. However, I have always used the depth of field node, because using the aperture feature in the camera creates a noisy depth of field. Is there a way of increasing the quality of the depth of field without increasing all samples in the scene?
Ray Black
Nita’s Perfect Holiday is one of the cutest models I’ve seen in a long time.
Gourav Sardar
Nita is from our country India.
Zacoons
Thanks gleb! I love that little guy in the snowglobe by the way.