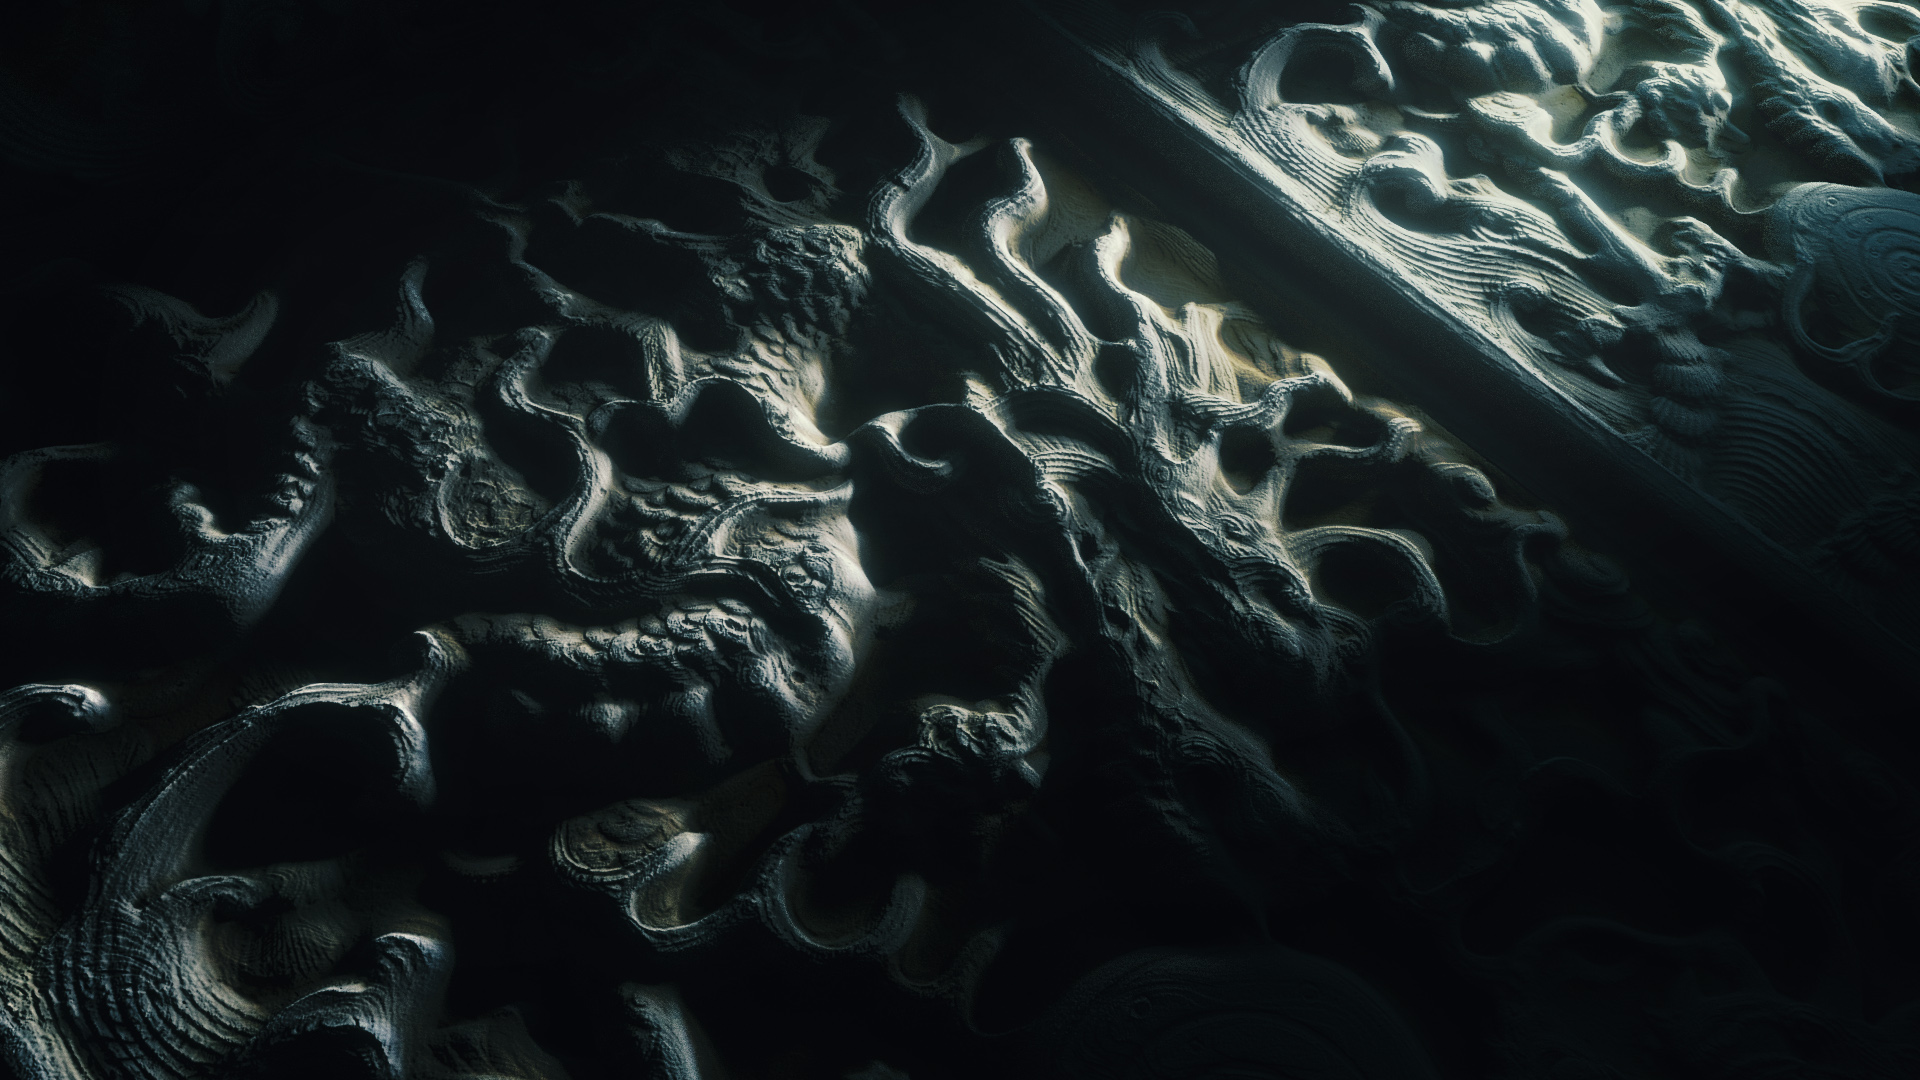
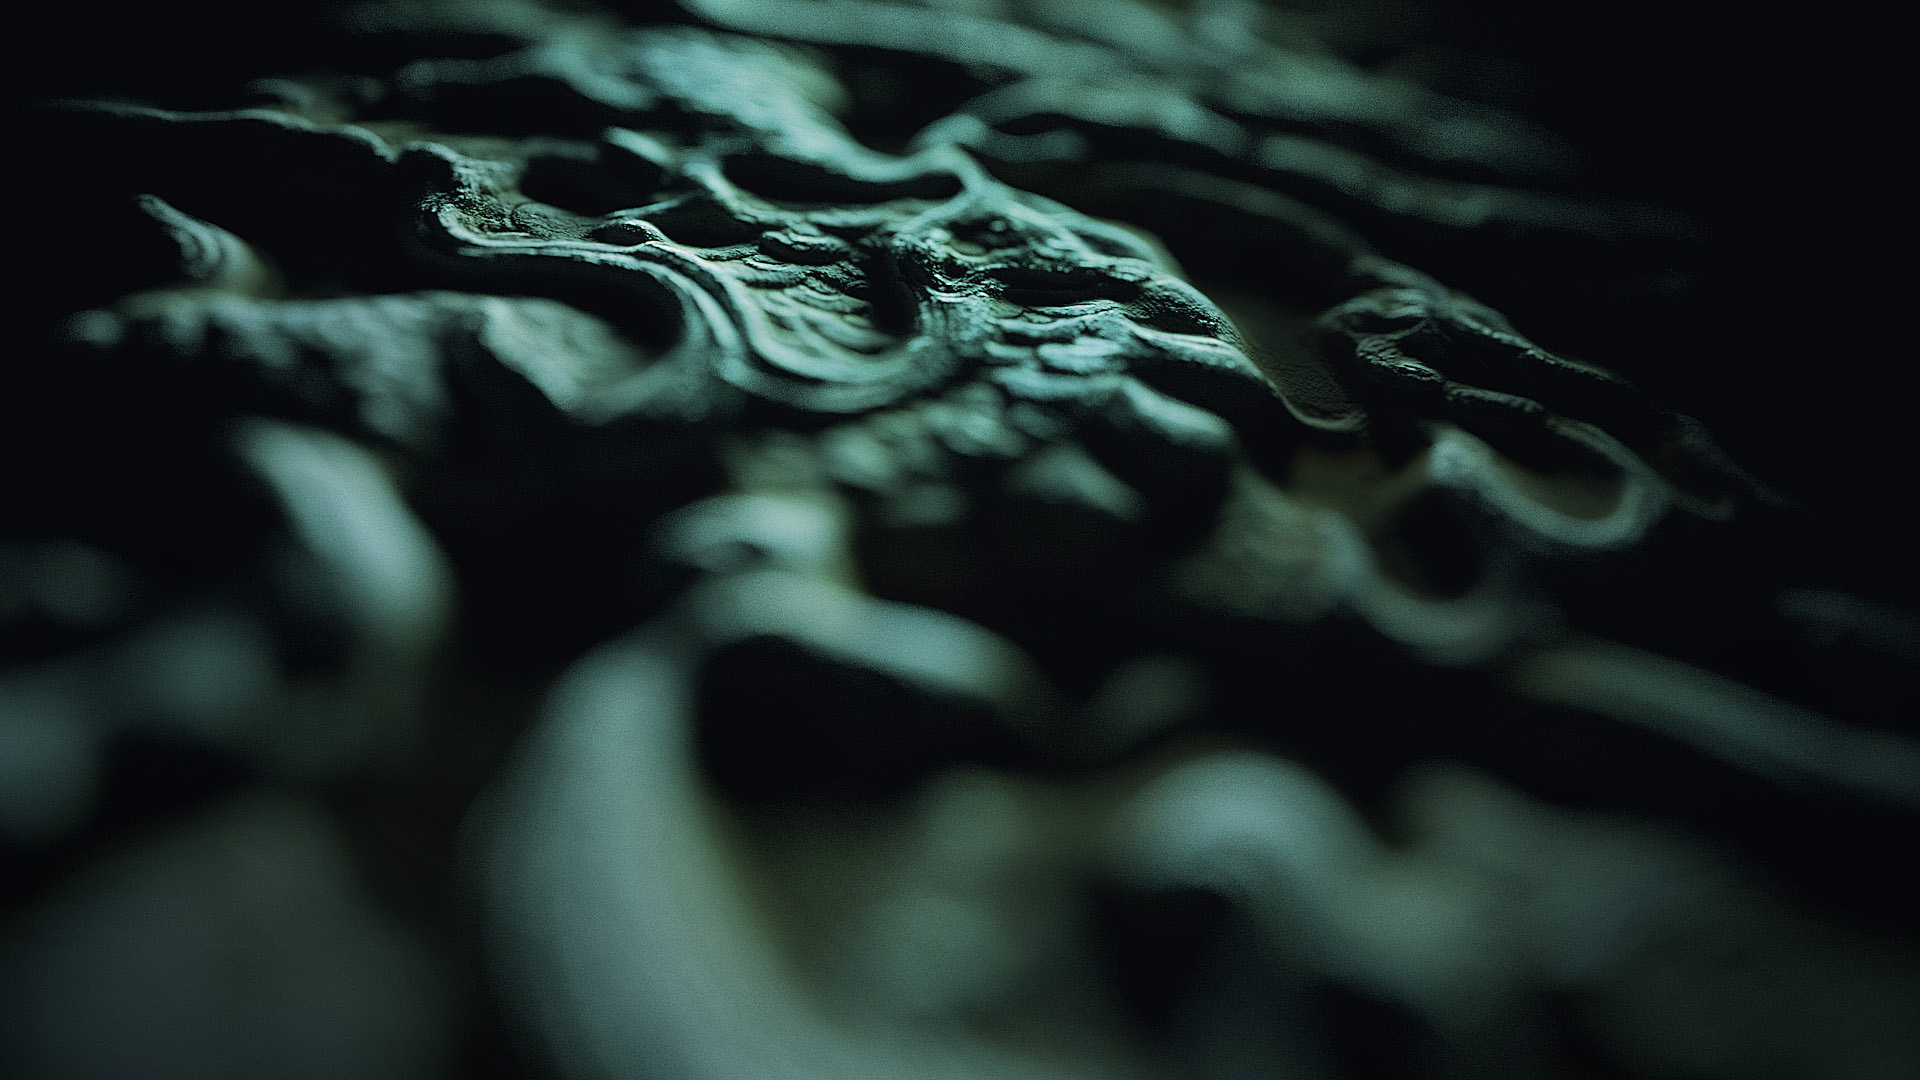
Continue learning the Micropolygon Displacement in Blender with the part 2/2 (of the free update to Space VFX video course).
Download the Project Files (lite version)
Blender Tutorial Highlights

What’s in this Space VFX Update 1.1?
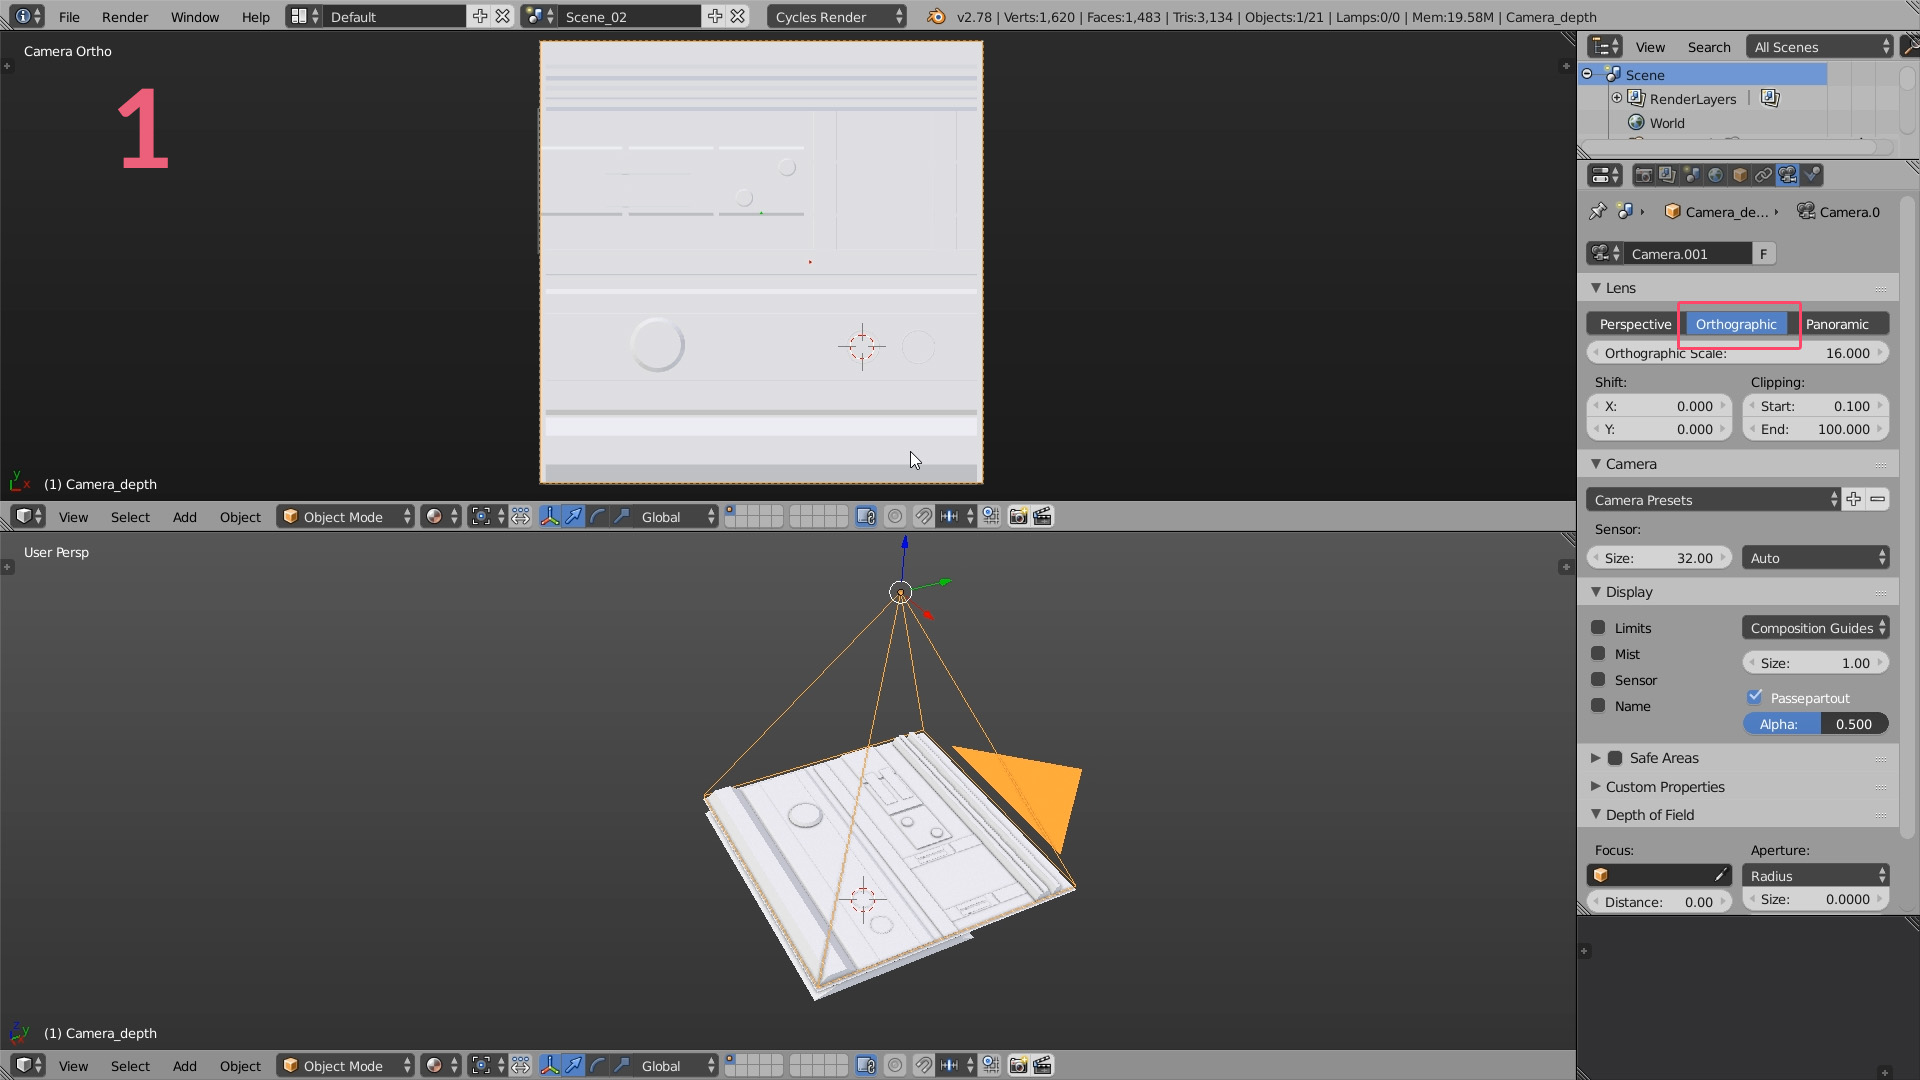
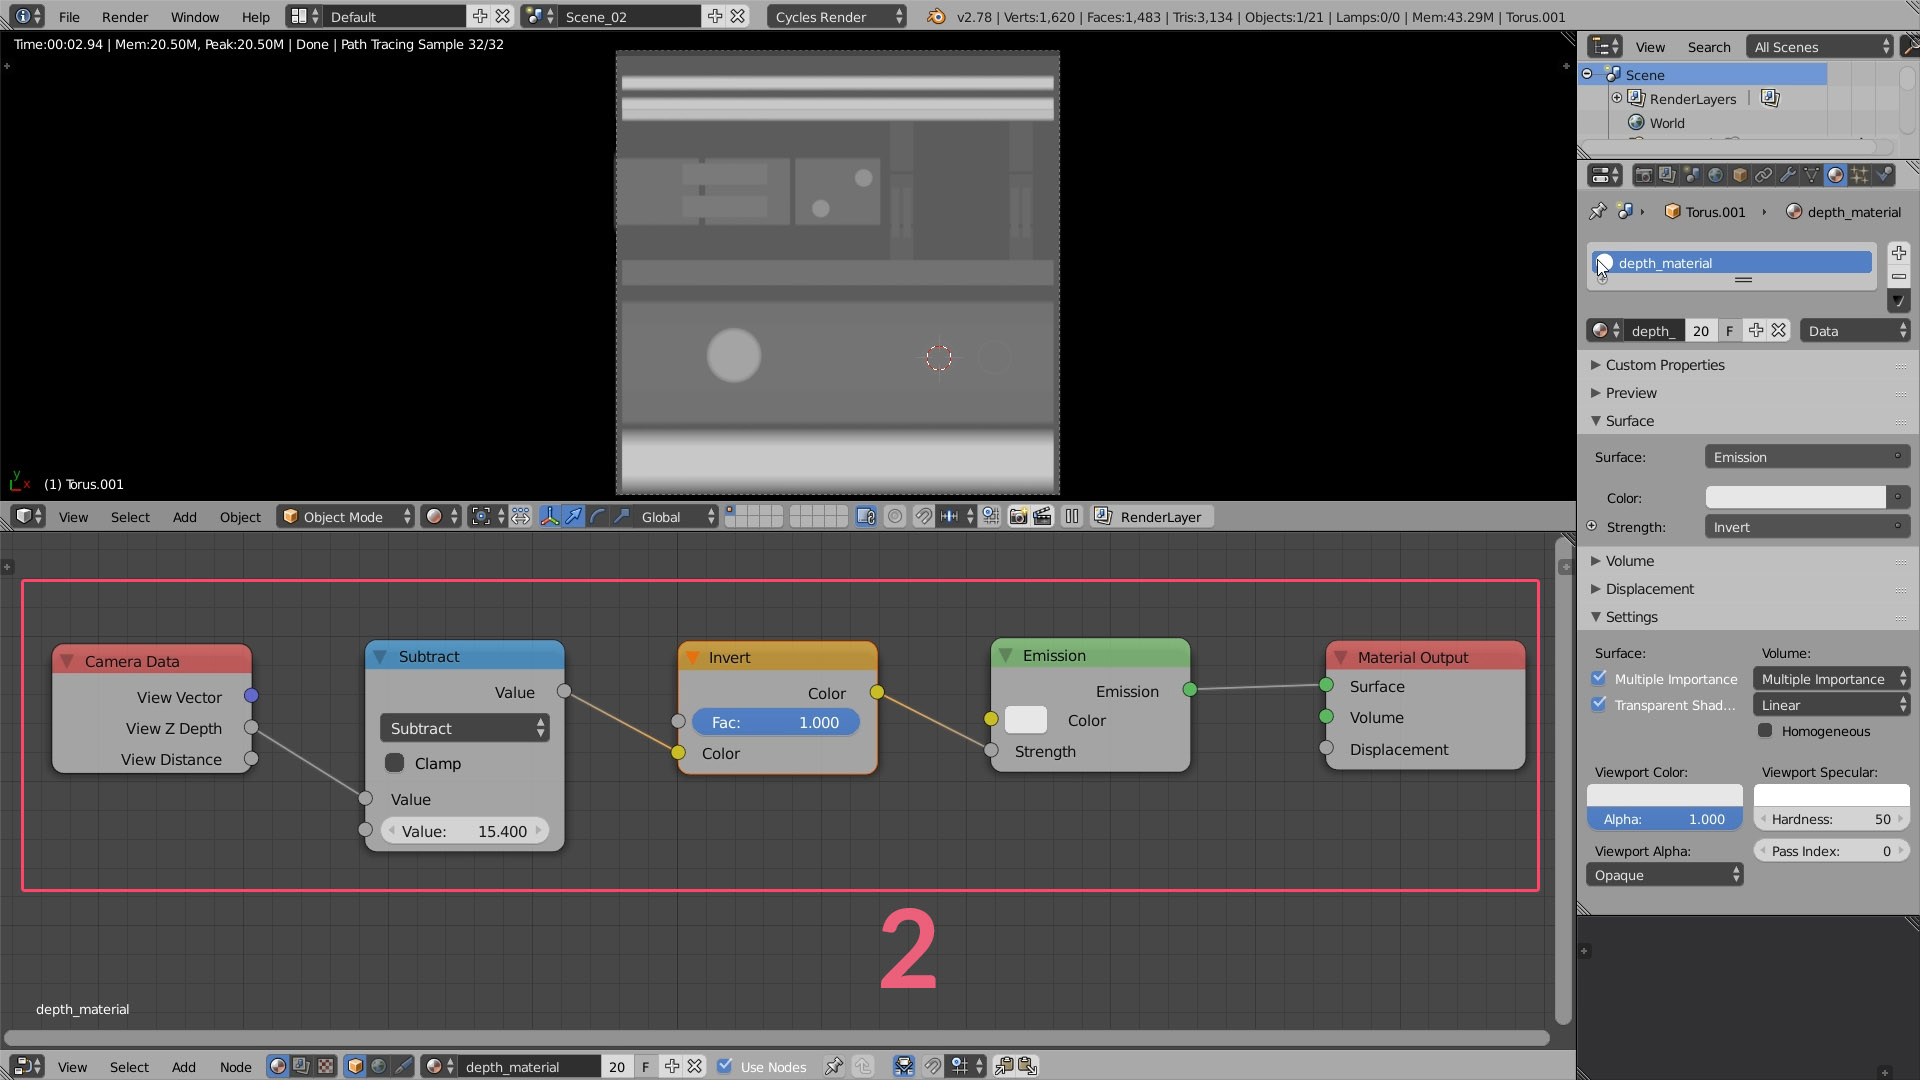
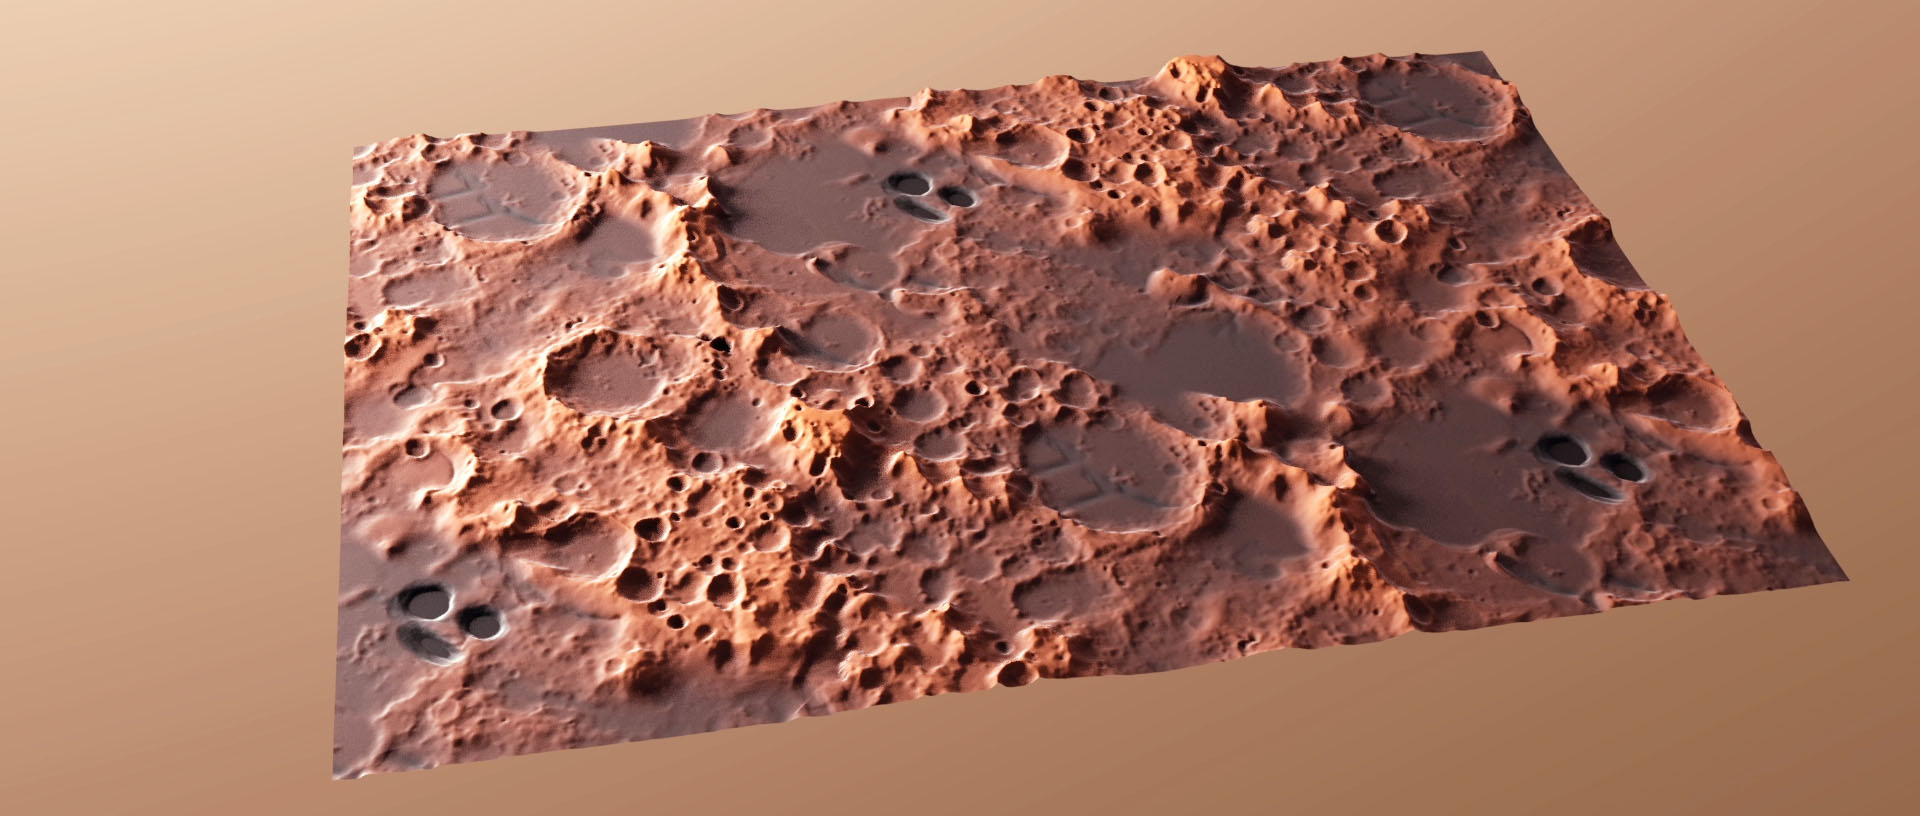
1. Micropolygon Displacement Basics Part 1
2. Micropolygon Displacement Basics Part 2
3. Exoplanet: Zoom to the Surface
If you have Space VFX you’ll get all the project files, textures and animations.
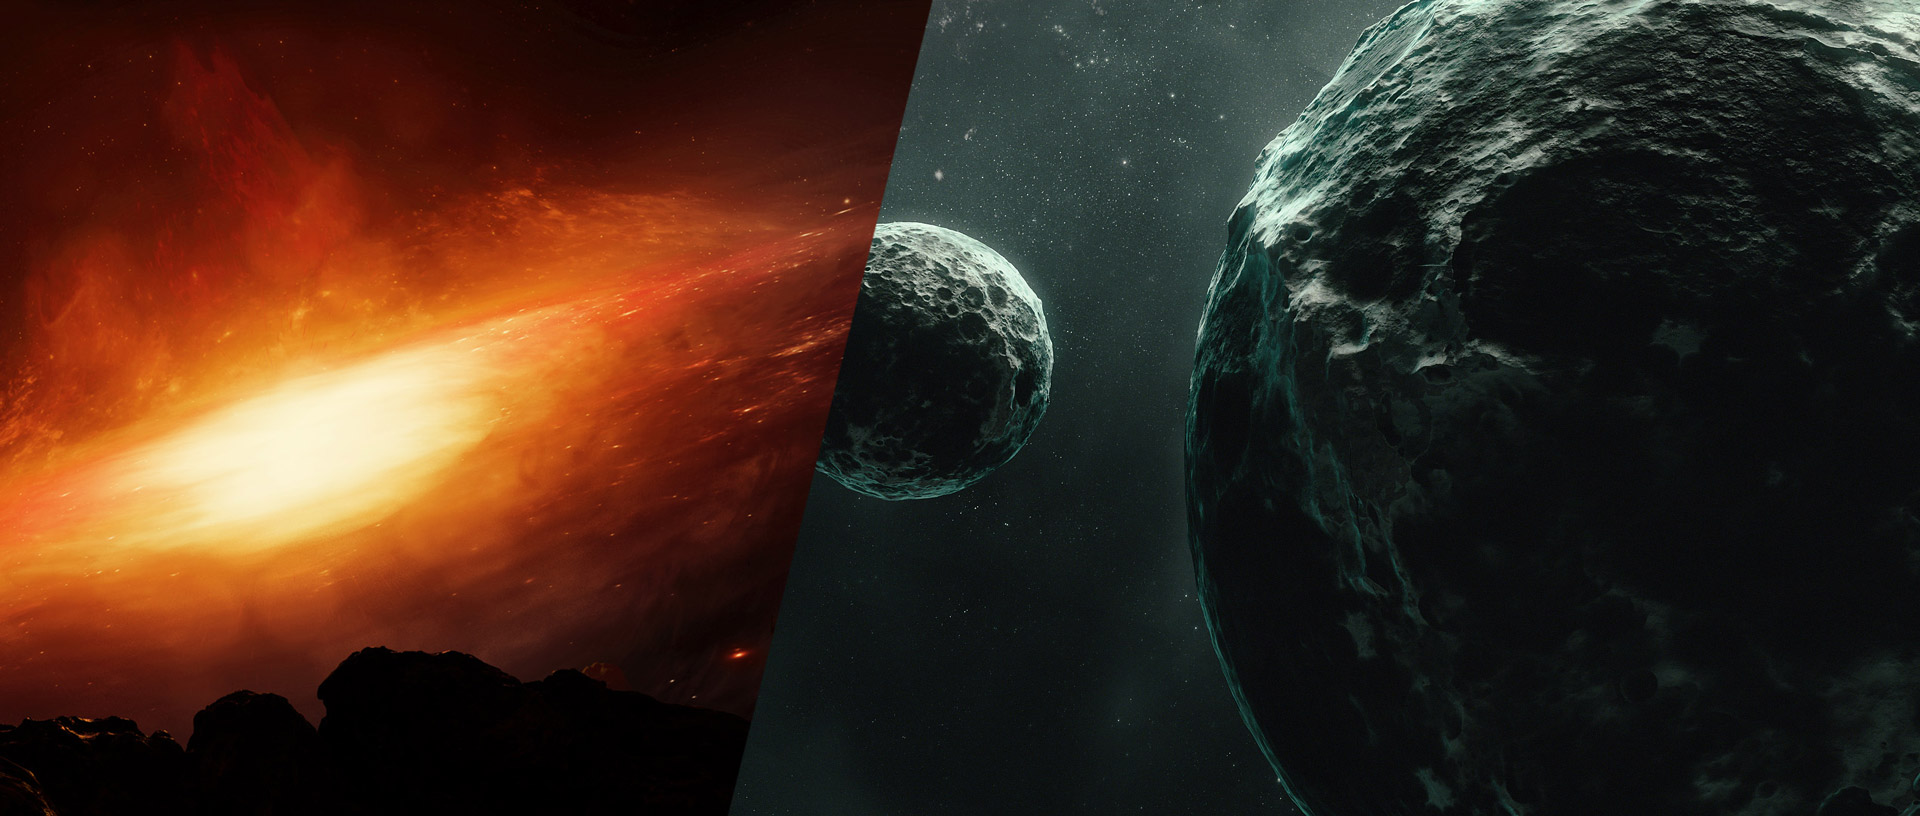
What is Space VFX?
After watching this 14+ hours video course you’ll be ready to create any space object in Blender. Quasars, gas giants, planets, black holes, asteroids and more.
Aidy Burrows and Gleb Alexandrov, two Blender geeks joined forces to create this cosmic tutorial series.

Brendon
Just thought about this for a sec, i should be able to apply these modifiers to get real geometry, Which i can then export and 3d print,,,,,oh so many ideas for spacey things both virtual and physical
Gleb Alexandrov
I had this crazy idea: what if we create a bunch of renders of the microdisplaced model from different angles, and then reconstruct the 3D model in photo-scanning soft? aa? 🙂 that could be interesting experiment. We may get real geometry this way.
David Fromholtz
So crazy it might just work. I had an idea, Create Sphere – Create 1000 cameras- Assign cameras to sphere points facing inwards- Photoscanning sphere? Sounds stupid but maybe?
Gleb Alexandrov
I think 200-400 cameras would be enough 🙂 or just 1 camera, animated to orbit the sphere in 400 frames.
David Fromholtz
I like it! P.S I animated an alien xenomorph to add into the displacement tutorial 😉
Lionel Pat
Hi. Is the displacement going to be analysed as such with a 3D printer ?
Gleb Alexandrov
Lionel, I think it won’t count as geometry, for 3D printer. But honestly I have zero experience in this area. We need the advice of someone who tried it already.
Lionel Pat
Thank you for your answer
shadowlights
A test https://uploads.disquscdn.com/images/c494b4f1a5794890d66c82d009c28d3308aba96e8d1e553903e36b4f9f5049b0.jpg
Gleb Alexandrov
Is it translucent? Interesting effect, shadowlights.
Rune
It is glossy & transparent mix 50%, mixed with Emission by Layer Weight Facing
Michael Petrík
caught my eye 😉
Peridigital
Huzzah, thanks Gleb!
https://uploads.disquscdn.com/images/cd6410c5217c9bb78f27f117d0e0be5e8767c2e4ee8311ea554094f3cb33bf60.png
Gleb Alexandrov
Good, I like it! Maybe the geometry is a on a bulgy side, but probably it’s my subjective point of view 🙂 I would keep it a little bit flatter.
Thanks for sharing!
what to do in blender
this video inspired me to recreate the moon in blender i didnt buy the video course i made it myself what do you think of it https://uploads.disquscdn.com/images/a8d11c955dee8abec86552ce8066e08fdfaf6506573125b6860e2d88d406406e.png
Gleb Alexandrov
Looks convincing to me! It would enjoy the higher resolution, and the seams are slightly visible, but other than that it’s cool.
what to do in blender
thanks gleb
Matthew Bennett
Tried the tutorial – made my depth map with a lot of HardOps help.
I used the same texture you did – I thought it would be cool if the color were actually an emission shader, but didn’t have much luck. Any thoughts on how that might be done?
https://uploads.disquscdn.com/images/ac2243c28630cc4600474e4b6e6c244f0be6eb4ddb28e99a9ebc2db53a008c43.png
Edita Aksamitiene
Thank you very much for this tutorial. With your guidance, I learned how to make my own 32 bit depth maps and apply them to different meshes. I also experimented with color gradients. However, the color transition in case of cylinder (knob) height is not smooth enough (distorted). Do you know how to overcome this? Here is png file of my original exr. https://uploads.disquscdn.com/images/7422ea3f1e775484dbeeb94c47c75c5e81afe659d8ce226001b44096d1513277.png https://uploads.disquscdn.com/images/5b8e0fdb05b3d4e2c1e9d597bebf8d4540341e7037a42049d0e8d77e61f82e63.png https://uploads.disquscdn.com/images/e171250b17e6535d9ea5c14fcdc0771e22a087234c63ad7b9cf00056f8e29ff5.png