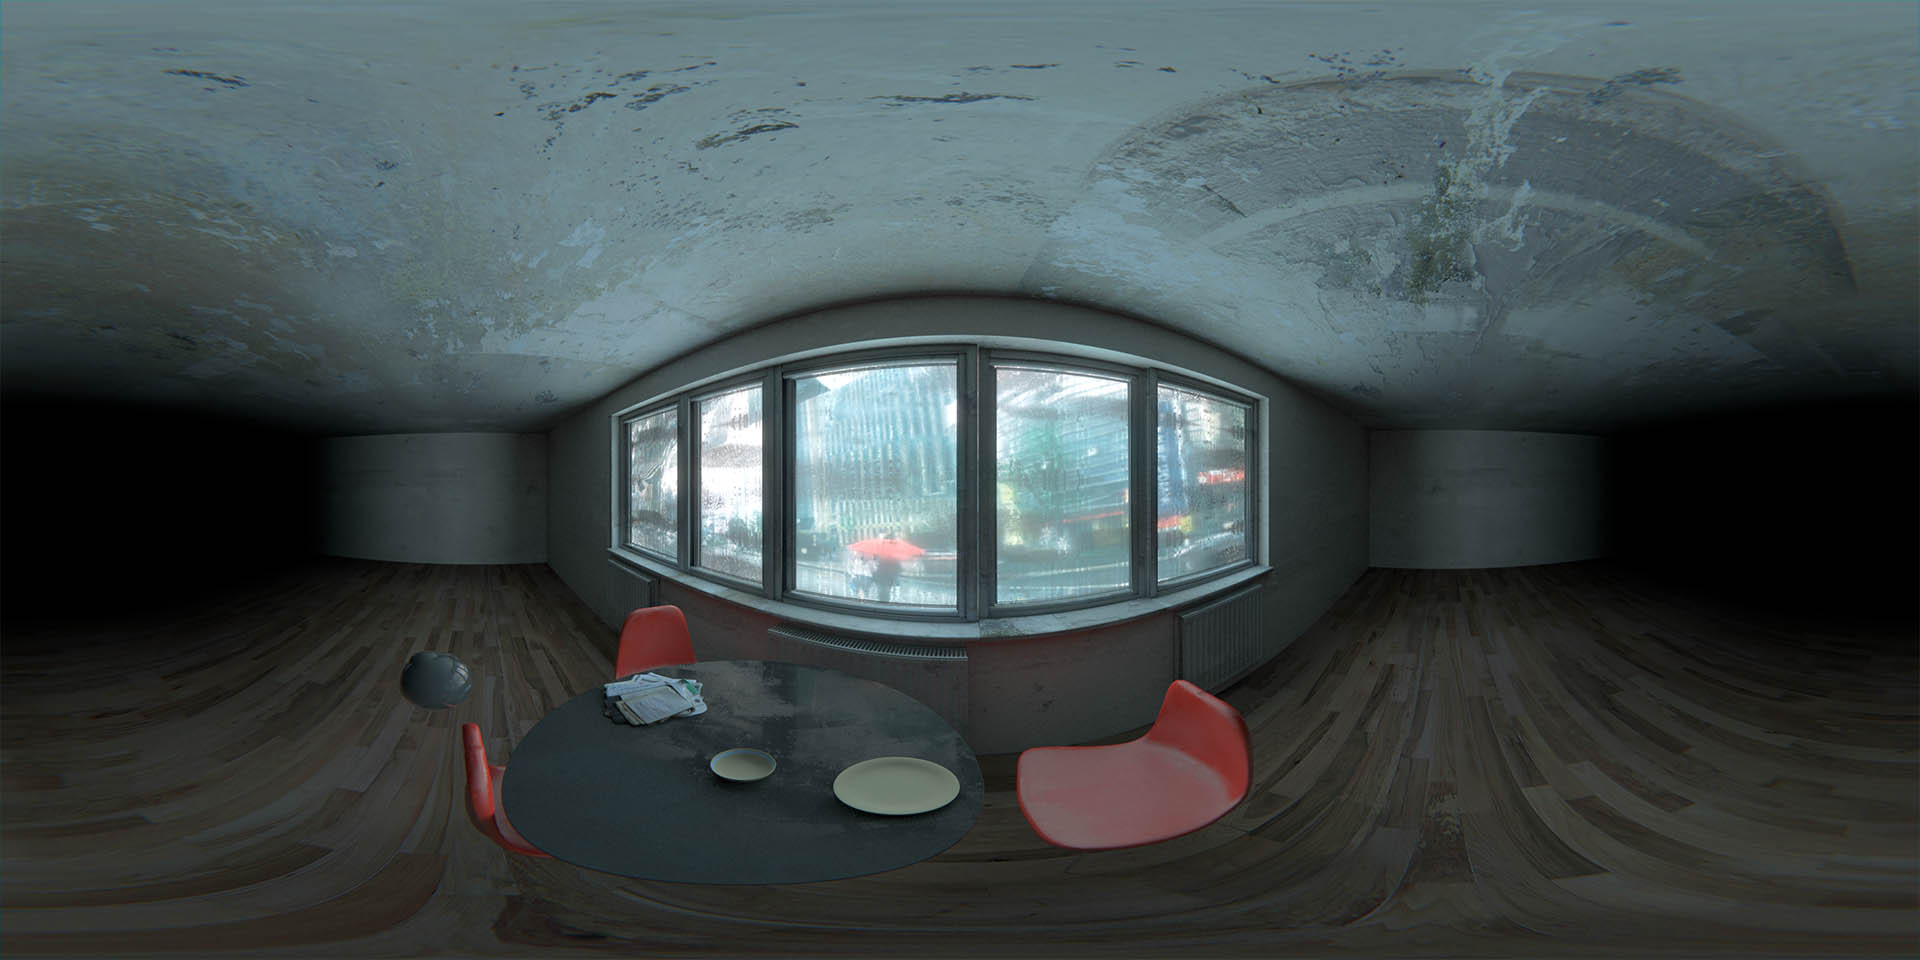
In this Blender tutorial we’ll render 360° HDRI and use it to illuminate the other scene. Watch now to learn more about equirectangular images and HDRI panoramas.
Download the final result, 4k HDR
Important:
1. X=Y*2. The width of the render must be two times bigger than the height. Say, if you set the width to 2160, set the height to 1080. Otherwise, the equirectangular image will be stretched in a weird way.
2. 32-bit color. Save the render to a format which supports 32-bit color: .EXR or .HDR.
3. Camera. Don’t tilt the camera.
4. Resolution. For a crispy looking image, set the render resolution to at least 8000 pixels wide.
5. Color management. The color management options, exposure, gamma and so on, play no role in rendering the HDRI. It works only in the viewport.
You May Also Like
(2/7) Basics of Image-based Lighting in Blender
(3/7) Benefits of High Dynamic Range
(4/7) Filmic Color Management in Blender
(5/7) HDR Lighting in Blender: Look Development
Over to You
Go ahead and render some HDRI’s (I rendered my own from this scene by the way). It’s a lot of fun and the panoramic cameras are fun on their own too.


marcdraco
One of these days, the coffee (or some other beverage, perhaps something alcoholic?) is on me Gleb. Love to the family mate.
Gleb Alexandrov
The coffee would be fine, though one or two beers would be also ok by all means. high fives, Marc.
marcdraco
You got it my friend. Let’s do it at the earliest opportunity.
Néstor Arellano
This is great!!! Now I know how to make my own HDR images. Thanks, Gleb. 😀
Gleb Alexandrov
Néstor, isn’t that great? spreading the knowledge and joy among the globalized 3d generalists doing cool stuff. I love living in the 21st century so far.
Paul Stein
Top notch as usual, much appreciated. I’m sure you already know this , but if you highlight the environment texture node, press ctrl+ t, you get an automatic mapping node and coordinate node in one click. (assuming node wrangler is enabled).
Gleb Alexandrov
Sure thing Paul, thanks for mentioning this! I think I’ve included it in one of the future tips (there are two more packs to come 🙂