Photogrammetry opens up a whole new realm of creative potential for 3d artists and environment artists. In this article, written as a follow up to Gleb’s Blender Conference 2023 talk, we’ll explore how we can tap into this exciting technique for creating environments that looks authentic and real. Photoreal, if you wish.
—
As it turns out, we’ve been using photogrammetry quite a lot in our Creative Shrimp projects. We’ve been using it to digitize historical artifacts; for capturing details that would be a pain in the neck to model in any other way. We’ve built some miniature movie sets, like this Millennium Falcon, then photo-scanned it for fun.

Most importantly though, we’ve been using photoscanning to create life-like 3d environments. Mostly abandoned hallways and such, made of the shards of Brest (Belarus), Warsaw, Vilnius and other places we’ve been to.
—
A GENERIC PHOTOSCANNING WORKFLOW
There are a few really interesting things that we can do with photogrammetry as 3d artists and as environment artists…
But first, here’s a quick refresher of what a typical photogrammetry workflow entails.
- capture a bunch of photos of an object or an interior space from different angles;
using the best capturing device you have; making sure there’s enough overlap between the photos and everything’s sharp and clear; - load these photos into your photogrammetry software of choice;
eg Meshroom, Colmap, Metashape, Reality Capture, etc - let the software calculate similarities between the source photos and spit out a point cloud that can then be used to deliver a high density 3d surface;
- optionally, with texture;
That’s how it works. That’s the generic workflow anyway.
—
CAPTURING EQUIPMENT
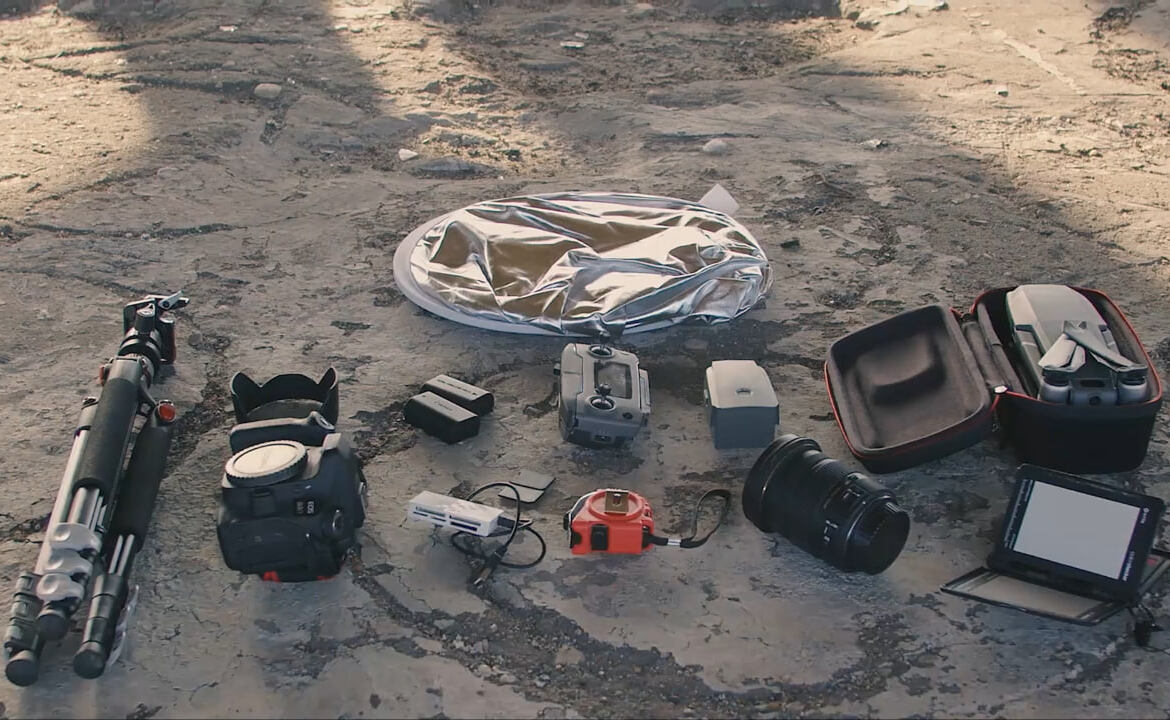
What equipment do you need to start photo-scanning?
We often hear that you just need a device with a sensor and you can start doing photogrammetry. And that is true. But as a 3d artist, I find it somewhat frustrating how much photographic equipment has accumulated over time, in addition to my DSLR camera (I use a Sony A7iii with a Tamron 24-75mm f/2.8 lens or some of my primes because primes are generally sharper, but there was a time when we were using a Canon 80D with a Sigma 17-55 f/2.8 or pretty much any DSLR or mirrorless camera available).
Then you start thinking about getting a tripod. It is a must-have for keeping shots steady.
A ruler and a color checker come next.
And then: “Should we get a drone?”
It escalates quickly.
Let’s put it like this: a low or medium-range DSLR or mirrorless camera is probably all you need if you have just started.
But what camera is best for photoscanning? This video is as close as it gets to answering the question “What camera is best for photoscanning?”. There, we talk about the 3 parameters of any capturing device that make all the difference in photoscanning quality.
And in this one we talk about what are the optimal camera settings for capturing the highest quality photos for 3d reconstruction.
—
PHOTOSCANNING SOFTWARE
As for the software, there are many options to choose from.
What we’ve been using mostly is Reality Capture and Agisoft Metashape. Fantastic tools, really fast and good quality. And commercial as well. Reality Capture has an interesting pricing option called PPI or Pay-per-Input (here’s our video with some advice as for optimizing the cost).
Meshroom and Colmap are the open-source alternatives. Which are also quite capable, in fact fantastic considering the price, just not as obscenely fast as Reality Capture and Metashape just yet.
Somewhat counter-intuitively, the open-source tools are arguably *more* demanding about the quality of the photos (for now). In other words, you may need slightly more expensive equipment and a more powerful computer to get the reconstruction results that are on par with the aforementioned commercial software options.
Still, we should absolutely support open-source, because we know what happens to commercial enterprises.
It’s also worth noting there are also mobile apps like Luma AI and Polycam.
—
5 PHOTOGRAMMETRY WORKFLOWS FOR ENVIRONMENT ARTISTS
When it comes to environmental design and photogrammetry, there are different ways to use the toolset offered by 3d reconstruction software. Here are 5 workflows (not the exhaustive list!) that are distinct in their goals and the type of data that you gather.
Distinct enough so we can write about each of them separately.
1. THE WHOLE SEAMLESS ENVIRONMENTS
2. MODULAR ASSETS
3. CHARACTERS
4. PBR MATERIALS AND MAPS
5. LIGHTING
—
WORKFLOW 1a: (CAPTURING) THE WHOLE SEAMLESS ENVIRONMENTS
The first workflow on our list is capturing the whole seamless environments. This might seem silly, what would you do with such a model anyway? But it’s the one that has given us some amazing location snapshots.

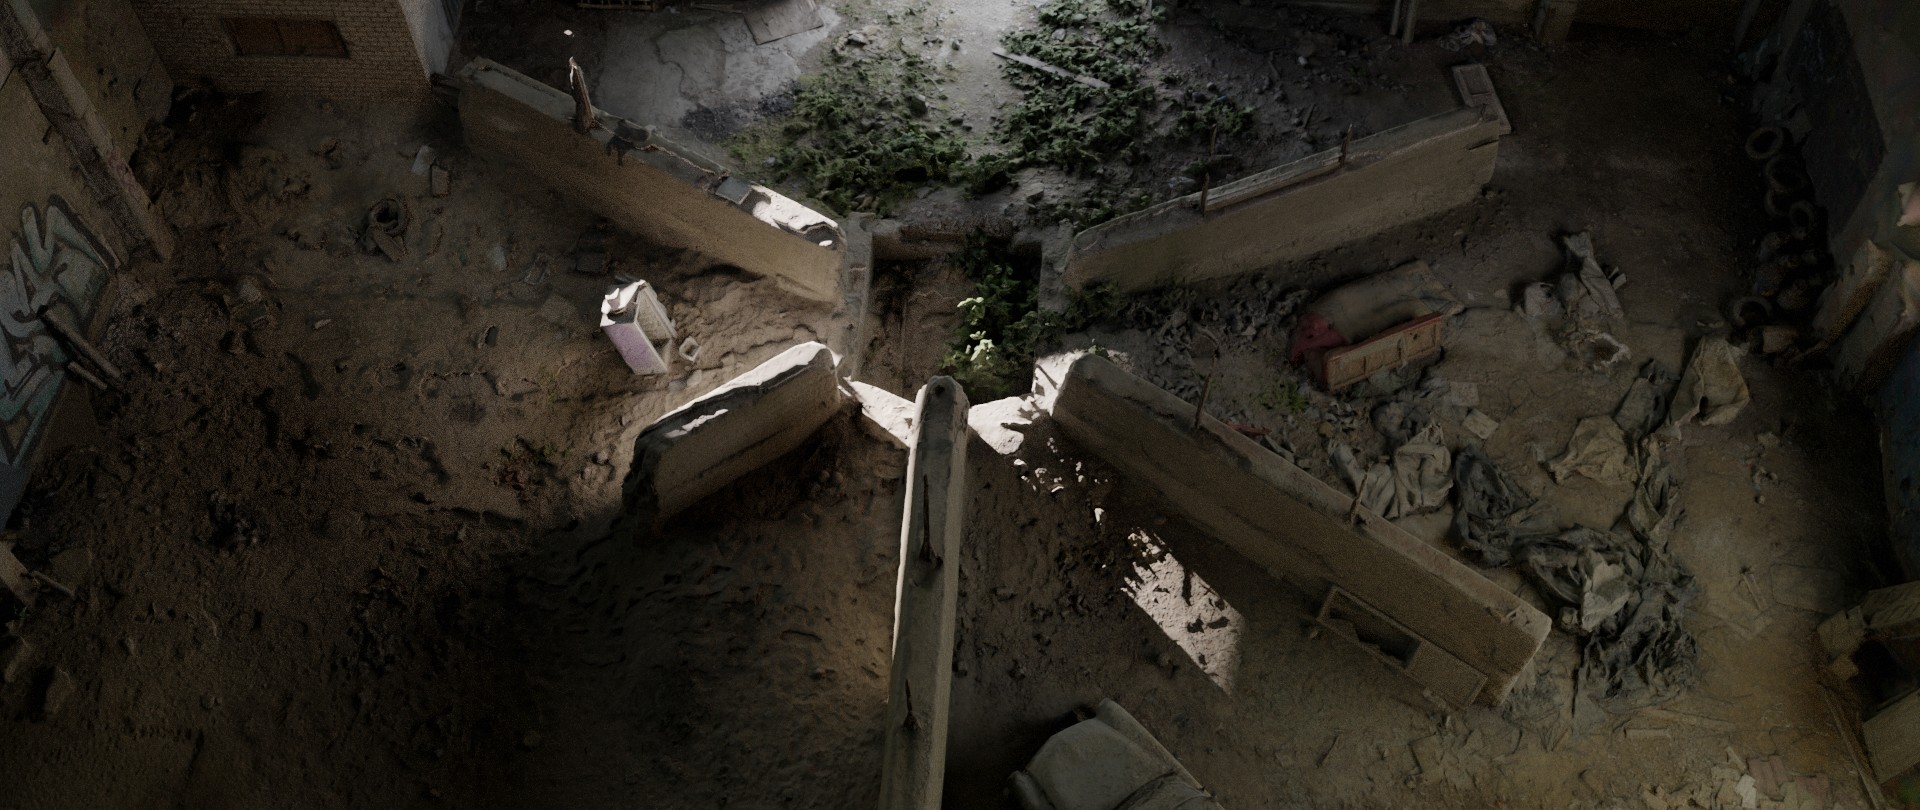
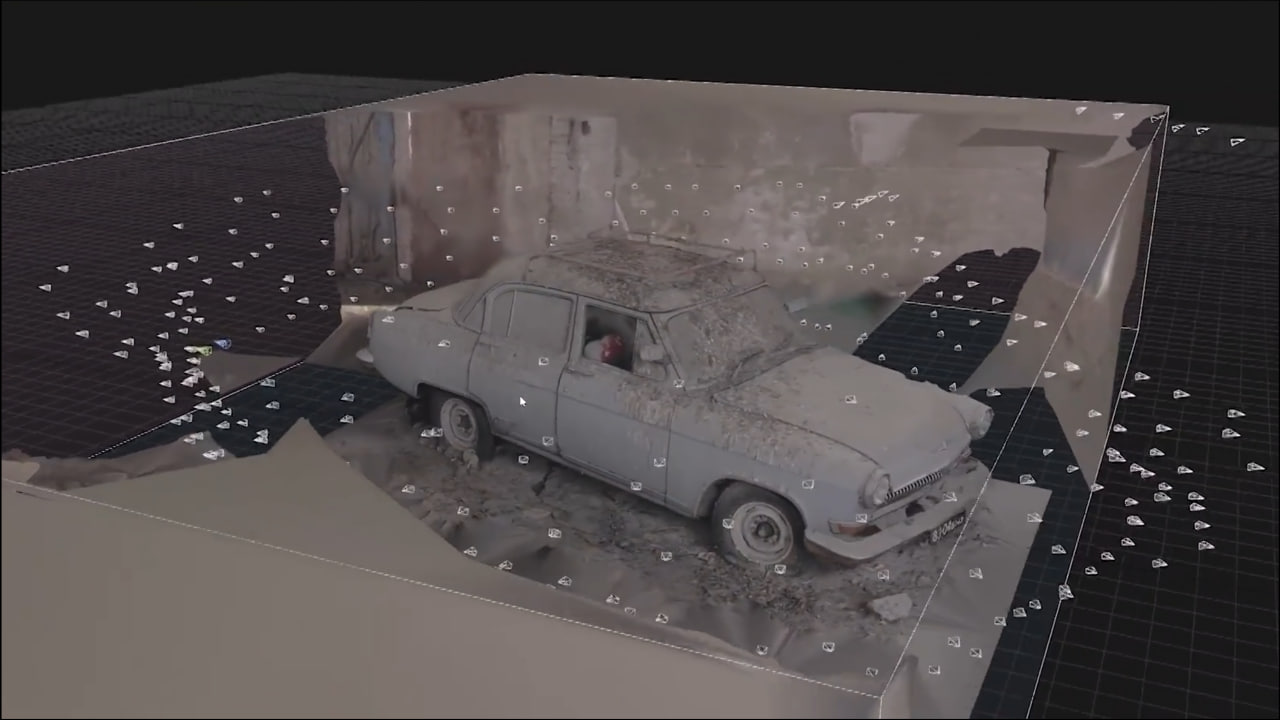
When we arrived at the abandoned warehouse near Brest (Belarus), our goal was to digitize the Volga car that has been standing there for half a century, collecting dust and bird excrement.
And that’s what we did.
But then, before leaving the place, Nik proposed to bring a drone next time to capture an isometric view basically.
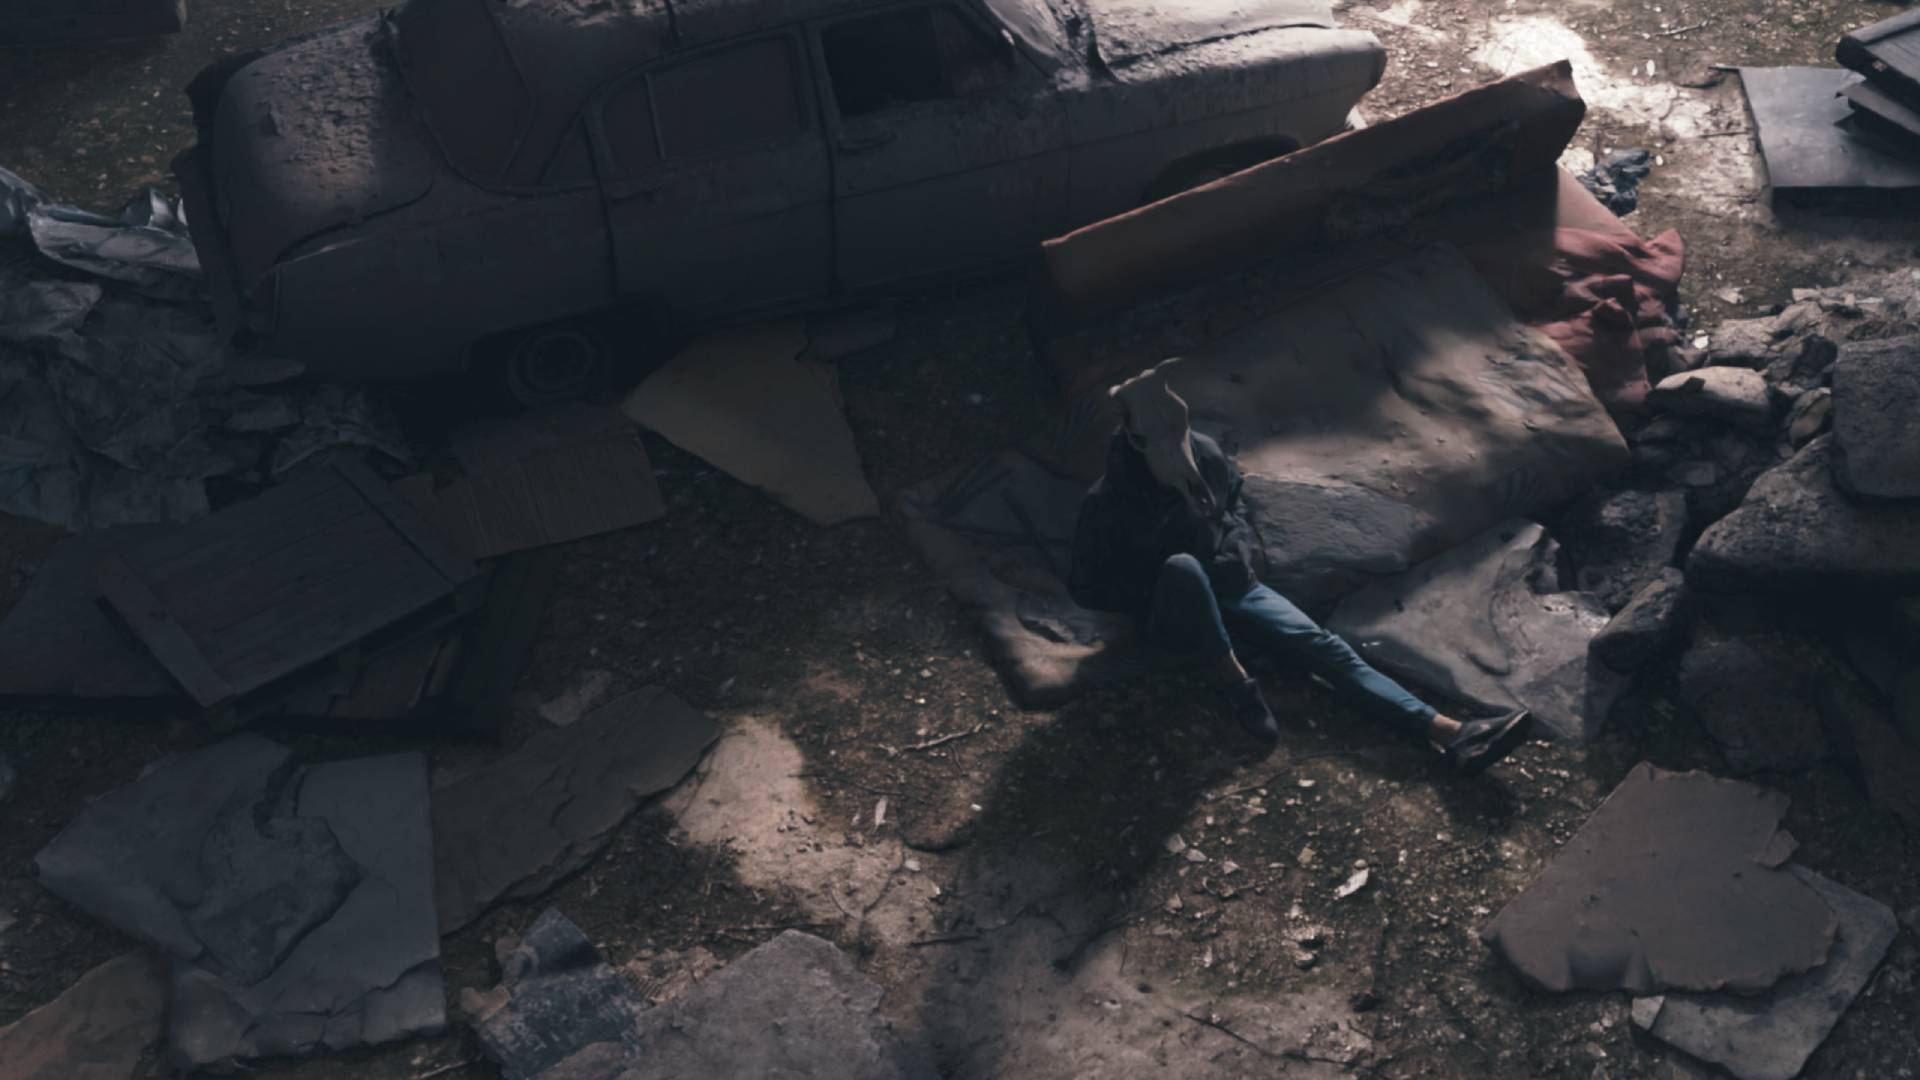
And when I saw it reconstructed in Reality Capture, I thought, damn! I can totally imagine this as a game level in some indie RPG that uses the isometric view.
Especially if you pepper it up with dramatic lighting.
—
Double so if you throw in a playable character (this is a quick demo put together in Godot by Aidy).
—
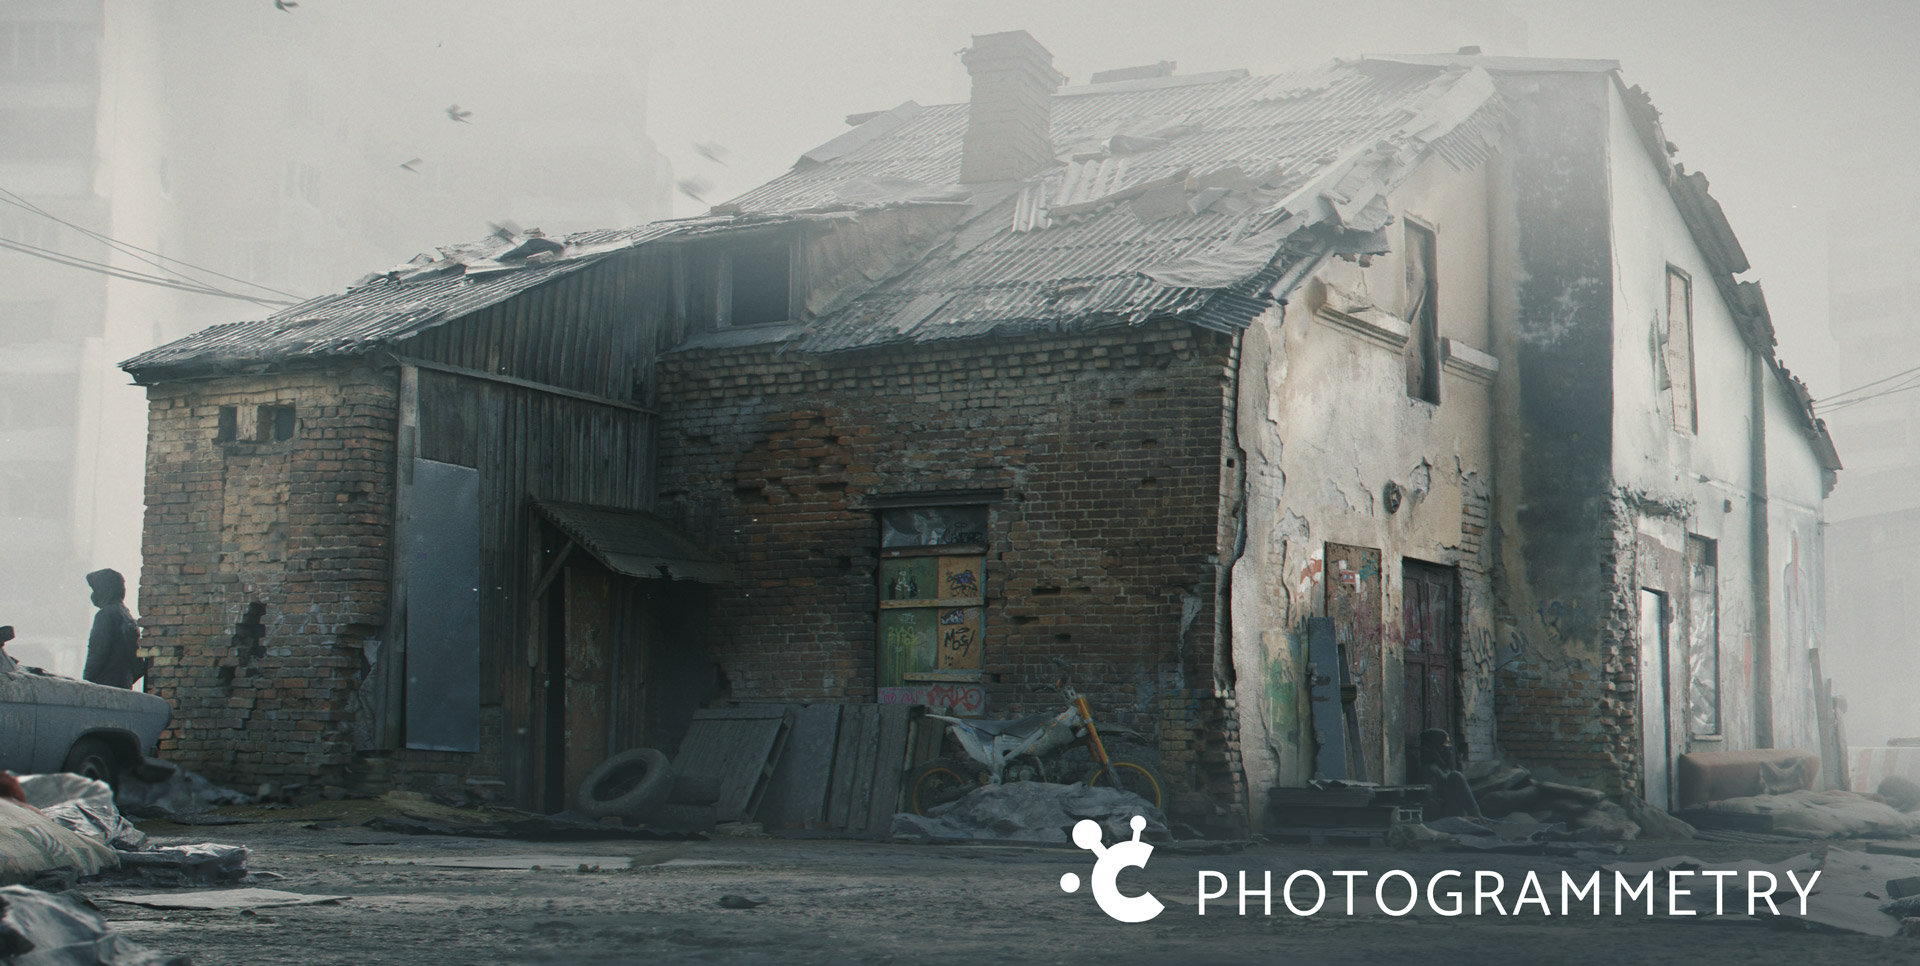
If you’re lucky enough to have some amazing historical locations nearby, like this 18th century Bernardine monastery in Brest, rebuilt into a military hospital, a gem in our collection of abandoned places, photographed some 15 years ago, you can totally get some nice environments captured almost in one piece. Given you have enough time to spend there.
Even though it’s not a super flexible workflow, capturing the entire space like that, walking with a wide angle lens and an on-camera flash through the dark and cold corridors, you can’t argue with the photorealistic output it produces.
It just looks… real. Which it is.
Even with a cinematic lighting treatment in Blender it still looks arguably better than many games. It’s hard to beat that kind of photorealism, which comes unfortunately at the cost of flexibility.
—
THE CONS
Aside from that, a notable downside of such approach is that as every polygon and texel in such model is unique, the meshes and textures end up pretty heavy.
- The good locations are hard to find
- The lack of versatility
- Performance
—
That being said, even the lower res environment scans found on Sketchfab like this funerary monument by Morbase | Museu Virtual can work really well as a base for your next Blender animation.
Once you start throwing in lights, effects and particles.
—
WORKFLOW 1b: (CAPTURING) THE WHOLE ENVIRONMENTS – RADIANCE FIELDS
When it comes to creating the complete snapshots of environments, the neural radiance fields (or NERFs) seem to do an even better job.
Unlike the traditional techniques, these novel view-synthesis methods can actually capture a lot of extra data: the wispy details like vegetation, or hair, but amazingly also the dynamic material properties like reflection and refraction.
The stuff that was unthinkable using more traditional photogrammetry tools now comes to life thanks to Gaussian Splatting and other NERF algorithms.
The demo below was created in the Inria’s open source Gaussian Splatting Github app. The beginner tutorial by The NeRF Guru, without which it would be impossible for me to make sense of it, is linked here.
A caveat: it requires a powerful GPU (I have RTX 2080ti, but NVIDIA GPU with 24GB VRAM or more is recommended).
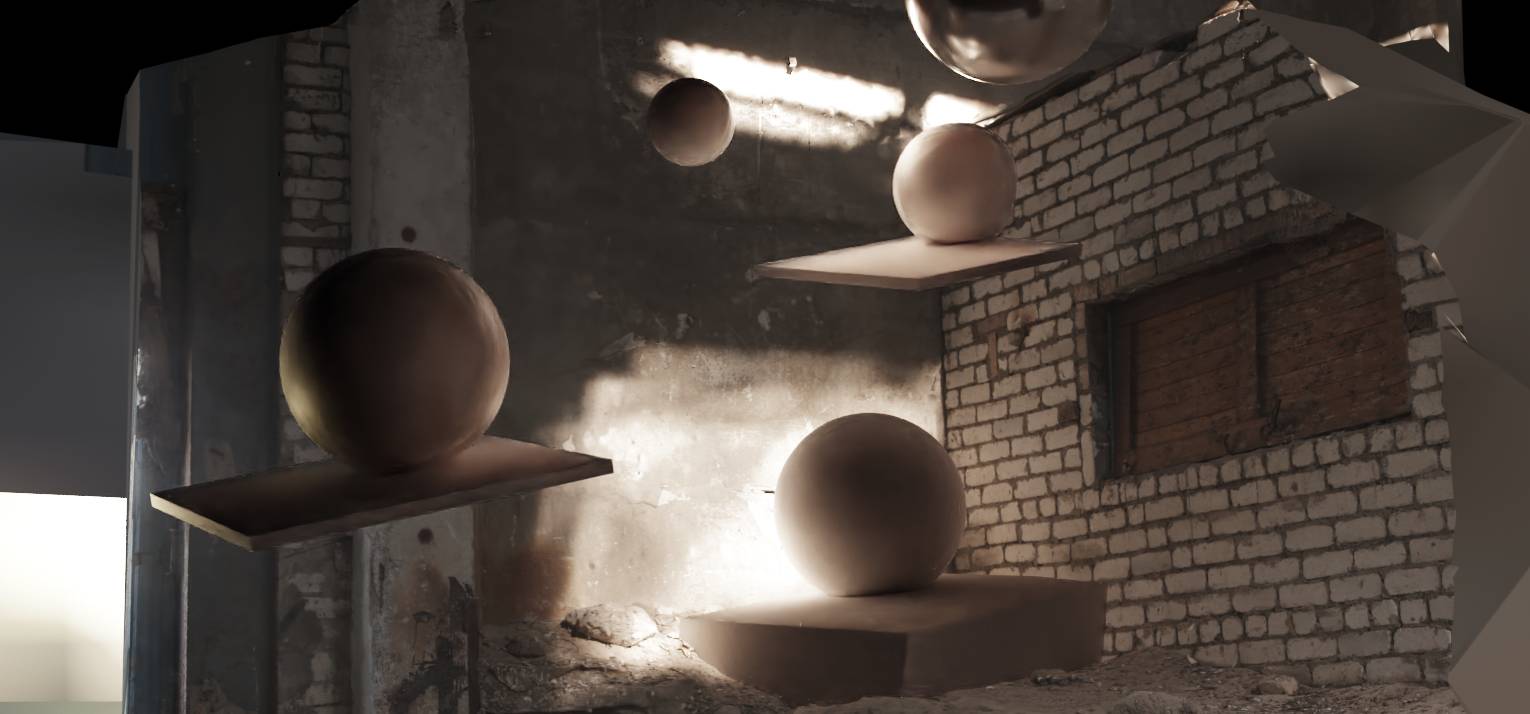
Speaking about reflections, here’s a quick demo of the highly glossy scenery that we built and scanned just before going to Blender Conference 2023.
Honestly it’s pretty mind-boggling to see it captured by the means of photogrammetry at all.
I wonder what happens when the animation part of the puzzle falls into place. Will it be a photogrammetry bingo card completed?
—
This tech is becoming mainstream really quickly, too. We can already try gaussian splatting in the Luma AI and Polycam apps (for our smartphones).
—
THE CONS
- tricky to edit
- non-versatile
The problem with radiance fields is that it isn’t super clear how to edit this stuff just yet. The tools for editing gaussian splats and NERFs are still in their infancy, in other words.
But this tech is developing fast. We should watch this space.
P.S. Here you can see a demo testing the thin-structures capabilities of gaussian splatting in Luma AI.
—
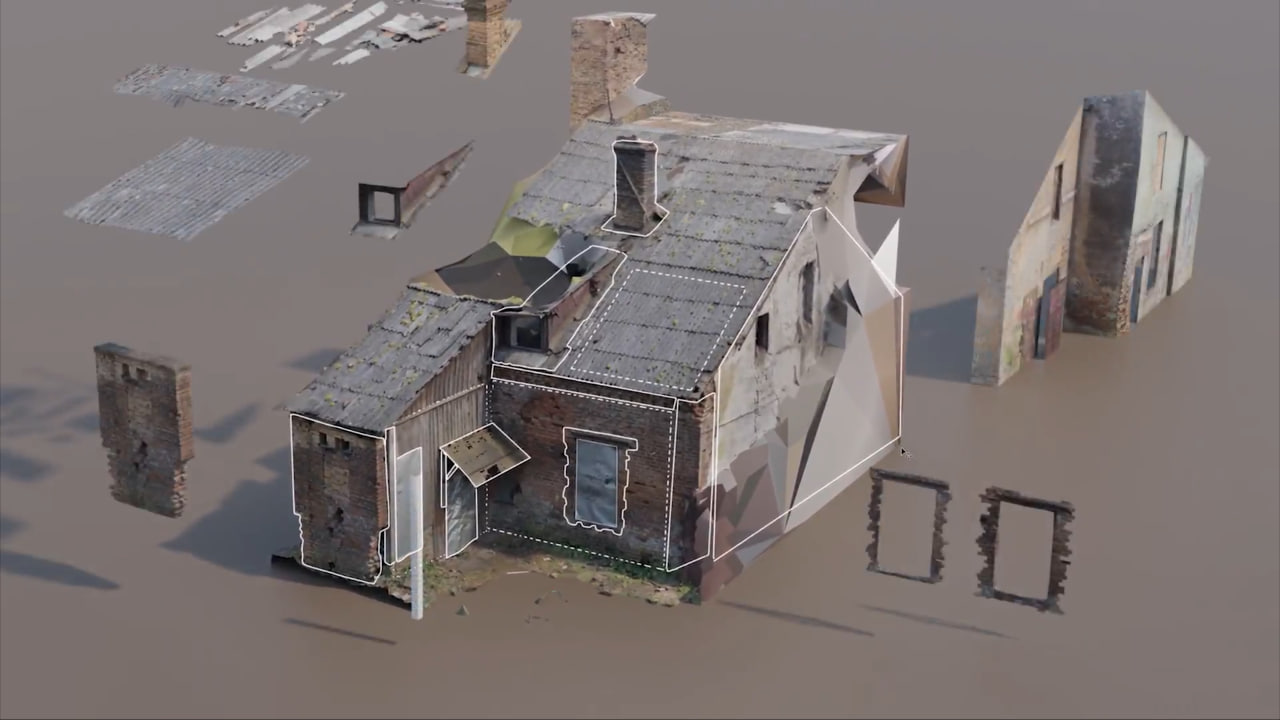
WORKFLOW 2. (EXTRACTING) MODULAR ASSETS
A far more versatile workflow of course would be a modular one.
Meaning, finding a cool location and dissecting it for props. With the goal of creating the asset library that captures the essence of this environment. So we can make *any* kind of environment like the one we’ve just scanned.
Incidentally, that’s the industry standard.
—
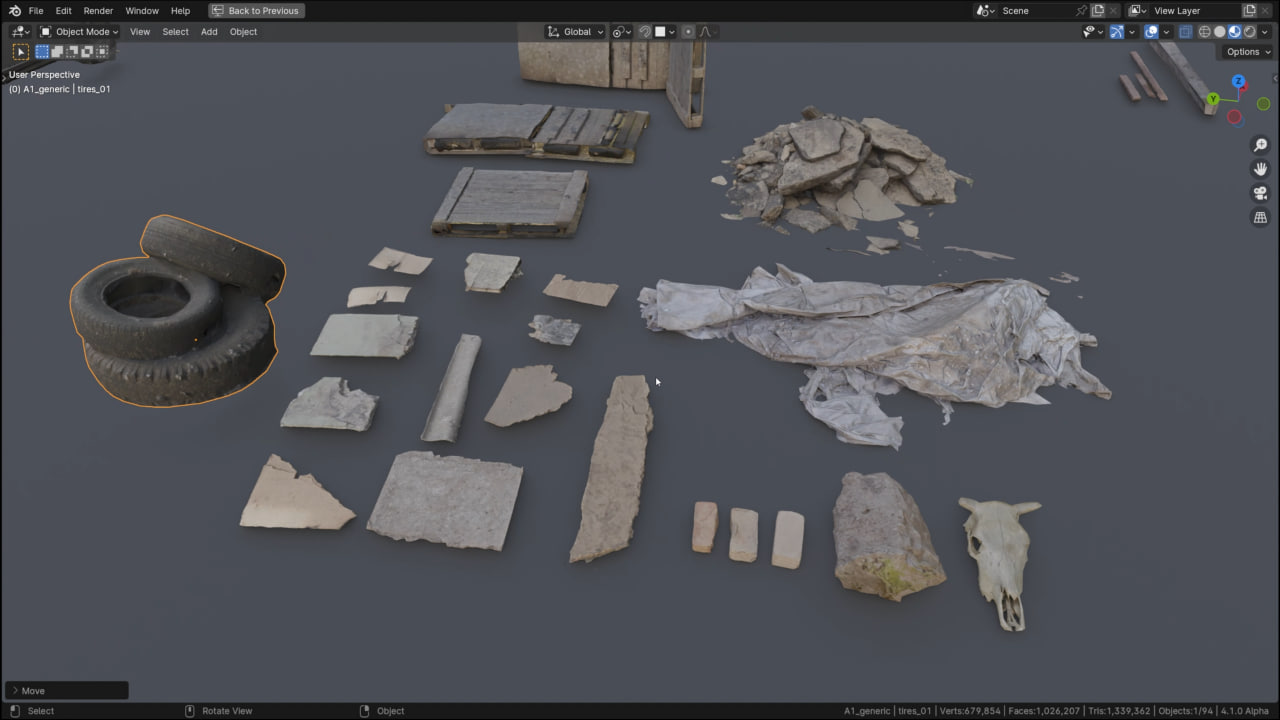
Going back to our warehouse environment, we could have scanned:
- The hero assets like this Volga
- The medium and small-scale props
- Surface textures
- Decals
Whatever can be salvaged there. The goal is cohesiveness. Scanning such library around the same environment is like a locked-in art direction. Everything in this warehouse was equally dusty, forsaken and coming roughly from the same historical slice. Imagine fine-tuning such a look across dozens of models. Using this workflow, you get it for free.
Have a look at any of the Scans Factory packs to see how realistic an environment composed of such modular props can look.
—
Of course, then each asset would have had to be optimized; meaning, polycount reduced and the geometry details transferred from the high to the low res meshes (as normal maps for example);
—
Sometimes this process is a breeze.
Say, when you can take a prop back home or back to studio and scan it on a turntable, and maybe flip it during the scanning process, so the software reconstructs a full 360 degrees watertight mesh.
Then it requires almost no post-processing, maybe aside from some polycount reduction (and that can be done automatically) and texture baking (and that can be automatized as well, to a certain extent).

—
But it isn’t always like that. In fact, it’s almost never like that!
—
THE CONS
- Planning
- Post-pro and clean-up
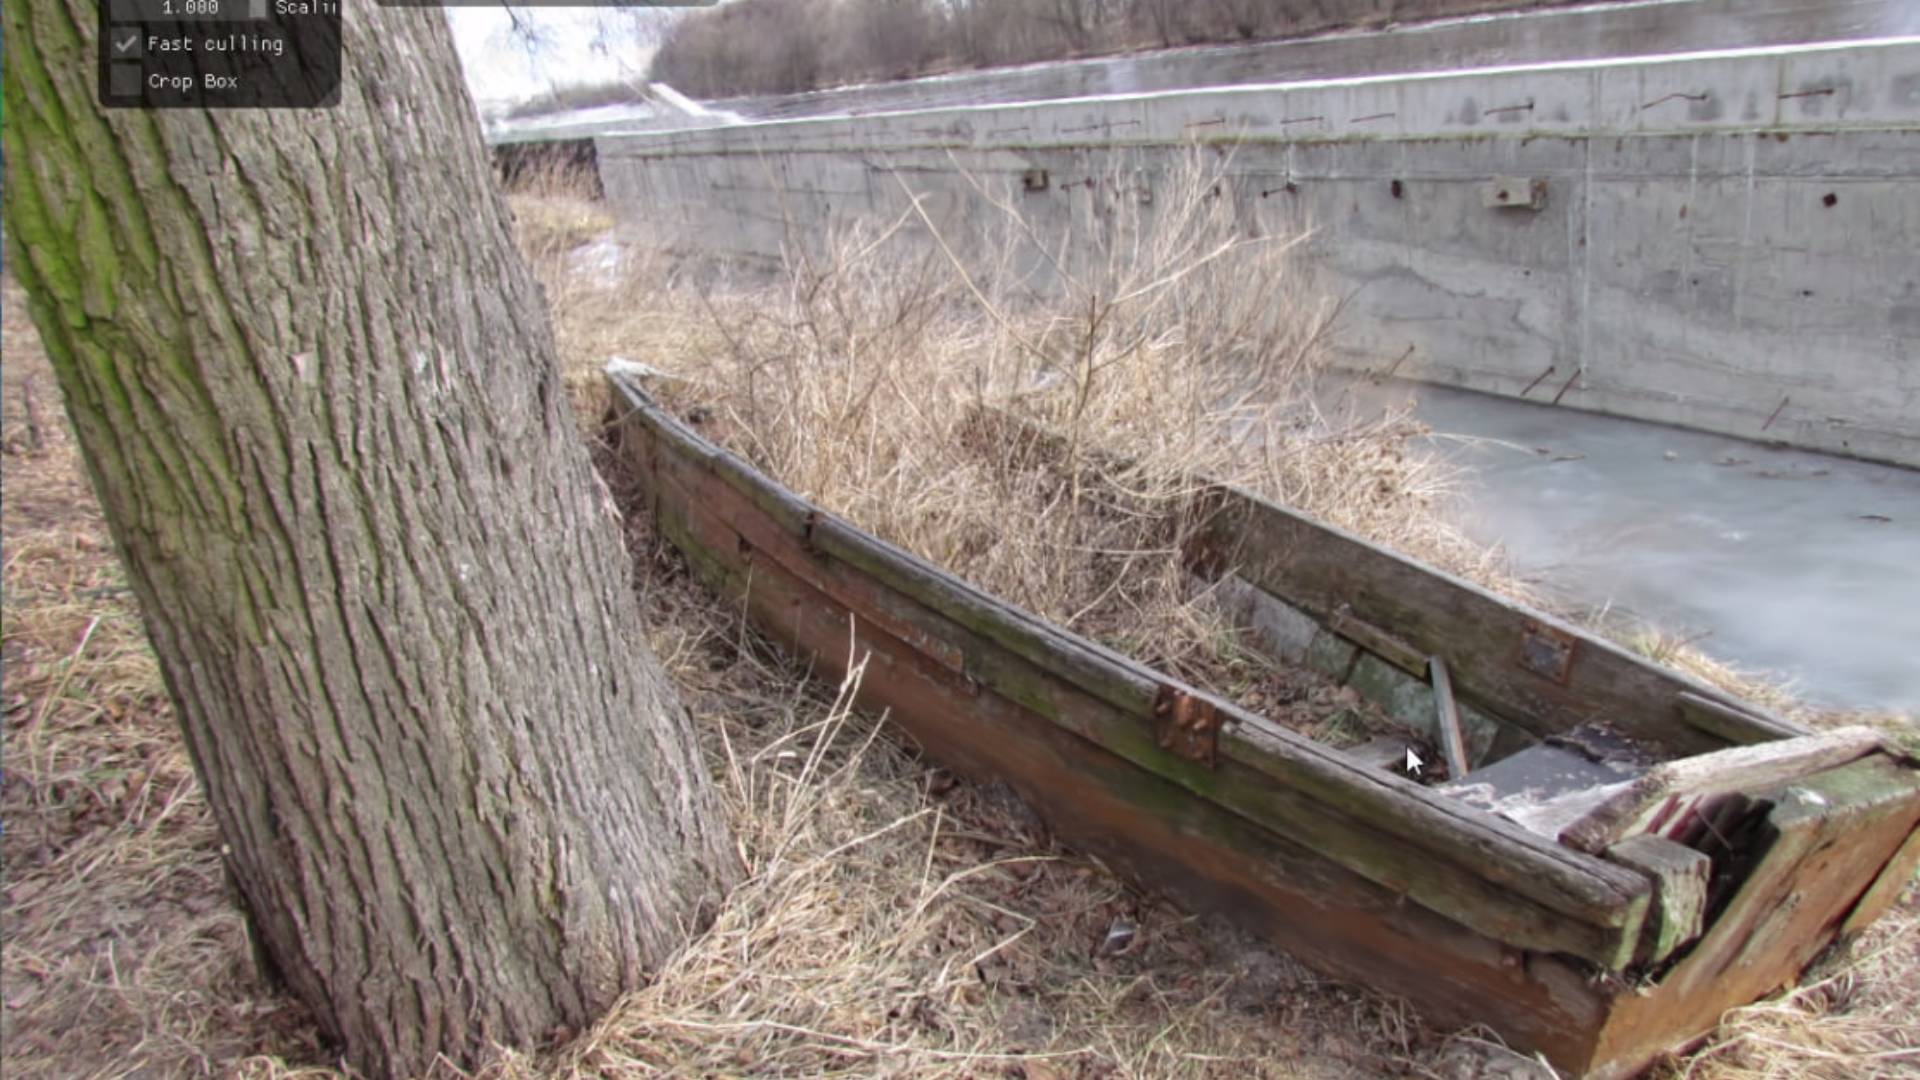
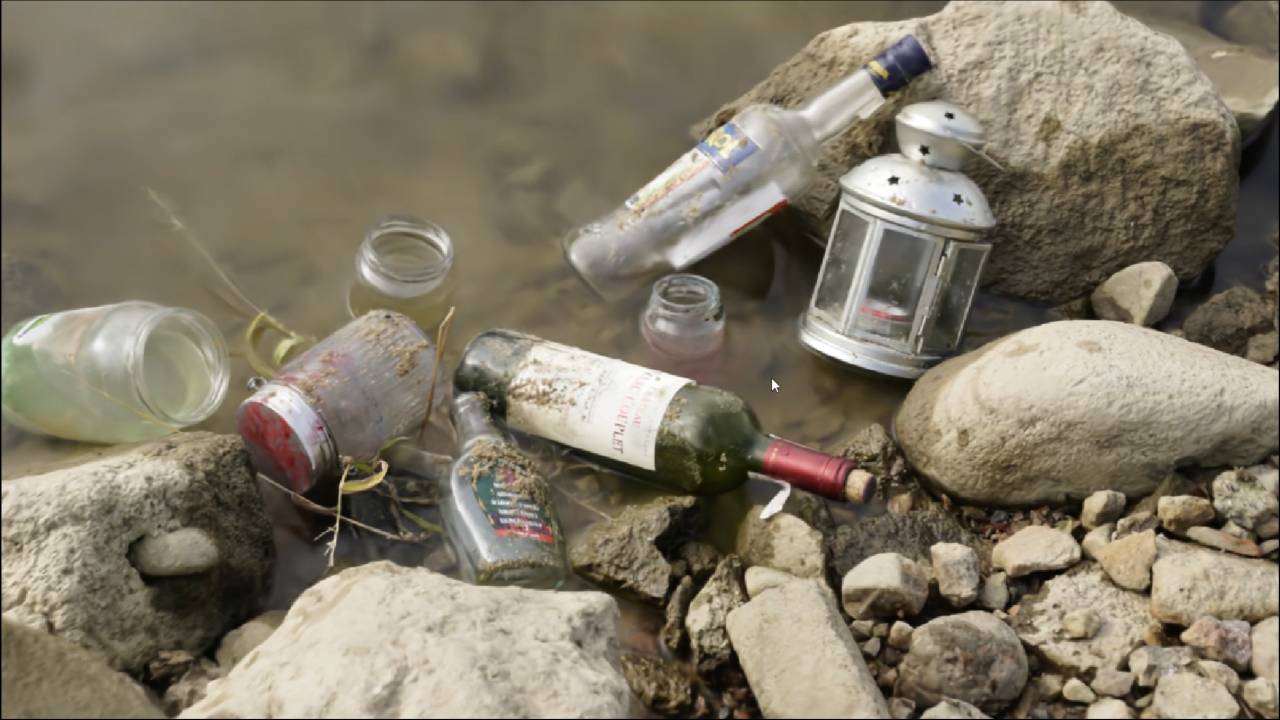
More often than not, raw scans are pretty messy and require an enormous amount of post-pro to make them useable.
Like, imagine cleaning-up something like that.
—
But anyway, nothing is more satisfying than scattering the photoscanned assets that have been prepared in advance. Gathered in the same location. Carefully optimized. The resulting environments can look just as cohesive as the full location scans.
—
WORKFLOW 3. CHARACTERS
Speaking about modular props, characters also fall into this category and can be made with the help of photogrammetry. Let’s say, the background NPCs for your environments like those seen in Ian Hubert’s videos.
—
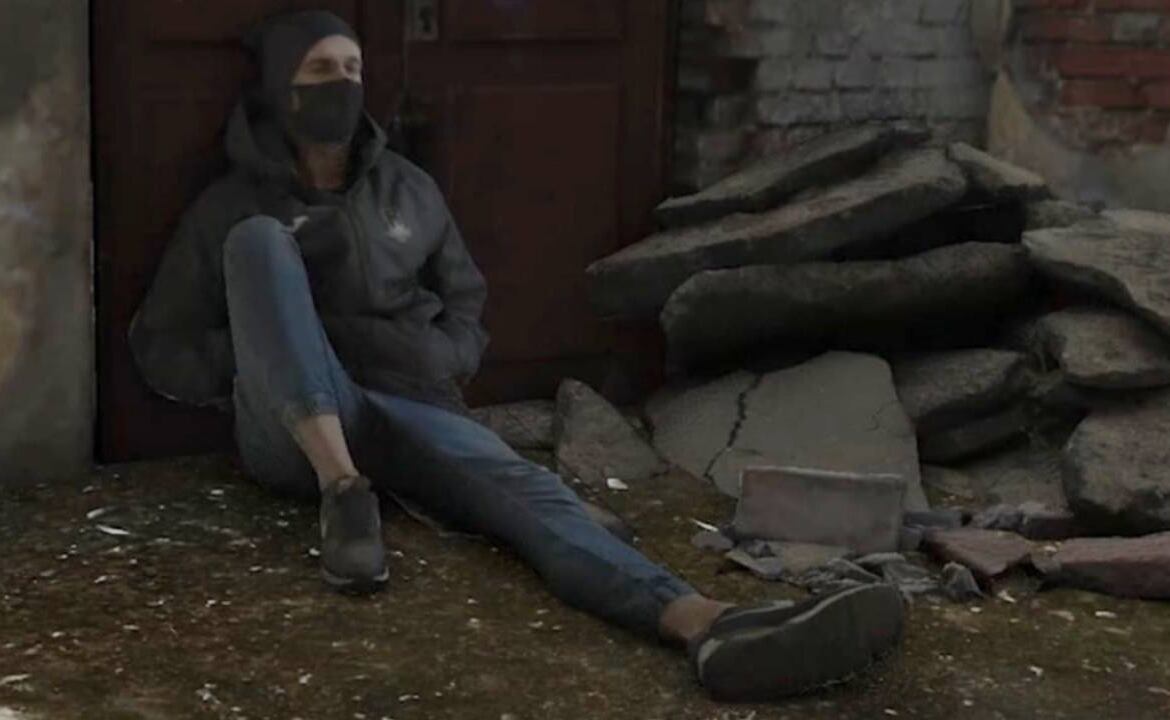
As a quick reminder, it goes like this. First you make a quick scan, add a few bones in Blender, then animate these bones to rotate the torso and the head a little bit while recording the motion. And you get a nice background character doing the background character stuff.
The advantage of this workflow is that we don’t have to use a proper A or T-pose for scanning, we can just scan the characters in the poses they’re supposed to be, like sitting or riding a bicycle.
—
A more advanced variation of this workflow would be to apply the real motion capture data to such quick character scans using one of the markerless motion tracking apps like Mixamo or Rokoko Vision. You can even record your own motion and transfer it to the skeleton with these apps, like Aidy is doing here.
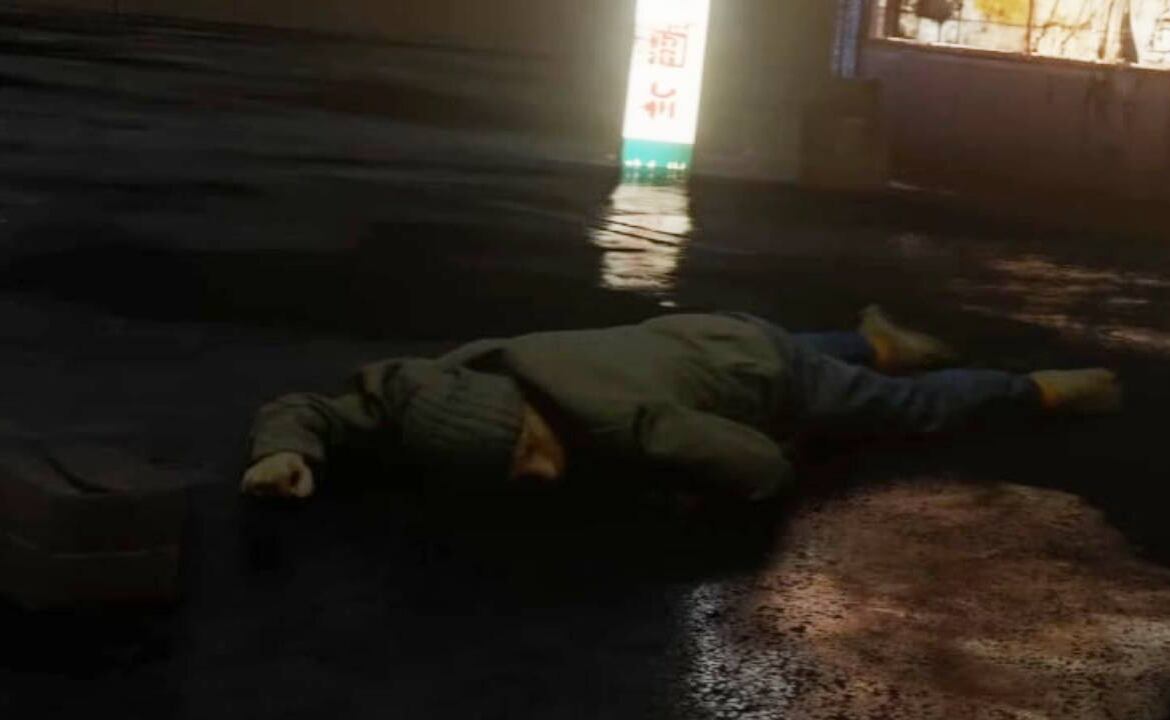
Still, it’s way simpler if the character doesn’t need to move.
People tend to fidget and make the scanning process more complicated than it needs to be. It’s my motionless body you see in this scan by the way.
—
THE CONS
- people are tricky to scan
—
WORKFLOW 4. PBR MATERIALS AND MAPS
Yet another application for photogrammetry in environment creation is, of course, capturing the PBR materials.
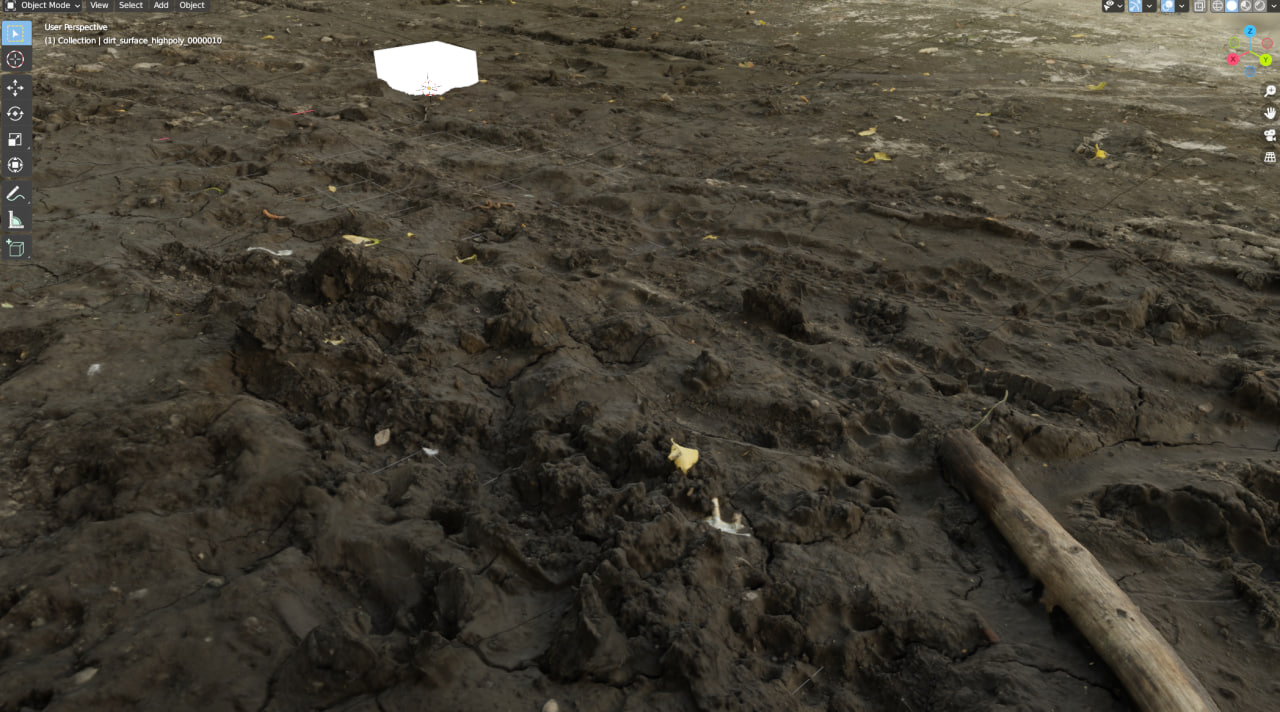
The process is no different from capturing props (or characters for that matter!): first we take a bunch of photos of whatever surface we want to scan, hovering over the muddy ground like a fairy; then reconstruct a high-definition mesh in photogrammetry software.
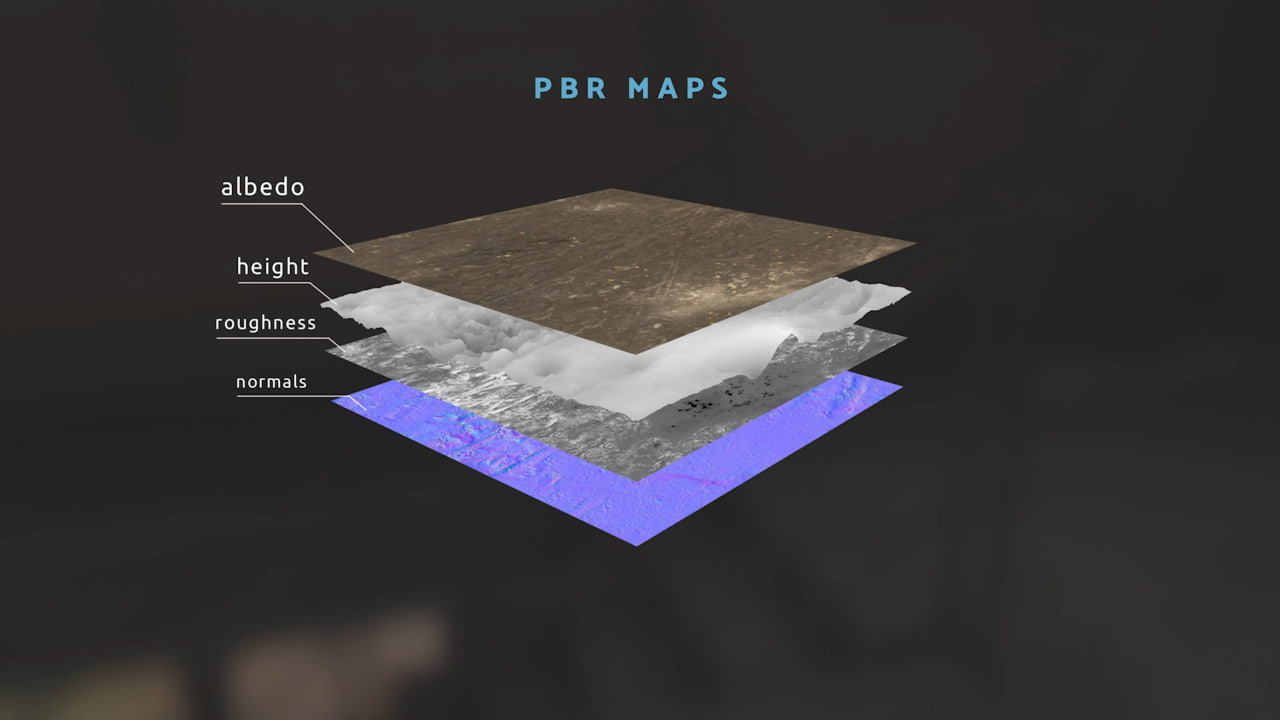
But then, we bake the detail from that mesh onto a flat plane to derive such maps as:
- the diffuse color (or albedo)
- ambient occlusion,
- normals,
- and most importantly the height data that contains the detail about the surface displacement
Then, these maps can be made seamless in Gimp by offsetting and painting across them all at once using the clone brush. This is a fairly new functionality that imitates the Affinity Photo approach to multi-layer editing, and we’re proud to have influenced this feature developed for Gimp with the help of ZeMarmot.
And voila! We’ve got the ingredients for a seamless PBR material.
The shaders like that work extremely well with displacement. No surprise, because in the end we feed it the real heightmap derived from the real surface. The result looks extremely realistic (and runs in realtime thanks to Eevee Next).
—
Additionally, we can use the extracted heightmaps for blending between different materials to create a much-needed variation. In Blender via nodes or alternatively, in Quixel Mixer.
—
THE CONS
- less flexible than procedural workflows (in Substance Designer and so on)
Aside from that, variation isn’t the biggest pro of this technique. The photoscanned materials are quite limited by the source footage. By its resolution and other properties. And simply by the physical availability, unlike their procedural counterparts.
—
WORKLOW 5. LIGHTING
The last type of data that can be extracted from a real-world location, that we will have a look in this article, is lighting. Lighting can be extracted and thrown away or extracted and… cherished.
Let’s talk about removing it first.
—
Typically, the shadows, at least the indirect ones, are removed from textures as soon as possible with the help of Agisoft Texture De-Lighter or other de-lighting tools.
So we can set our own lighting in Blender.
—
Alternatively, the lighting can be flattened during the capturing phase, by using an on-camera flash. This also gives the supernatural ability to shoot in the dark.
—
Or we can go as far as removing both shadows and reflections using the flash AND the polarizing filters. In the process called cross-polarization.
We don’t have time to go into that. But cross-polarization happens when you put a polarizing filter on both the lens and the light.
Like in this video by James Candy.
—
THE CONS
If you were capturing for a virtual movie set though, the lighting data would become precious. Definitely worth retaining!
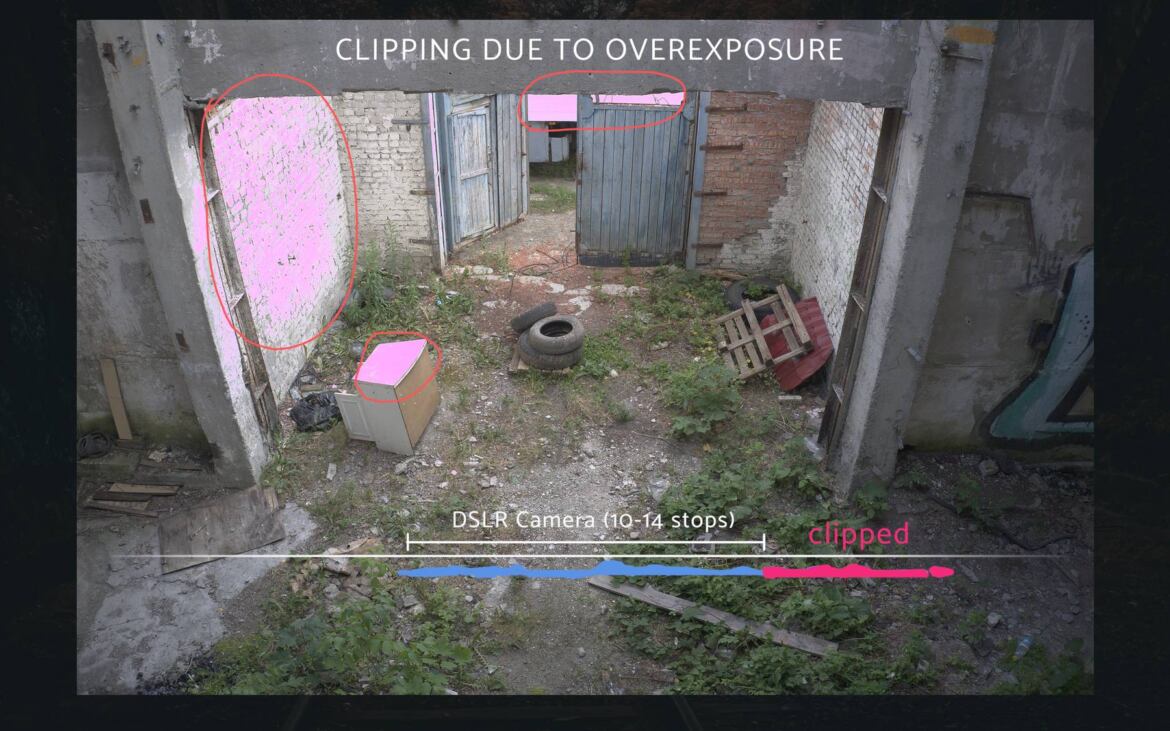
To capture a full range of light, each shot can be taken multiple times using different exposure settings, then merged into a singular HDR image in the process called exposure bracketing. In Darktable for example.
And then, the photoscan can be made from such high dynamic range images. And as a result, such environment would emit a proper amount of light. So that the 3d objects put into such scene would receive a proper amount of light. And integrate seamlessly.
Imagine a better HDRI panorama that is fully three-dimensional – this is it.
—
THE CONS
- Processing for HDR takes time
- Versatility!
Unfortunately, preparing the HDR images can be time-consuming and the use-cases for such a workflow are truly specific.
—
CONCLUSION
Alright! These are just some of the things we can do with photogrammetry, as 3d artists.
Despite producing a non-versatile output sometimes, the tech itself is actually pretty versatile nevertheless. There is something for everyone.
So no matter whether you’re a 3d artist, a director, a cinematographer or a level designer; or maybe you work as a scientist or archaeologist, photogrammetry gives us some powerful tools and workflows to bridge the gap between our physical world and the digital realms we create.
—
Before we wrap it up, I’d like to say thanks to everyone who helped us on the ground to gather the content: Eugeny, Nik, Pawel, Kaciaryna, Ryncuk, Aidy, Lena – thank you so much indeed!
—
Feel free to check our Photogrammetry Course. Thank you!
