In this tutorial we’ll explore strange and exciting ways to kick-start creativity and overcome the fear of the blank page (or viewport) using Fractals and Mandelbulber.
To make our brain working we may need to throw in some abstract shape – say, inkblot. Then passing the hand-made variation of the Rorschah test, we start to recognize shapes and images. Eventually one of the images that we suddenly ‘grasp’ will serve as a starting point for our picture.
For sure, visualization of mathematical formulas, such as fractals, is a great source of patterns for sudden inspiration. Today we’ll talk about fractals and their 3d representation using free software called Mandelbulber.
Mandelbulber tutorial
1 Download Mandelbulber
[space size=”20″]
Brief explanation about fractals: fractal is essentially a detailed pattern that repeats itself on various levels. If you think of tree and its branches that copy the shape of the tree, or rock face that reveals more and more ‘rock’ geometric details upon zooming you’ll get an idea 😉
2d or 3d representations of fractal formulas can produce fascinating results, quite different from what we model in 3d content creation suite (say, Blender), random to some degree but obeying strict set of rules. And in some cases infinite, like Mandelbrot set.
2 Launch it!
After launching Mandelbulber we see 4 windows: Editor, Render, Console and one more, displaying number of Iterations. We’ll need only 2 of them for the sake of this tutorial: Editor and Render. The concept is pretty basic – we’ll tweak some settings in practical way to achieve the desired result, not delving into depths of the interface and formulas.
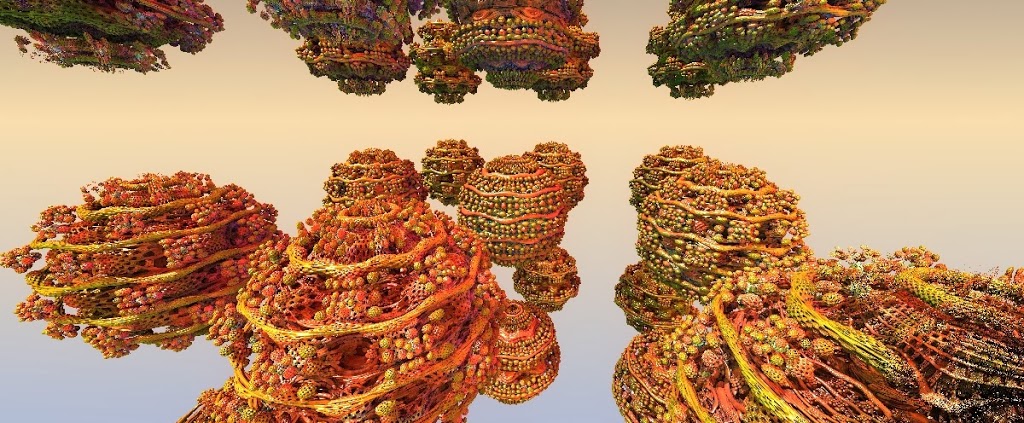
So, hit RENDER without hesitation.
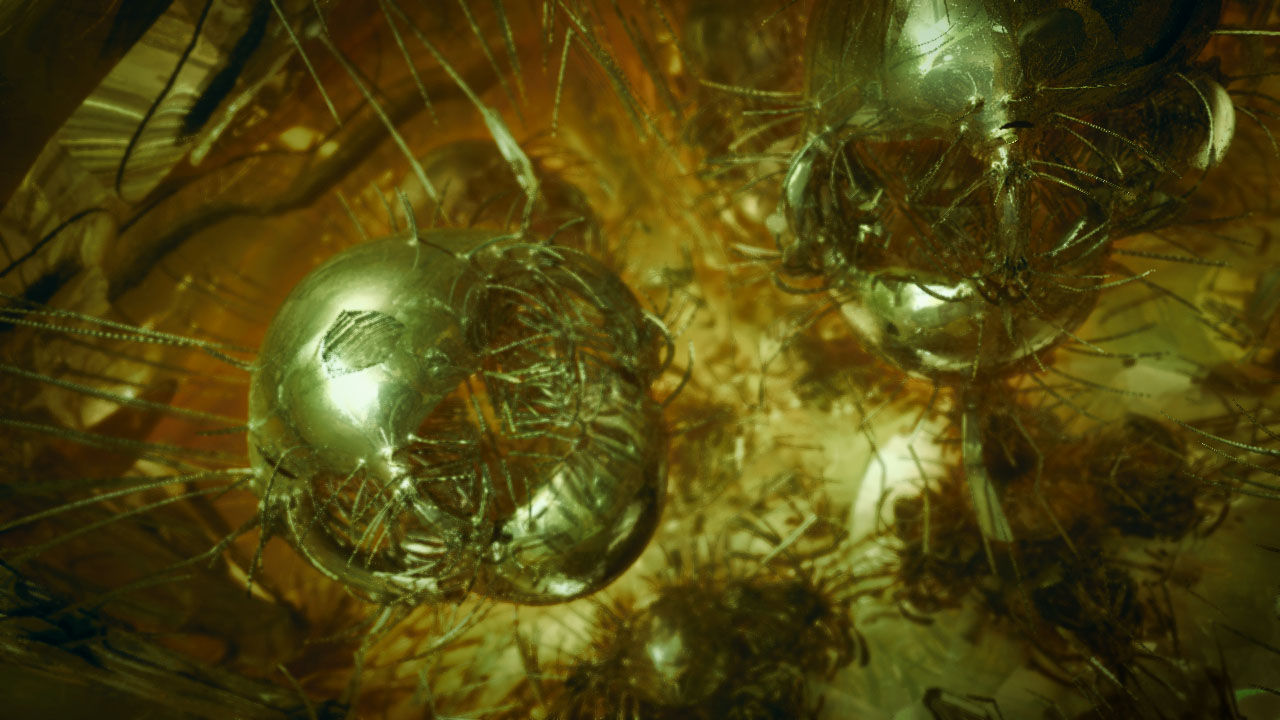
Eventually, we’ll get something like this:
3 Navigation
We can navigate using mouse (click to zoom), or using controls in the View tab. Note that Mouse click close-up ratio and Step for camera moving can be lowered to make camera move more predictable, by smaller intervals.
4 Settings
The way of save progress in Mandelbulber is to save settings. But now let’s load some example settings (this brilliant piece of software contains plenty of great stuff by default!).
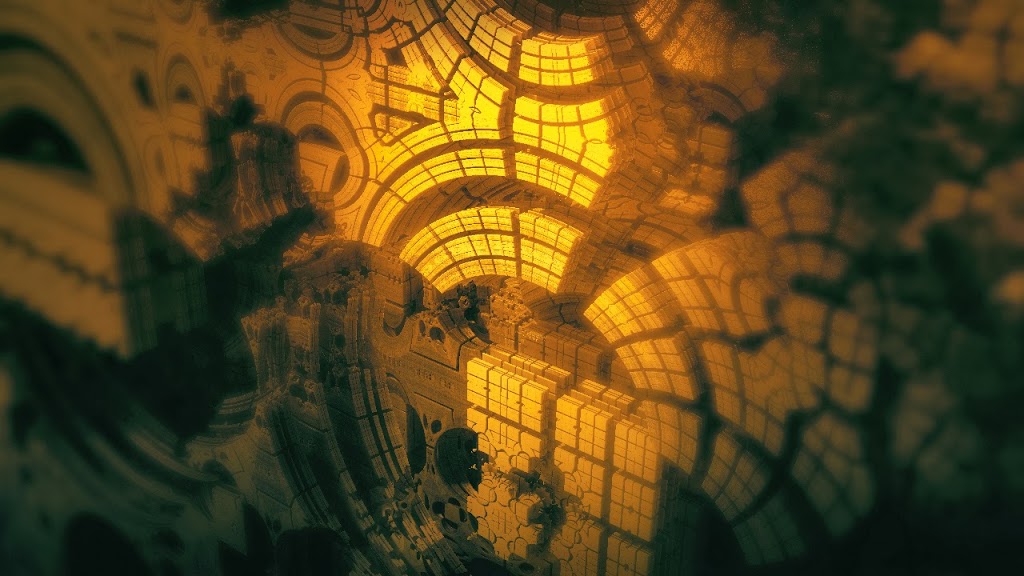
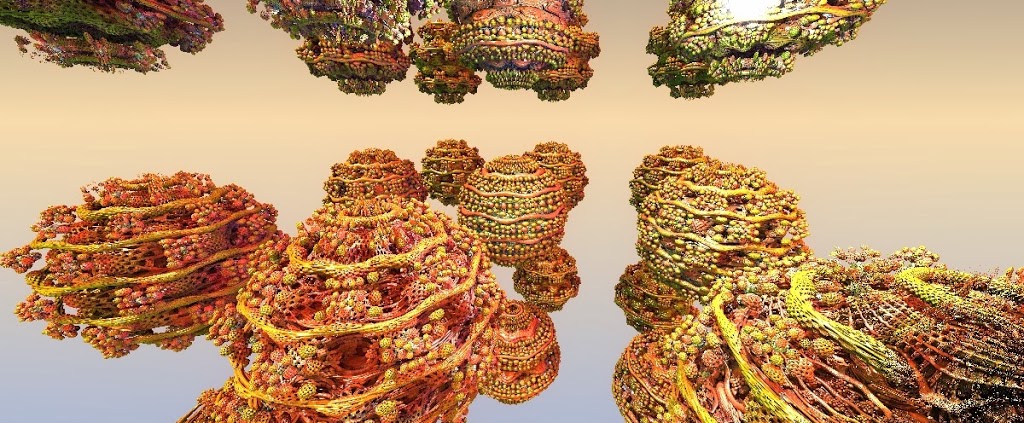
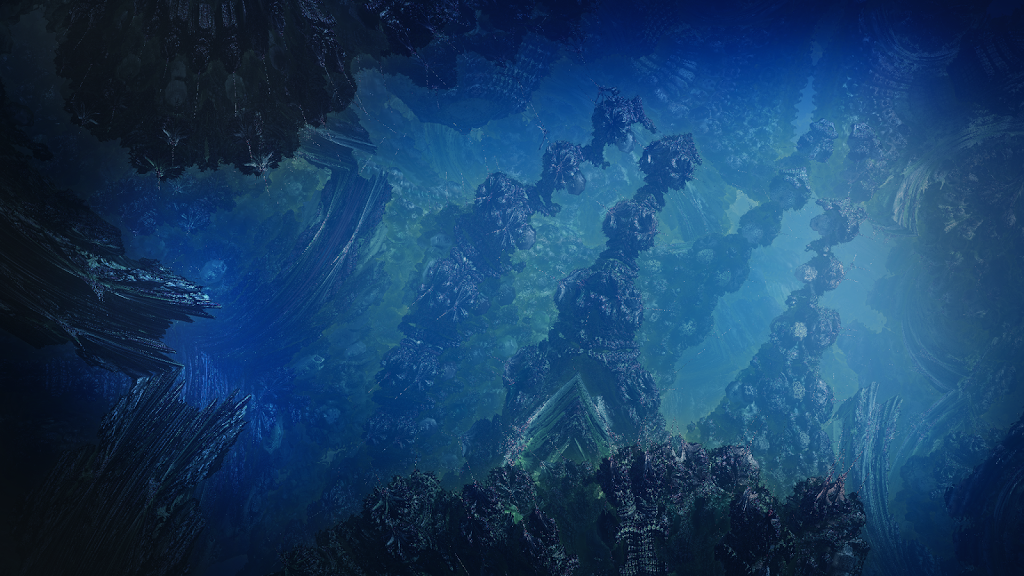
Got this random thing while playing with settings
I propose to start with Folded Trigonometric power 8 version 2.
5 Image
Set resolution (something like 600×250 will be okay, or 1200×500 if you have appropriate rig to run it smooth) at the Image tab. In general, we might need viewport to stay fast while we navigate through the scene.
6 Fractal, IFS, Hybrid, Mandelbox
These are the setting of the fractal formula. For our goals we probably don’t need to tweak it right now. If you want to know more about basic settings, I recommend reading tutorial by Troy Loy: http://kestalusrealm.wordpress.com/2014/01/07/mandelbulber-tutorial-basic-settings-i/
7 Shaders
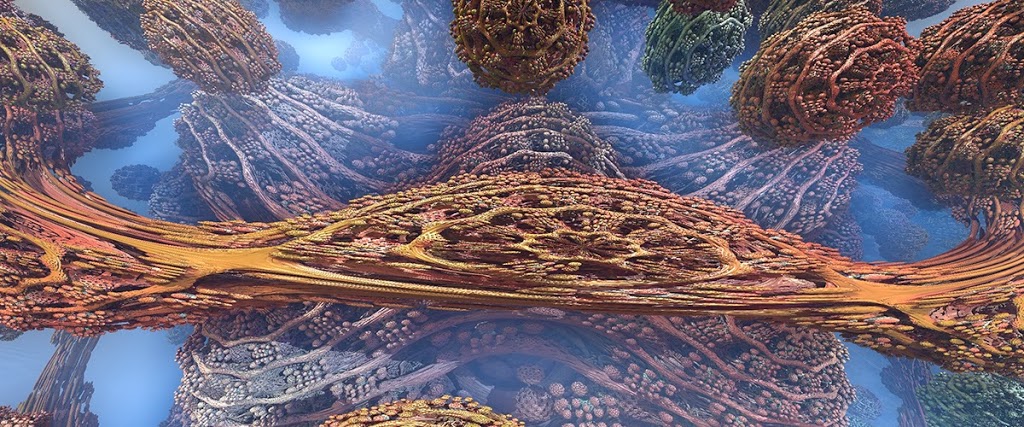
There are 2 types of Ambient Occlusion in Mandelbulber: Ambient occlusion and Screen space ambient occlusion. They provide a different results, worth experimenting. First variant is probably more ‘rich’ in terms of surface colors and shadows. Let’s up Ambient occlusion power to 4 and disable Depth of Field.
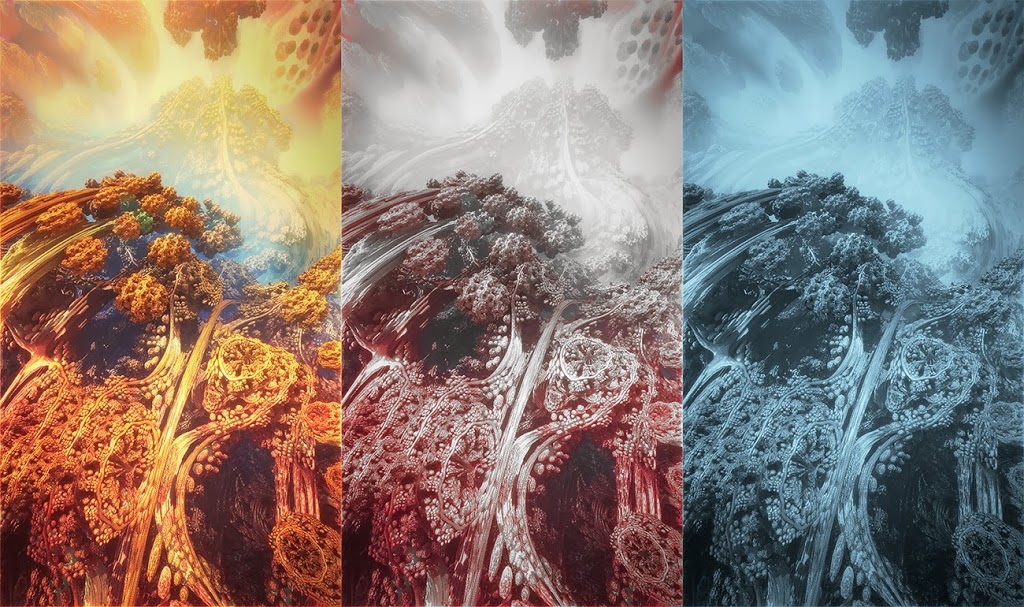
If you are not satisfied with the look, tweak color gradient using Color Speed and Random values. Color speed defines how fast color will change on the surface of the fractal. There is an option to prepare custom gradient in the external image editor and load it pressing Get Pallette button. In this example we don’t use this option, but take a notice anyway.
![]()
Background can be set using Textured Background checkbox in the Shader tab.
8 Lights
Try enabling lights and see how the picture reacts.
9 Start the Rorschah test
Delve into the fractal to see how its details unfold on various levels. Zoom using mouse button or navigation controls in the View panel. If you get flash of shape-recognition, or simply like the picture, save settings!
This process is a kind of procedural generation, where you providing data to the system and see somewhat unpredictable outcome. For more procedural techniques visit Blendersushi – blog by Jimmy Gunawan, I bet you’ll be astonished how far we can go with generative algorithms.
But let’s return to our fractals. One little trick to enhance the feeling of the depth: press Auto Fog and tweak fog density.
10 Rend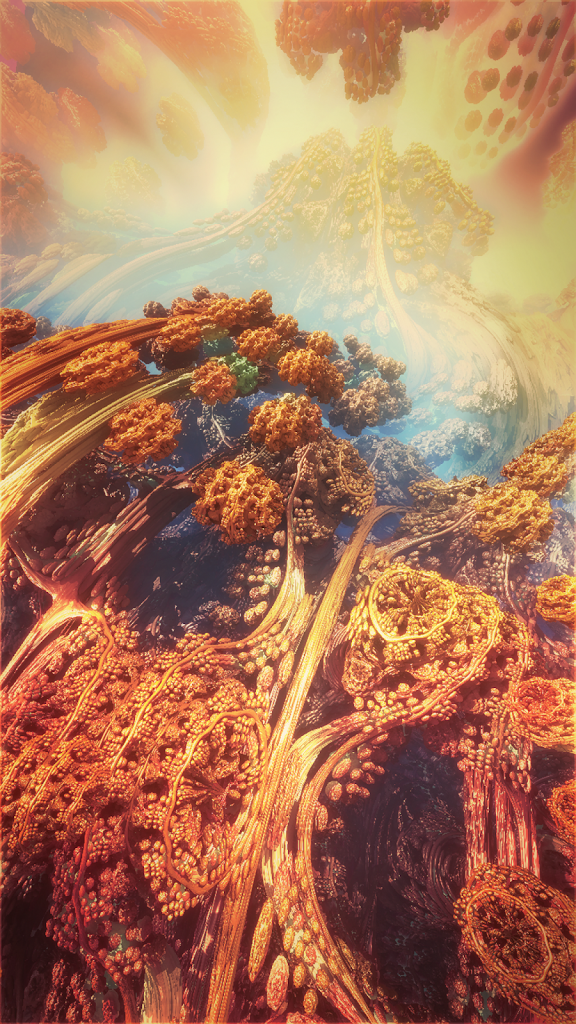 er
er
When you’re ready to finalize it, set resolution in the Image tab higher, hit Render and save the picture, it can be done in the Image tab. Note that Mandelbulber doesn’t seem to antialias the images. So, one effective way to achieve antialiasing is to render in double resolution then lower it in half in the image editor. 🙂
11 Post-process
Use Gimp, Photoshop, etc to finalize the render. Or load another example in Mandelbulber and continue the journey.
Links:
Rorschah test: http://en.wikipedia.org/wiki/Rorschach_test
Fractal: http://en.wikipedia.org/wiki/Mandelbrot_set
Fractalforums: fractalforums.com
Benoit Mandelbrot: http://en.wikipedia.org/wiki/Benoit_Mandelbrot
Inspirational fractal videos:
Mandelbox trip by Krzysztof Marczak
Mandelbulber 3D Animation // Project Hypercube by Marcus Bernert
Thank you! Feel free to share your fractals and comment.
originally published: 11 march 2014

Pingback: My Homepage
angus giorgi
Hi Gleb, I love this, any chance you could do a video tutorial showing how to take fractals from Mandelbulber into Blender to create actual 3D landscapes?
Gleb Alexandrov
Exporting fractals can be insanely hard, and not all types of fractals can be exported as 3d geometry at all, but I like this idea too 🙂 It would be awesome to have some of this geometry in 3d scene, so I will research it.