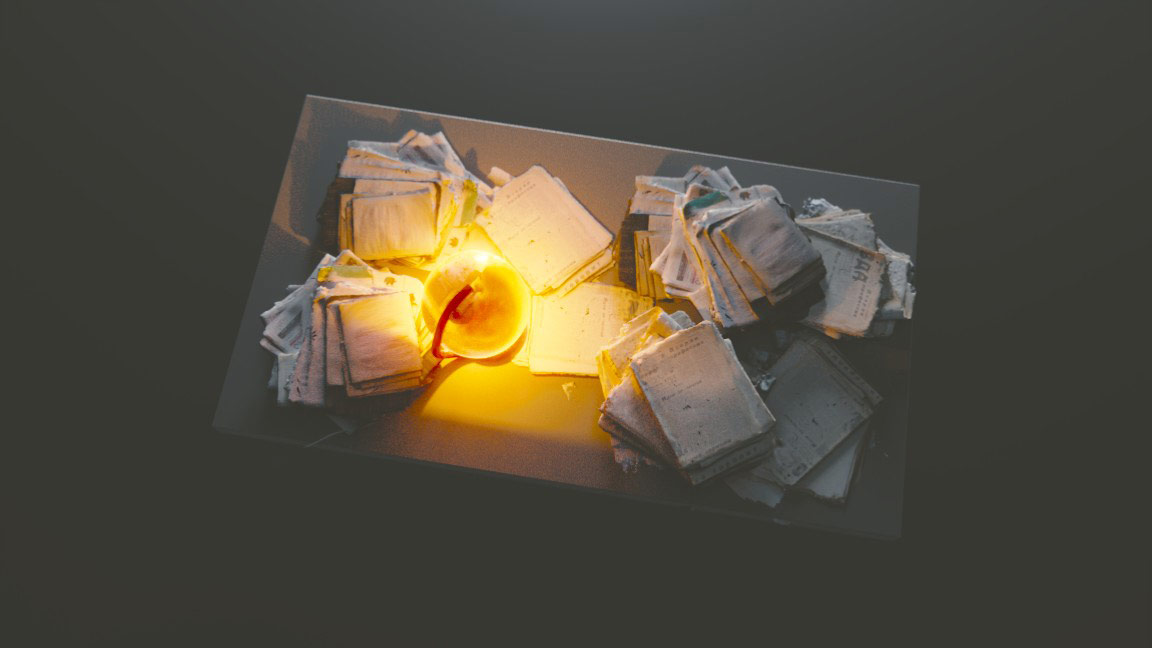
Discover how to make your images 273% better by post-processing it like a pro. After following these 12 simple steps, you will be ready to add that high octane ‘varoom’ to your artworks.
I guarantee it.
Actually, have you ever looked at the image and wonder, why the hell does it look so awesome? Like the image has some magic quality to it.
That magic is called post-processing, my friend.
When you look at the picture, you don’t notice the tiny dust particles right away. You don’t notice the chromatic aberration (without your good old microscope).

But nevertheless, these tiny details matter a lot.
That’s why I’m so excited to share my post-processing workflow with you.
12 POST-PROCESSING TUTORIAL (FOR BLENDER AND PHOTOSHOP)
1. Make Sure Your Original Image Is Not Crap
Before post-processing your image, ask yourself a question. Actually, a quite painful question. Does your image suck?
If yes, then rework it. Now it’s the best time to do it.
How to know your images sucks?
• Flip the Camera View Horizontally (by selecting camera in Blender and pressing CTRL+M, X, X). Yep, that sounds like a combo from Mortal Combat.
If after flipping the camera you notice that everything went kaboom… yeah.
• Browse Artstation and cry.

2. Apply Tone Mapping
Since the invention of coffee, the best thing that happened to humanity is a tone mapping in Blender.
All joking aside.
Apply Film Emulation to add that kind of a vintage feel to your image. For me, it feels like going back to analog photography.

3. Add Atmospheric Effects (optional)
Often, you would want to add some kind of atmospheric perspective to your render.
Maybe you want to separate planes. Or maybe you want to enhance the illusion of depth.
The aerial perspective is your friend when it comes to composition.
(But in case of this lamp, I doubt it will look cooler with the fog).

4. Add a Glow
Glow is well overused, it’s true.
But.
Use it anyway, because it’s cheap and dirty way to create the good impression. That said, be super careful not to overdo it.

5. Add a Chromatic Aberration
What the heck is chromatic aberration?
If you have a really bad camera (as I do), you can already enjoy this marvelous effect. If you played Crysis, you know what I’m talking about.
Remember that red-cyan fringe around the edges of the objects? Ta-dam, that is chromatic aberration.
Adds a ton to realism.
Bam!
Here we change horses in midstream. Now let’s switch from Blender to Photoshop (or Gimp).

6. Add a Diffusion
What happens when you duplicate the image, blur it a bit, and set the blending mode to overlay?
Whites become whiter.
Blacks become blacker.
Everything becomes cooler. Like you use the diffusion filter for camera lens.
But as usual, use a very subtle dose.

7. Lighten Up the Center of Interest
What can you do to drag viewer’s eye to the center of interest?
Lighten up the center of interest!
Usually, I add a bit of color too, just to spice things up.

8. Throw In Some Particles
For some unspoken reason, tiny bright particles really enhance the work.
You don’t even notice them.
But the effect on the viewer is real.

9. Add a Vignette
If I had to name just one effect that sells the image, I would name the vignette.
The simple darkening around the edges of the picture.
Doesn’t sound like a big deal, yeah? But it is, for sure. Nothing is better for capturing the viewer’s eye inside the image.

10. Add a Film Grain and Scratches
…And now you probably wonder, how the noise and scratches could enhance your image?
Oh they can! Every small detail count, when we talk about post-processing.
Why?
You can cite me now on Twitter, if you wish.

11. Add Color Grading
Probably, now you came to the most important step. Color grading can make or break the image.
So prepare yourself a coffee. It will help you stay concentrated.
Create a curve adjustment layer. Take a sip and alter the curve.
Repeat till you have copied the Nashville post-processing filter from Instagram.

12. Do Shenanigans
Be unpredictable. Everybody has got bored of good images. You need to make a great one!
I strongly believe that every jaw-dropping image contains some element of shenanigans.
Don’t be afraid to do stupid things.
You May Also Like
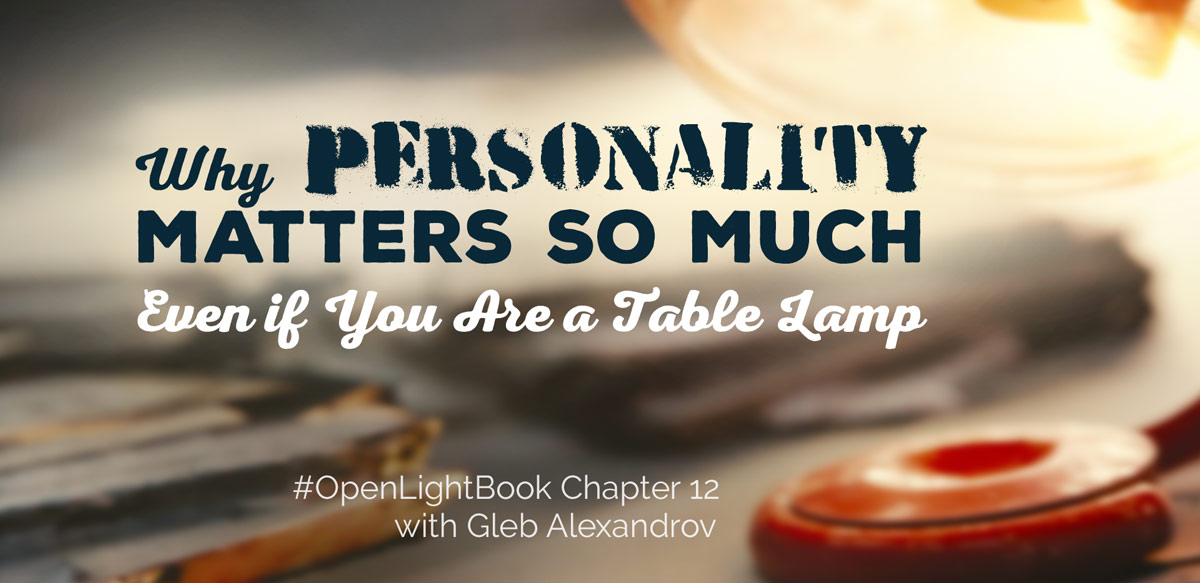
Make sure to check my article about Lamps and their undeniable personality. You won’t regret, I promise.
And of course, I will happily paste here the link to Open Lighting Project.
Share Your Post-Processed Images
I hope you enjoyed this crazy post-processing tutorial.
I’m super proud of you, my friend!
Now when you know the steps, you should be prepared to create devastating renders. I keep my fingers crossed.
Go ahead and share your newly post-processed artworks in the comments.
And share this article with other nerds right now by pressing these huge social buttons below and above the article. It means a ton to me.

Charlie Ringström
Thanks for the thank you note in the end! This article/video was great! Loved it!
Gleb Alexandrov
Cheers!
SaphireS
Also thanks for the shoutout! Going to share the sh*t out of this! 😉
CrazyEngine
Nice article Gleb 😀
Keep up that impressive work :3
Nuno Donato
Hi Gleb! Can you share those textures with dust and scratches? 🙂
Sebastián Andil
DUDE! not only I saved the article to pocket, but also I’m downloading the video right now! Been waiting for something like that for ages!
Thanks for your hard work! 😉
thisisprabha
cool master……now i find solution for making a dust particles…..
Federico Aguzzi
Thank you very much, Gleb!
This is my simple render post-processed following your tips. I also added lens flare.
Gleb Alexandrov
Nice vintage looking scene, thanks for sharing, Federico. And indeed the film grain adds something very special! 🙂 I would lower the strength of a lens flare a bit. Cheers!
Henrik
Hey Gleb, just want to say that i really like your work. Its really inspriring and the tutorials are very helpful. Keep on Rocking man !!!!!!!!!!
Regus Martin
Incredible, awesome filled tutorial Gleb!
Here is my latest image with some post processing and a tiny bit of shenanigans thrown in.
😉
Gleb Alexandrov
Awesome shenanigans!
I like the composition and the bright orange accent color. I would play with a water shader a bit, but that’s just my imho.
Thanks 🙂
Regus Martin
Thank you Gleb!
You’re right about the water, it lacks something, probably due to using my “hacked” water shader. 😉
Chromatic Aberration
>5. Add a Chromatic Aberration
>…
>Adds a ton to realism.
Oh for fucks sake!
Other than that tutorial is good, thanks.
TSAnimation
Great Tutorial, Gleb, Enjoyed every bit of it !!!
Patrik Radacic
If you are using photoshop together with blender you could always use LENS CORRECTION tab and you will get chromatic abberation and vignette in one command 🙂
lemon_fresh
Hey Gleb, thank you so much for your great tutorials! I really appreciate your hard work!!
Keep it up!
Here’s my latest little project, following your tips:
Gleb Alexandrov
Woah, very rich atmosphere! Nostalgia in action.
What I would do is to lighten up the picture a bit. I’m uploading a quick paint-over with overexposed parts, but you will get the idea.
Thanks for sharing 🙂
lemon_fresh
O_o WOW, thanks Gleb! That makes it 273% better!
Gleb Alexandrov
Your image was already very good! 🙂
lemon_fresh
Hahah, thanks! 😀
lemon_fresh
Here’s an updated version, with some particles:
Gleb Alexandrov
Looks good!
Piotr
Hi Gleb! You really are great support for me. You show people how to make every image better. Here is my work which I did following your advices.
Gleb Alexandrov
Piotr, I really appreciate that you share your work here! And I’m very happy that it helps you to get more impact. That’s encouraging!
Anders Thøstesen
I wasn’t quite able to find an image as good as yours for particles, so would you mind making yours downloadable? In advance thanks, and now thanks for a great tutorial applicable to every single project!
Nahuel Belich
Ctrl+m >x > x to mirror image . .. ^ -^ that’s totally new to me, thanks for the tip
Gleb Alexandrov
Very useful hotkey indeed 🙂
Yulia Kalashnikova
hey! a very nice tutorial! could you tell what are shenanigans though? googling did not give me anything on it… 🙂
MsFortuna
I LO
MsFortuna
I love Your tutorials!
Here is my render
Gleb Alexandrov
Very nice render! Personally, I would add a depth of field, with the focus on the foreground cube. And maybe a hint of atmospheric perspective. But I’m not entirely sure about it, because your image looks nice as it is 🙂
Adam Liska
Thanks for the tips!
I tried them here (all post-pro made in Blender):
Gleb Alexandrov
Woah! Adam, the color decisions in this image are so cool. Loving the pale palette (but still it has some contrast by saturation).
Jay
Gleb sir , i have problem with post-processing . I had rendered my image in my friends PC and now i trying to post processing on my pc but i can’t do any thing . first i brows my image on uv image editor and then i try to manage color but nothing happen please help ?
Shastro
http://i.imgur.com/Cu34hfR.png Thanks for Such Great Tricks!
Sebastien HENRIO
thanks for the tips !!!!
Henry
I finally finished my Dinosaur, I showed you the base model in your Q&A with the CG Geek guys. Thank you for the Tips and this awesome Compositing Tutorial.
Gleb Alexandrov
Awesome! Blaine, thanks for sharing. 🙂
Florian Hofmann
Thanks a lot! was looking for something like that for years!!!
Gleb Alexandrov
Wow, that looks awesome! Well done, Florian.
Александр Гутан
Спасибо большое! Мне очень пригодилось! Я подписался, буду учиться дальше!
James Abell
I always refer to this post processing tutorial these days for images. This one I made in Blender and GIMP, its inspired by The Stacks, in the book Ready Player One By Ernest Cline. It was a bit overexposed but I quite like that retro feel. I didn’t texture anything! I prefer to do that when I make a 3D print and paint it!
Gleb Alexandrov
Woo! For a gray material render it’s simply awesome. Overexposure looks ace, no need to tame it 🙂
James Abell
Thanks I find your process works well for that Retro Futuristic look I’m totally into at the moment 🙂
James Abell
Hi Gleb, still enjoying your post processing tutorial, really helps me to add a retro feel to my images. Its one of my favourite references online. This work I actually made in 3DSMax this time, I used Blender a bit. It shows you can use these tips with other applications. This is a promo image for a floating city 3D print model kit I made.
Gleb Alexandrov
I like this very much, James! Indeed, I think that the post-processing can be applied in any software, or even without the software at all 🙂
James Abell
Hi Gleb thanks. Sure, I’ve been using the process as well sometimes with presentation photos of some 3D print scenes I am making and works really well with them too!
Decebal Junior
from where do you get all of this scanned assets ?