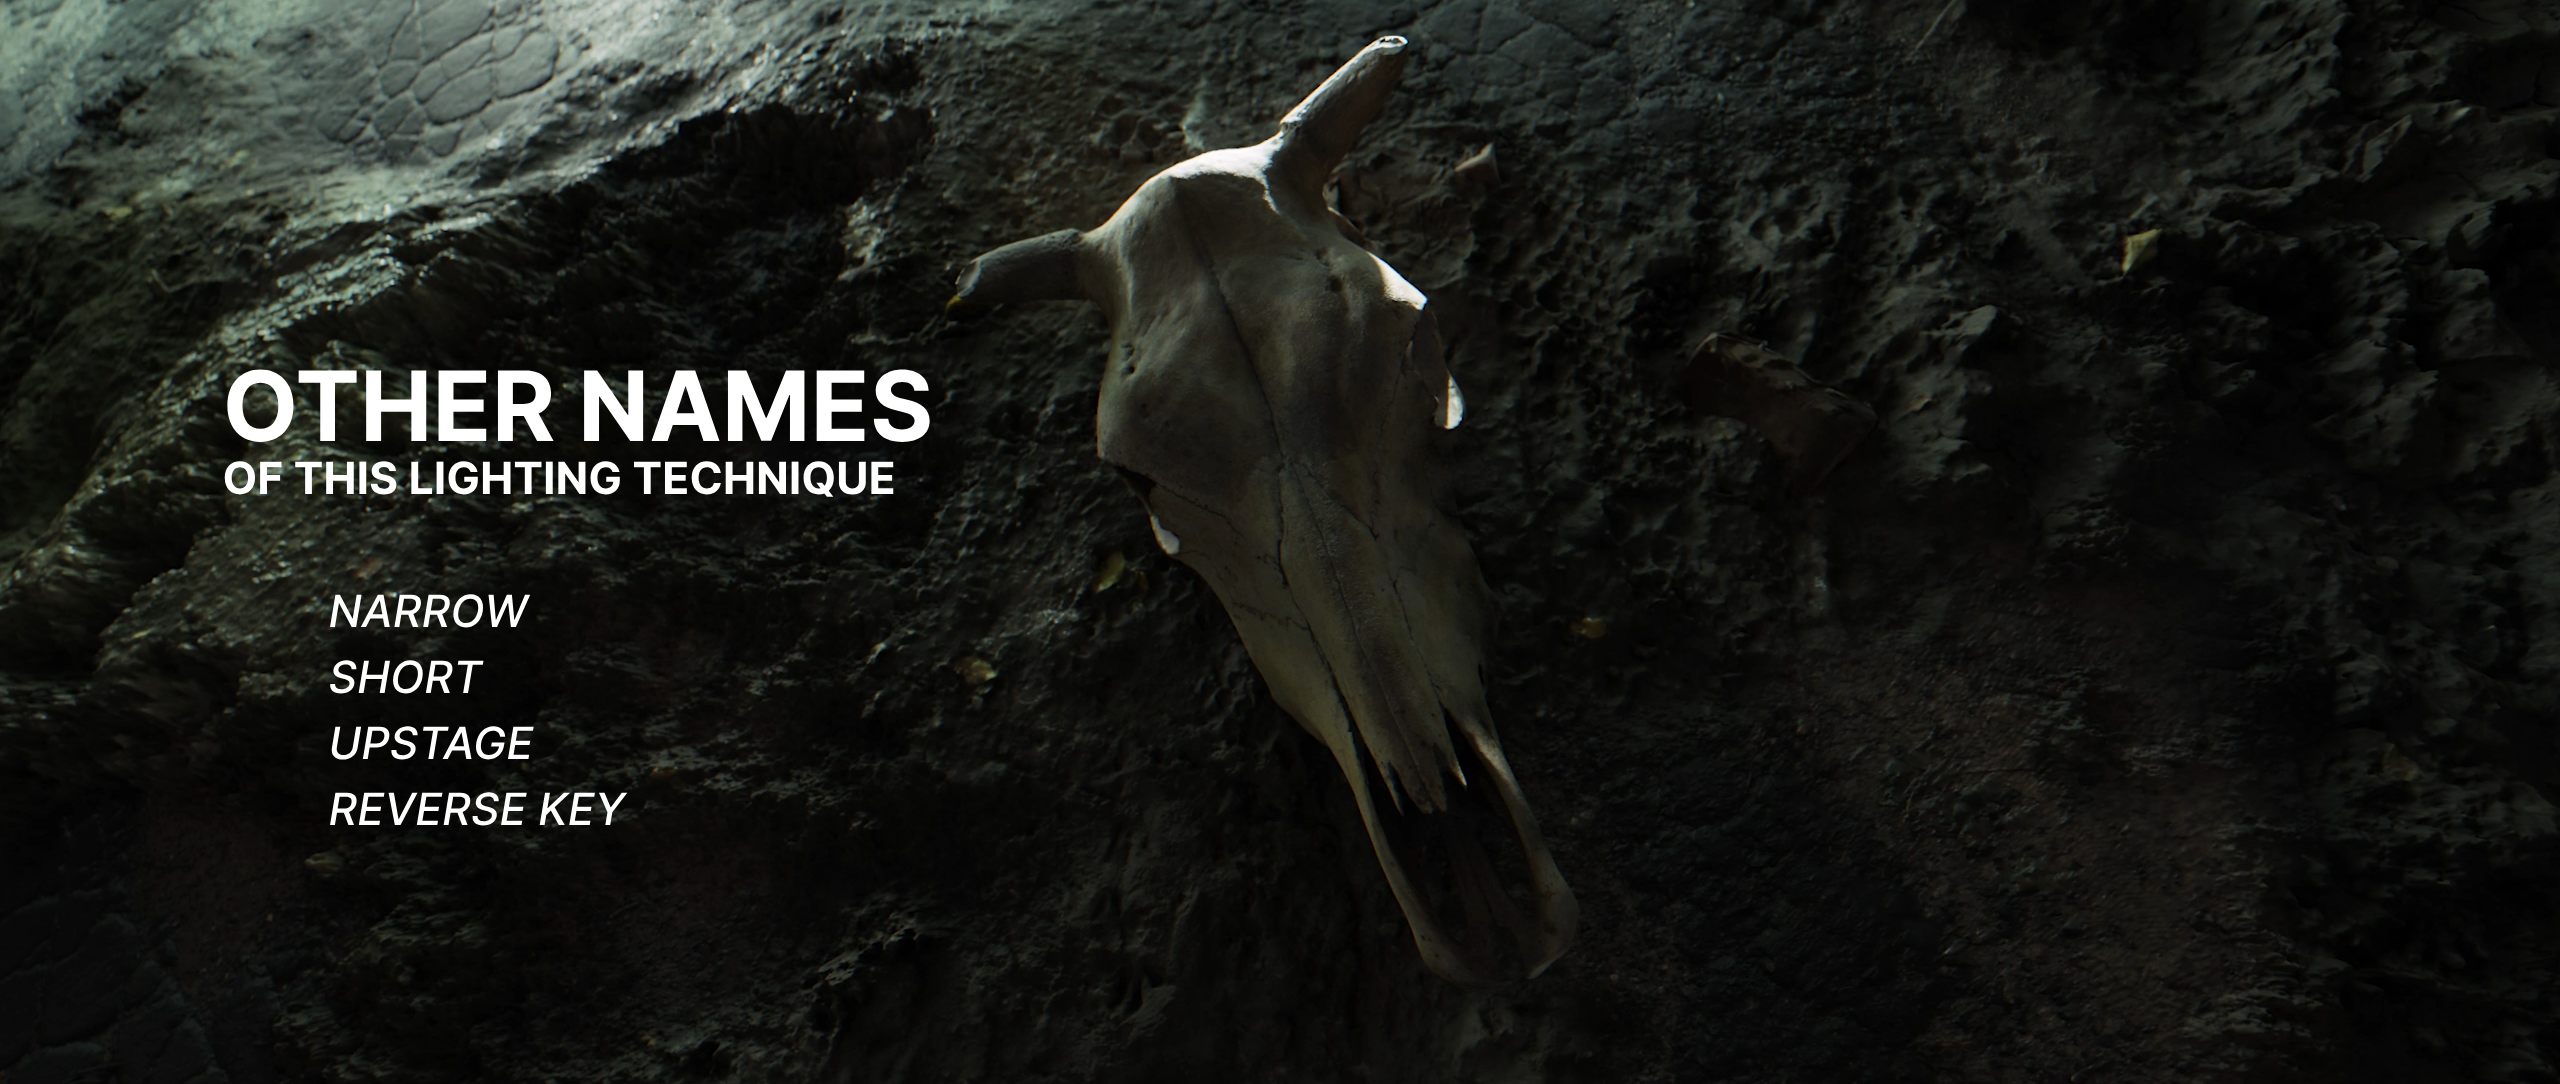
What if I told you one small tweak to your key light could make your Blender renders instantly look cinematic? That’s reverse key lighting — also known as upstage lighting or short/narrow lighting. It’s one of those “why didn’t I try this sooner?” techniques.
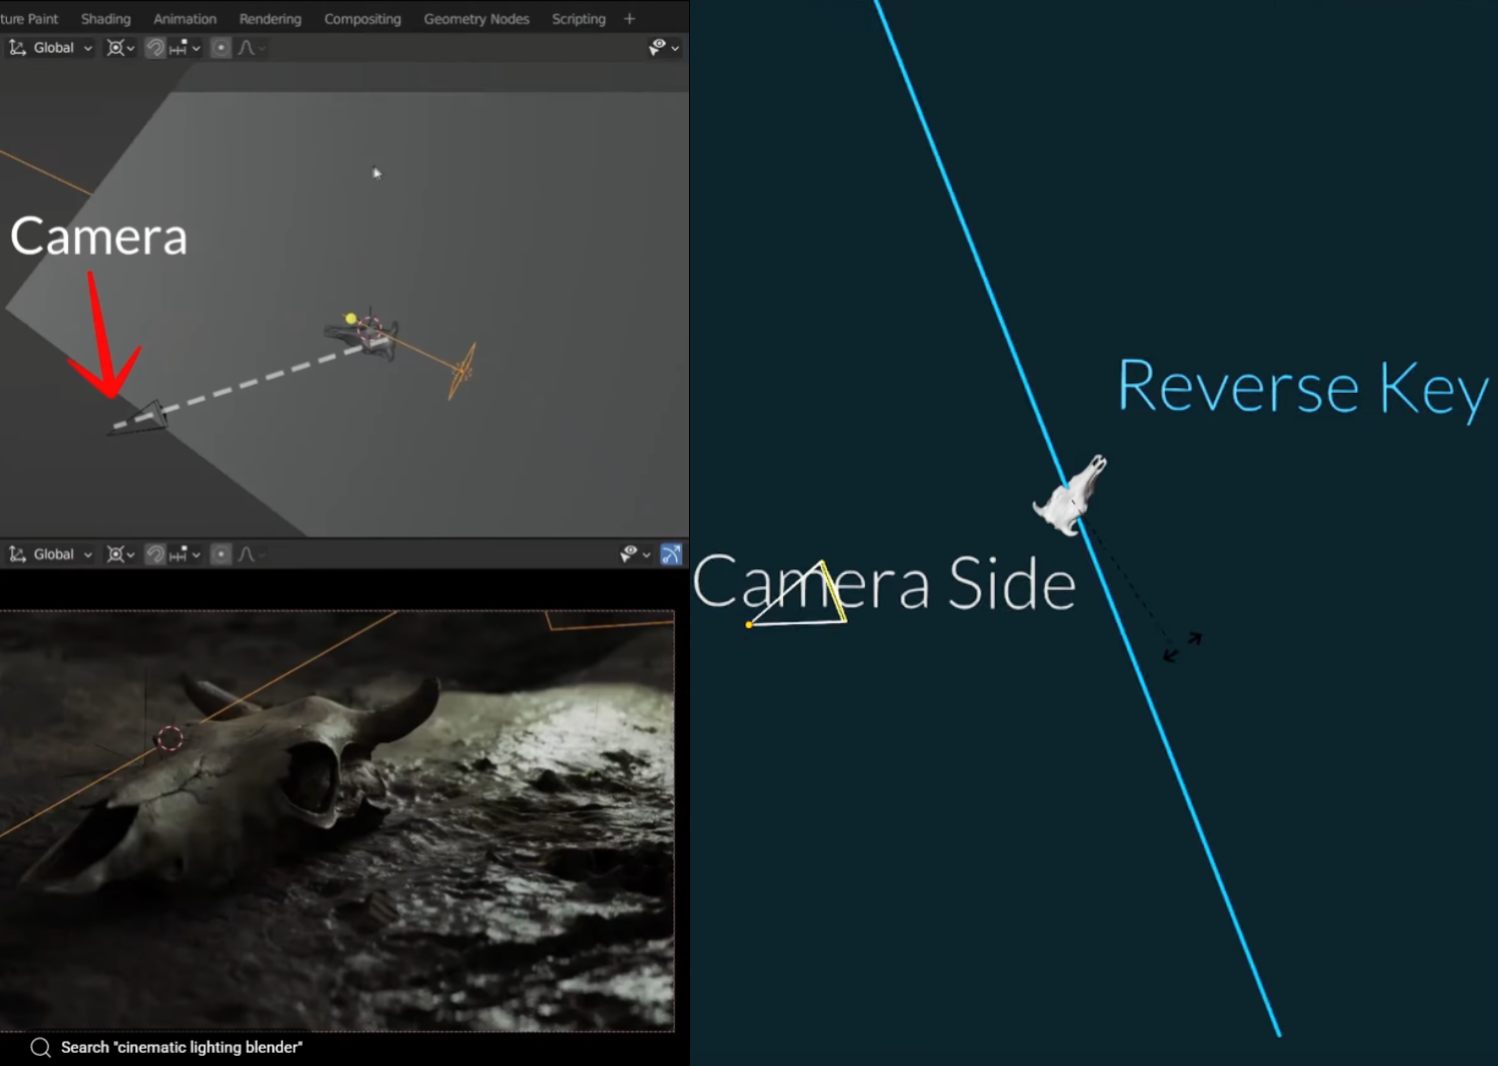
The idea is simple: move your key light to the far side of your subject, slightly behind them relative to the camera. This tiny adjustment can completely change the mood and depth of your 3d render.
Once I discovered this trick, I started using it everywhere.
Download project files – Patreon free tier
💌📬 Get more creative tips – subscribe to our newsletter!
—
What you’ll learn?
• What is reverse key lighting
• Short lighting basics (what makes lighting moody and cinematic)
• Hard lights & upstage lighting
• Light direction and camera angles
…and more!
—
What Is Reverse Key Lighting?
In the default “3-point lighting” approach, the key light is usually placed on the camera side. That’s safe. Predictable. But also… flat.
Reverse key lighting flips that script.
Instead of lighting your subject from the camera side, you place the key light behind or to the far side of the subject, with the camera looking “into the shadows.”
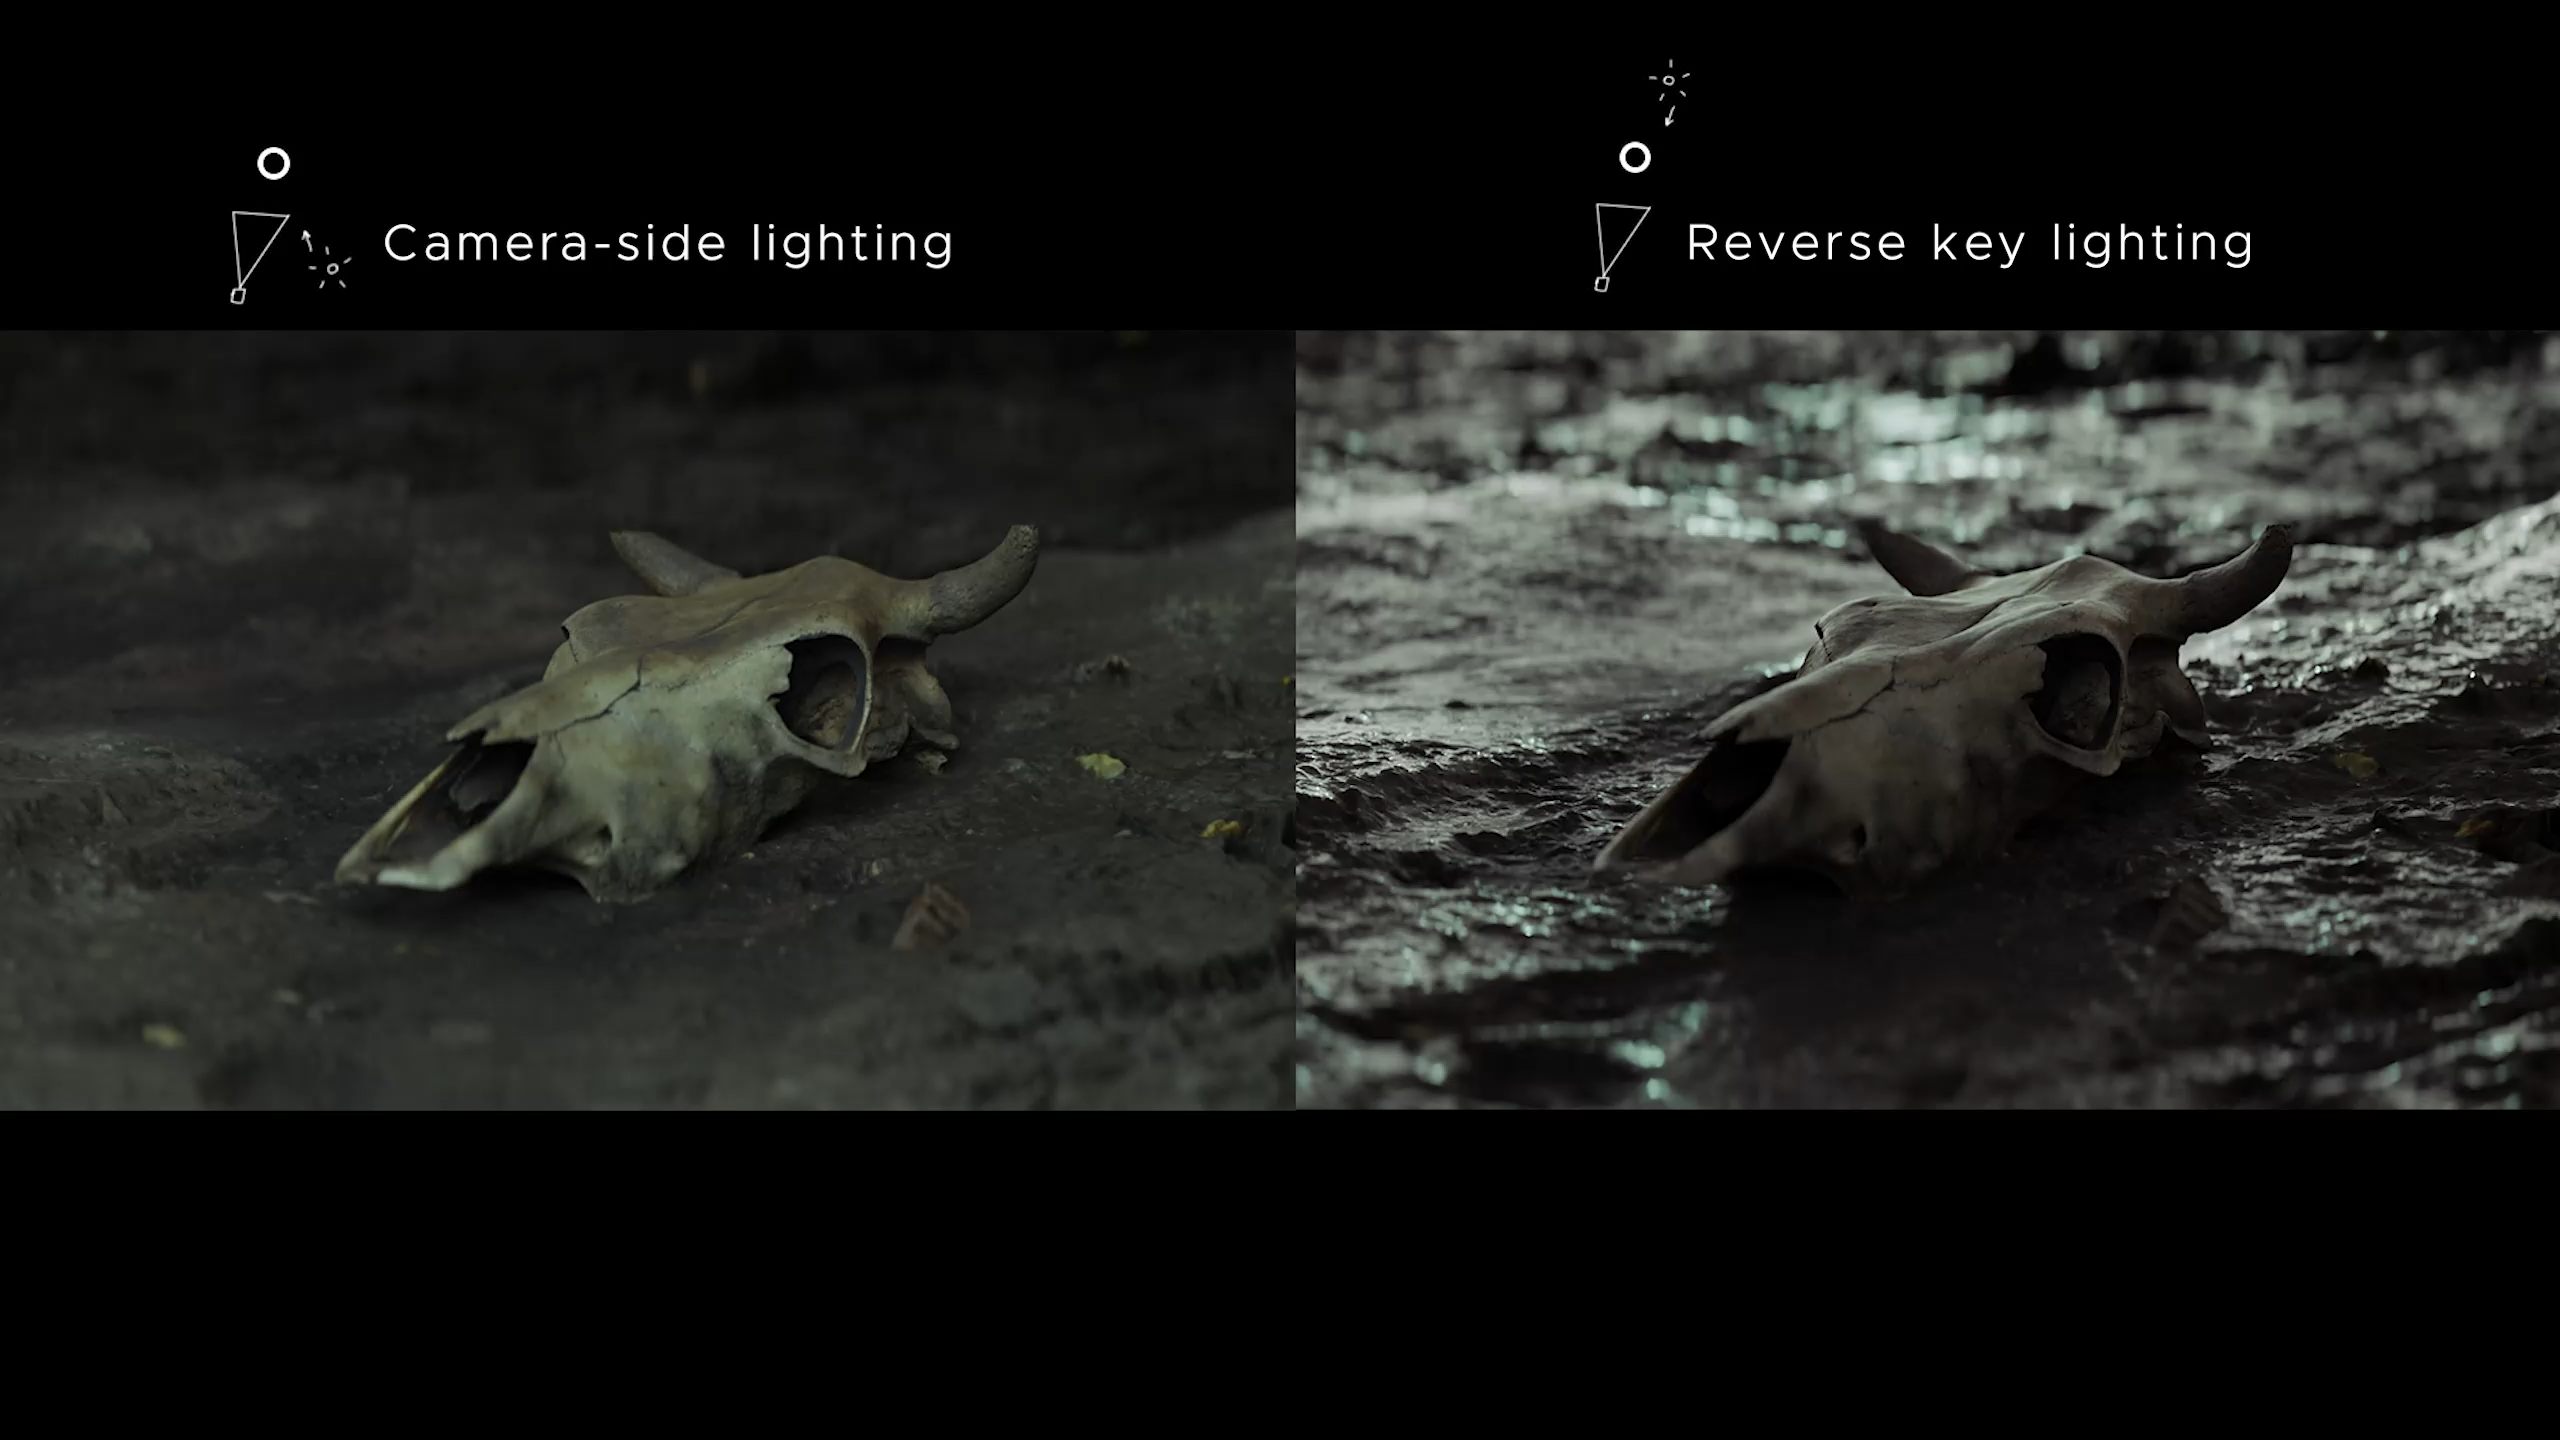
This creates:
- More contrast: Deep shadows give your image depth.
- Better shape definition: Light skims across forms, revealing contours.
- Instant mood: Think film noir, epic portraits, or that soft Rembrandt-style drama.
(Also called upstage lighting because the key is on the “upstage” side — away from the audience/camera.)
—
Why It Works (The Cinematic Science)
Lighting from behind creates stronger edge separation and sculpted shadows.
When the light is on the camera side:
- Shadows are minimal.
- Surfaces facing the camera get evenly lit.
- Result: Flat, TV-commercial vibes.
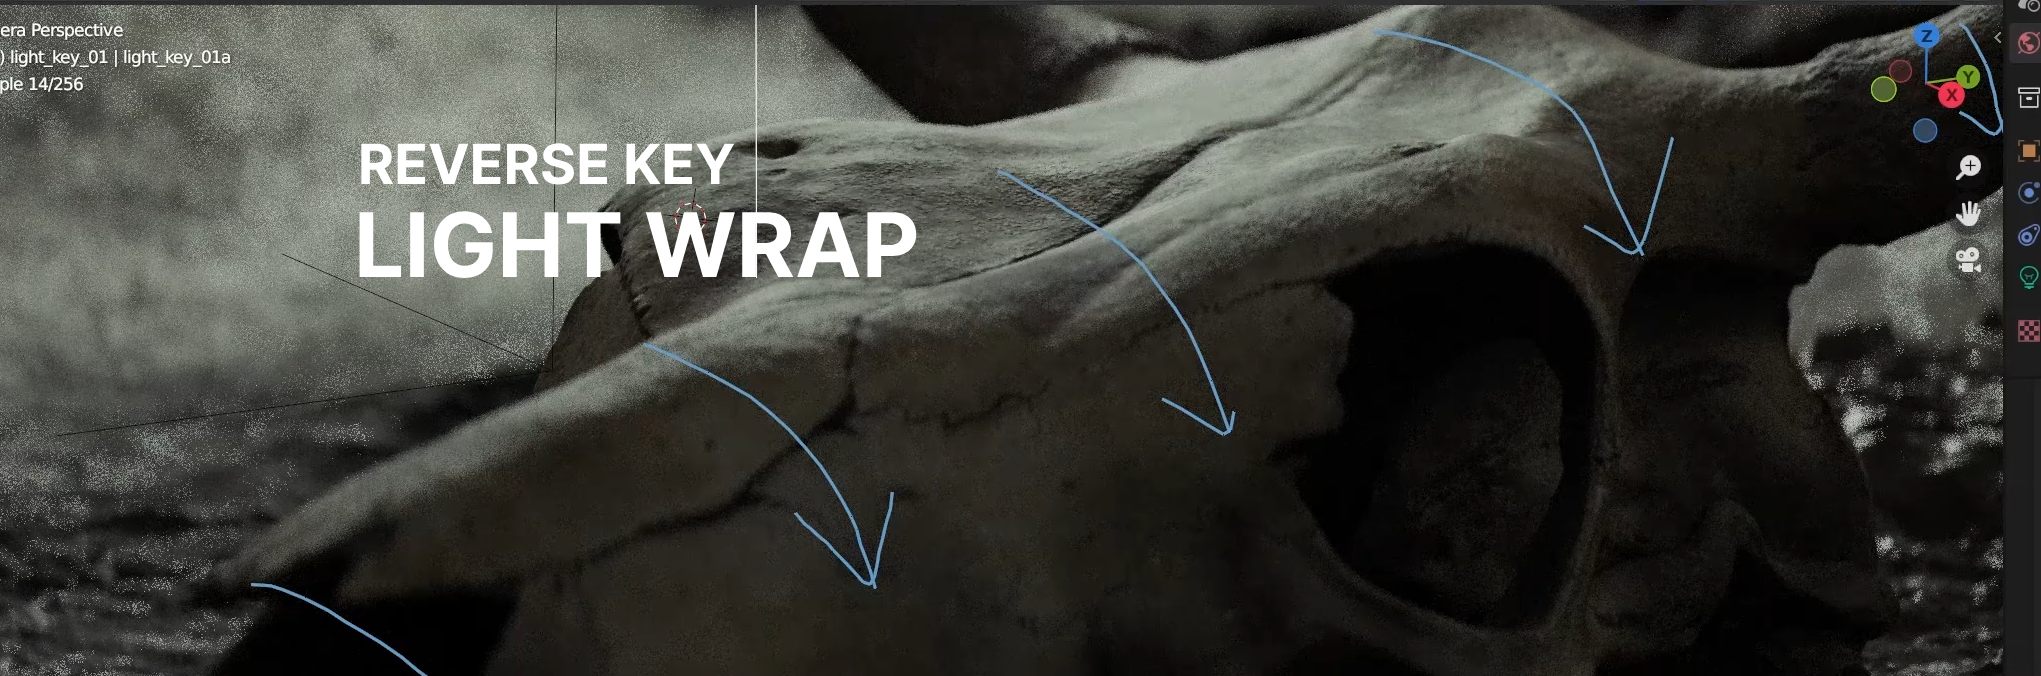
When the light is behind (reverse key):
- Shadows wrap toward the camera.
- Highlights outline the form, creating rim lighting.
- Result: Cinematic depth.
This is why cinematographers love it. It instantly makes a scene feel more 3D.
—
Examples in Action
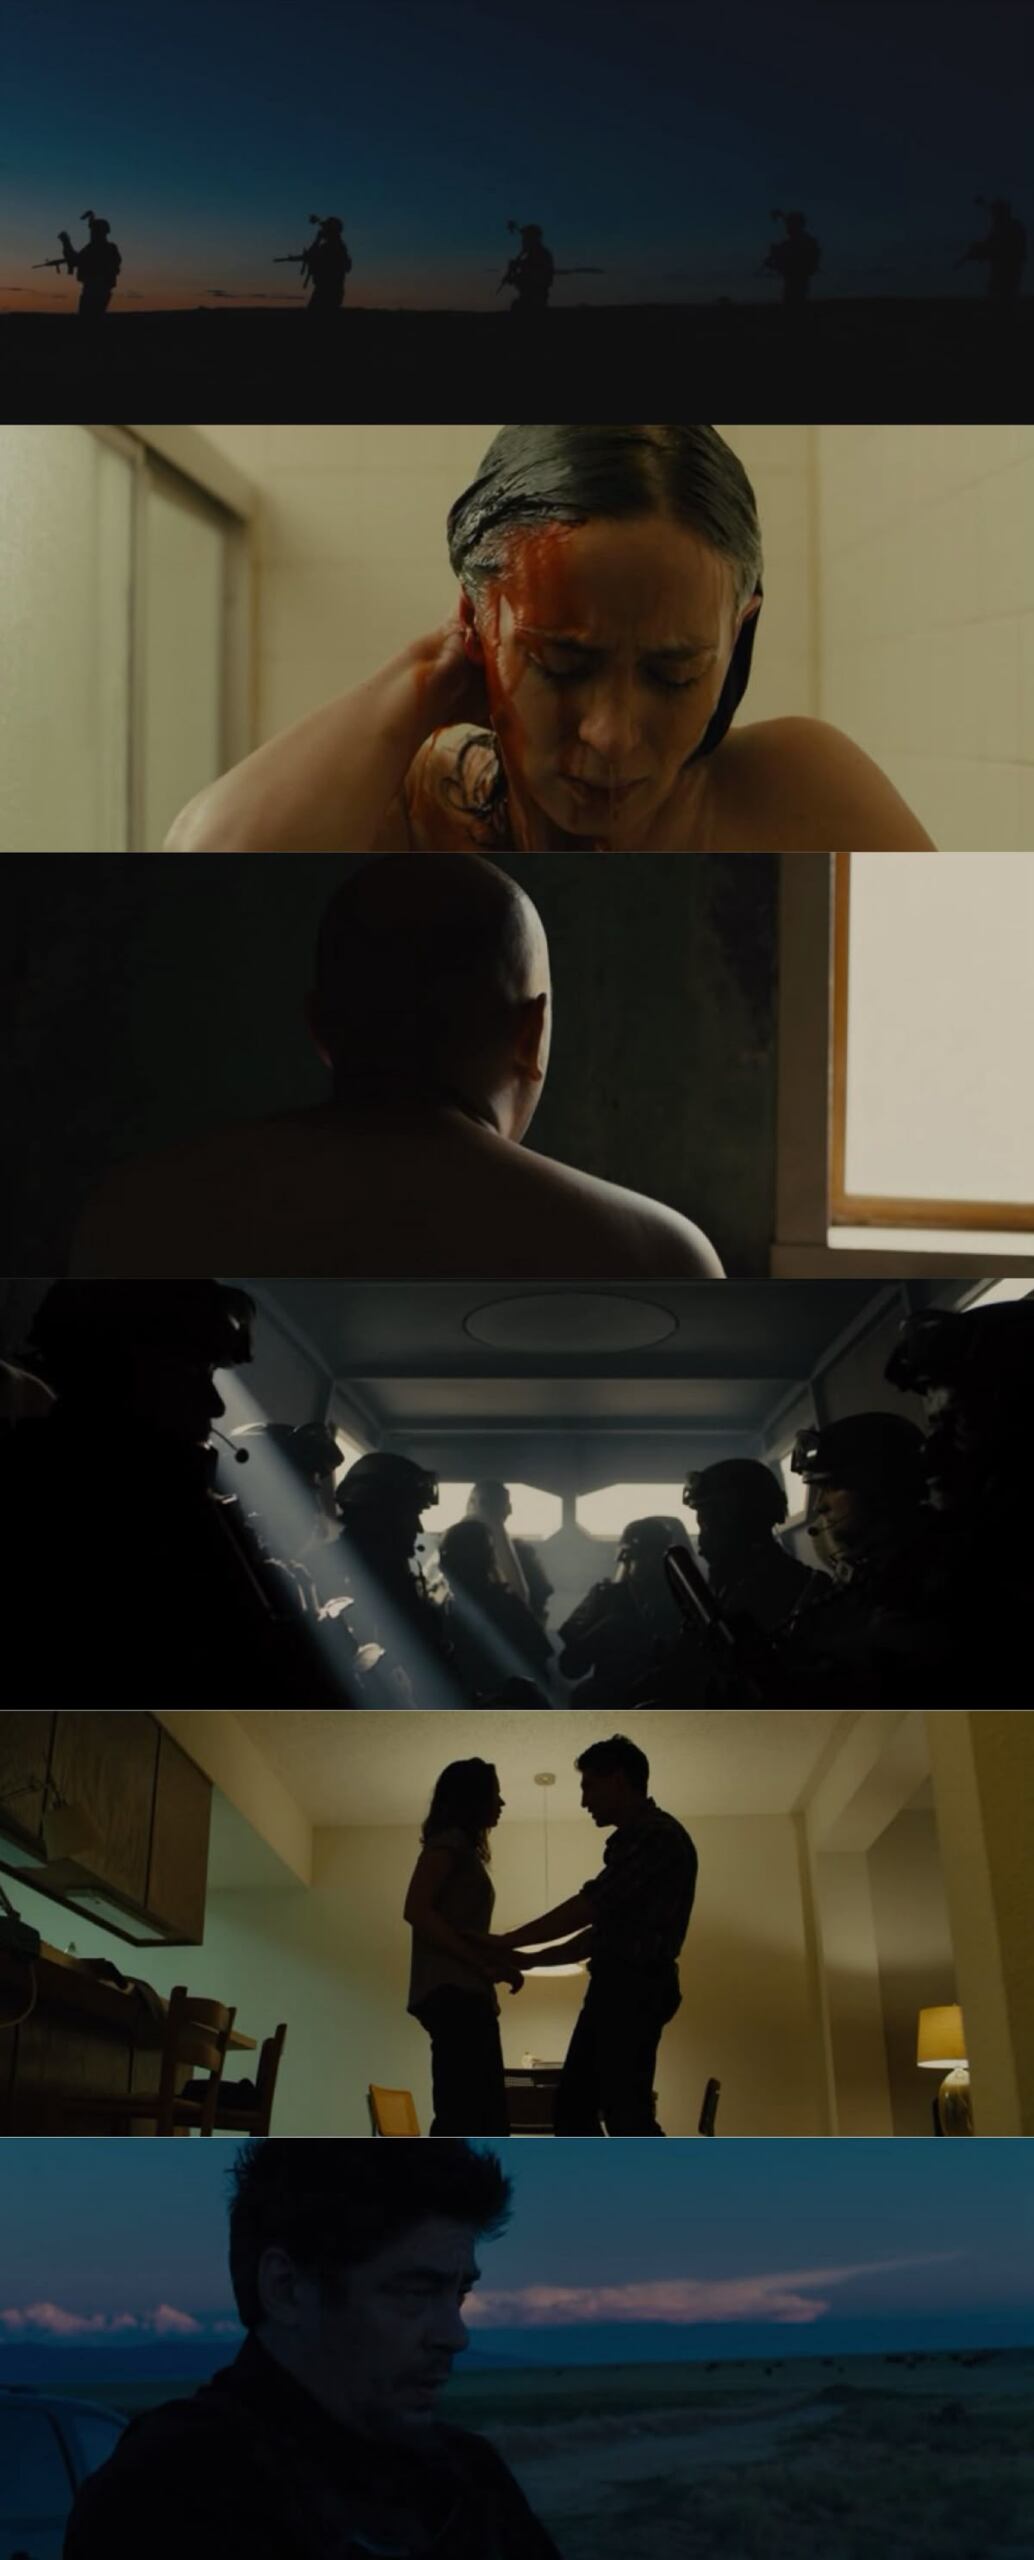
Cinema: Watch Sicario or any Roger Deakins film — reverse key everywhere.
—
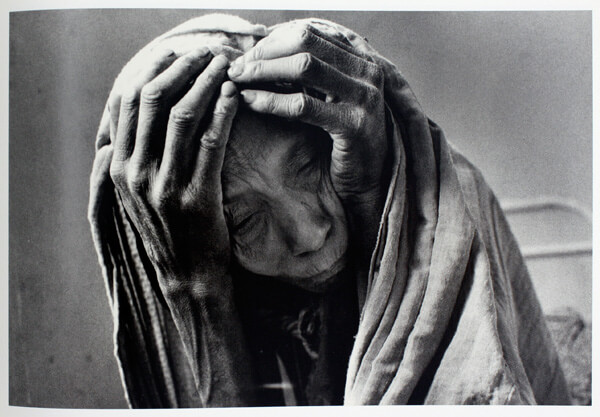
Photography: Classic portraitists often use narrow lighting for moody headshots. Like this compositionally perfect portrait by Sebastião Salgado.
—
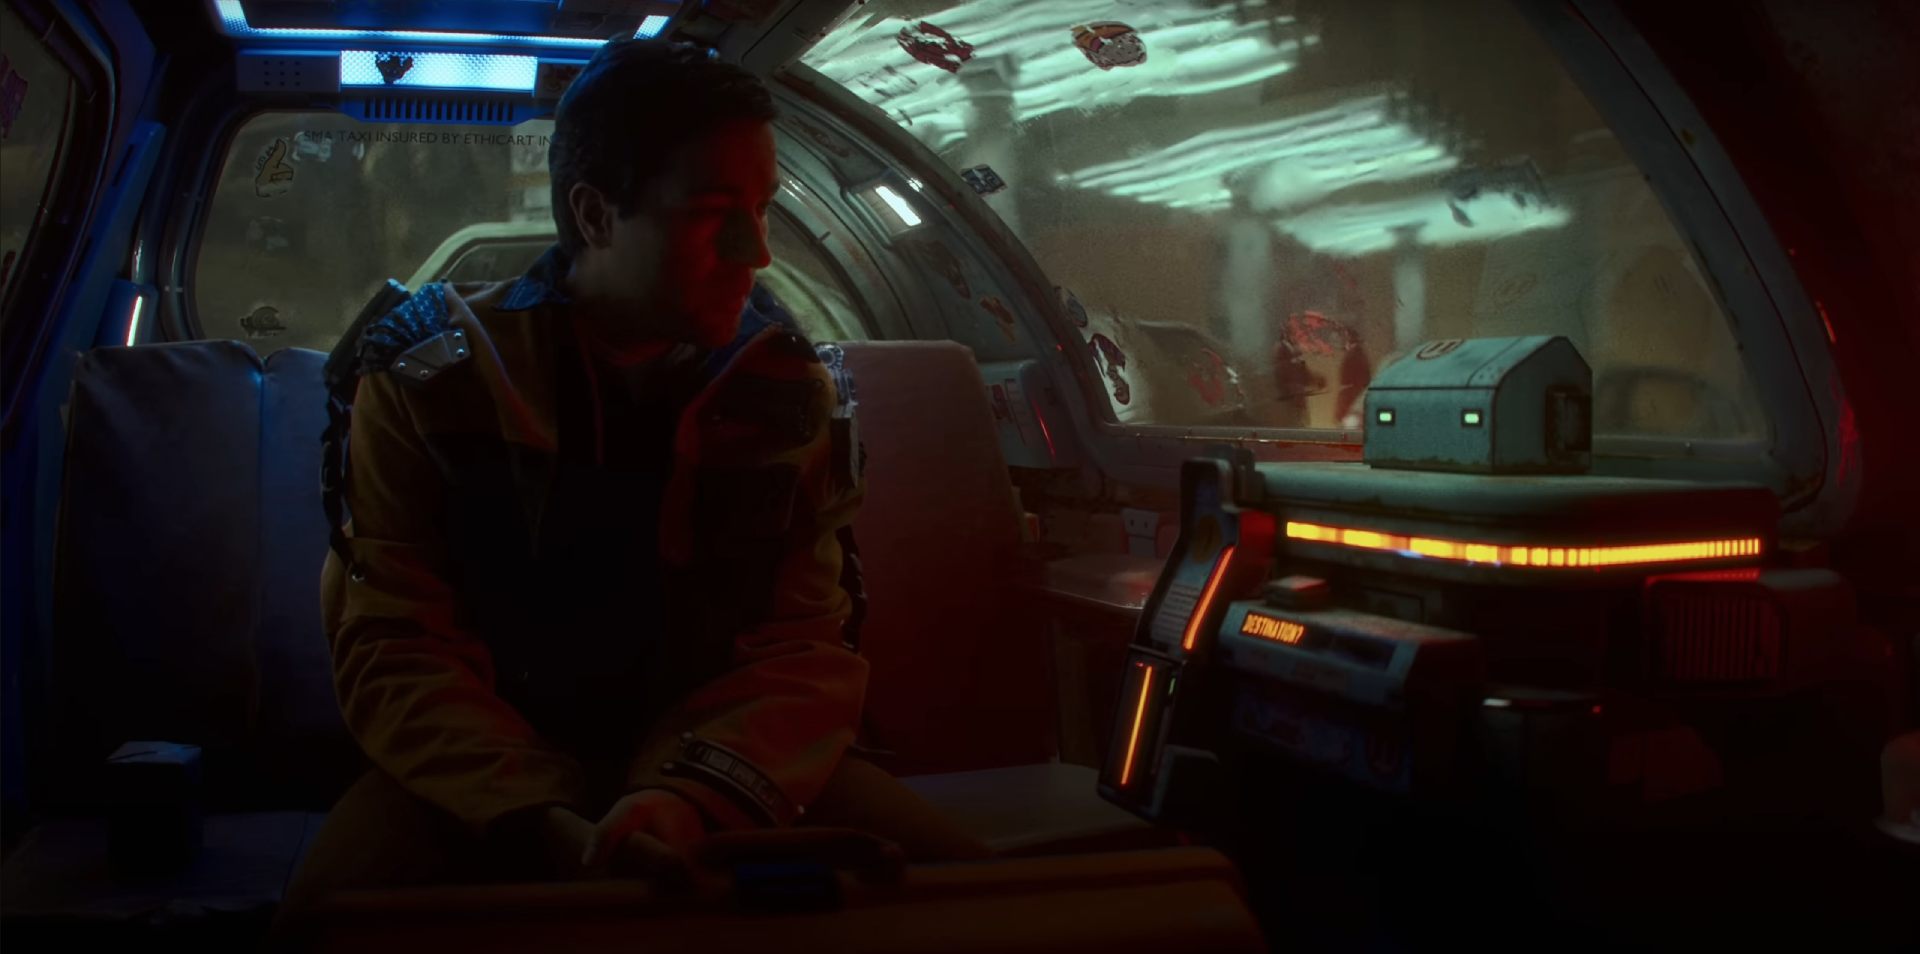
3D Rendering: Perfect for character lighting, moody interiors, or storytelling scenes. Ian Hubert’s Dynamo Dream is a great example (of so many things, upstage lighting being one of them).
(Want to dive deeper? Patrick O’Sullivan at The Wandering DP breaks down this technique in countless cinematography breakdowns. Highly recommended.)
—
How to Use Upstage Lighting
- Position the key light slightly behind your subject, opposite the camera.
- Adjust fill and rim lights if needed to keep important details visible.
- Experiment with angles – a small shift can dramatically change the look.
That’s it. Elegant. Easy. And super effective.
—
Final Thoughts
Reverse key lighting is not a magic bullet (there are many ways to achieve cinematic lighting, for instance here’s the ‘formula’ for outdoor lighting, which incidentally includes reverse key as one of its key components), but it’s one of those simple techniques you can add to your toolbox and use over and over.
Want to go deeper? Check out our Cinematic Lighting course.
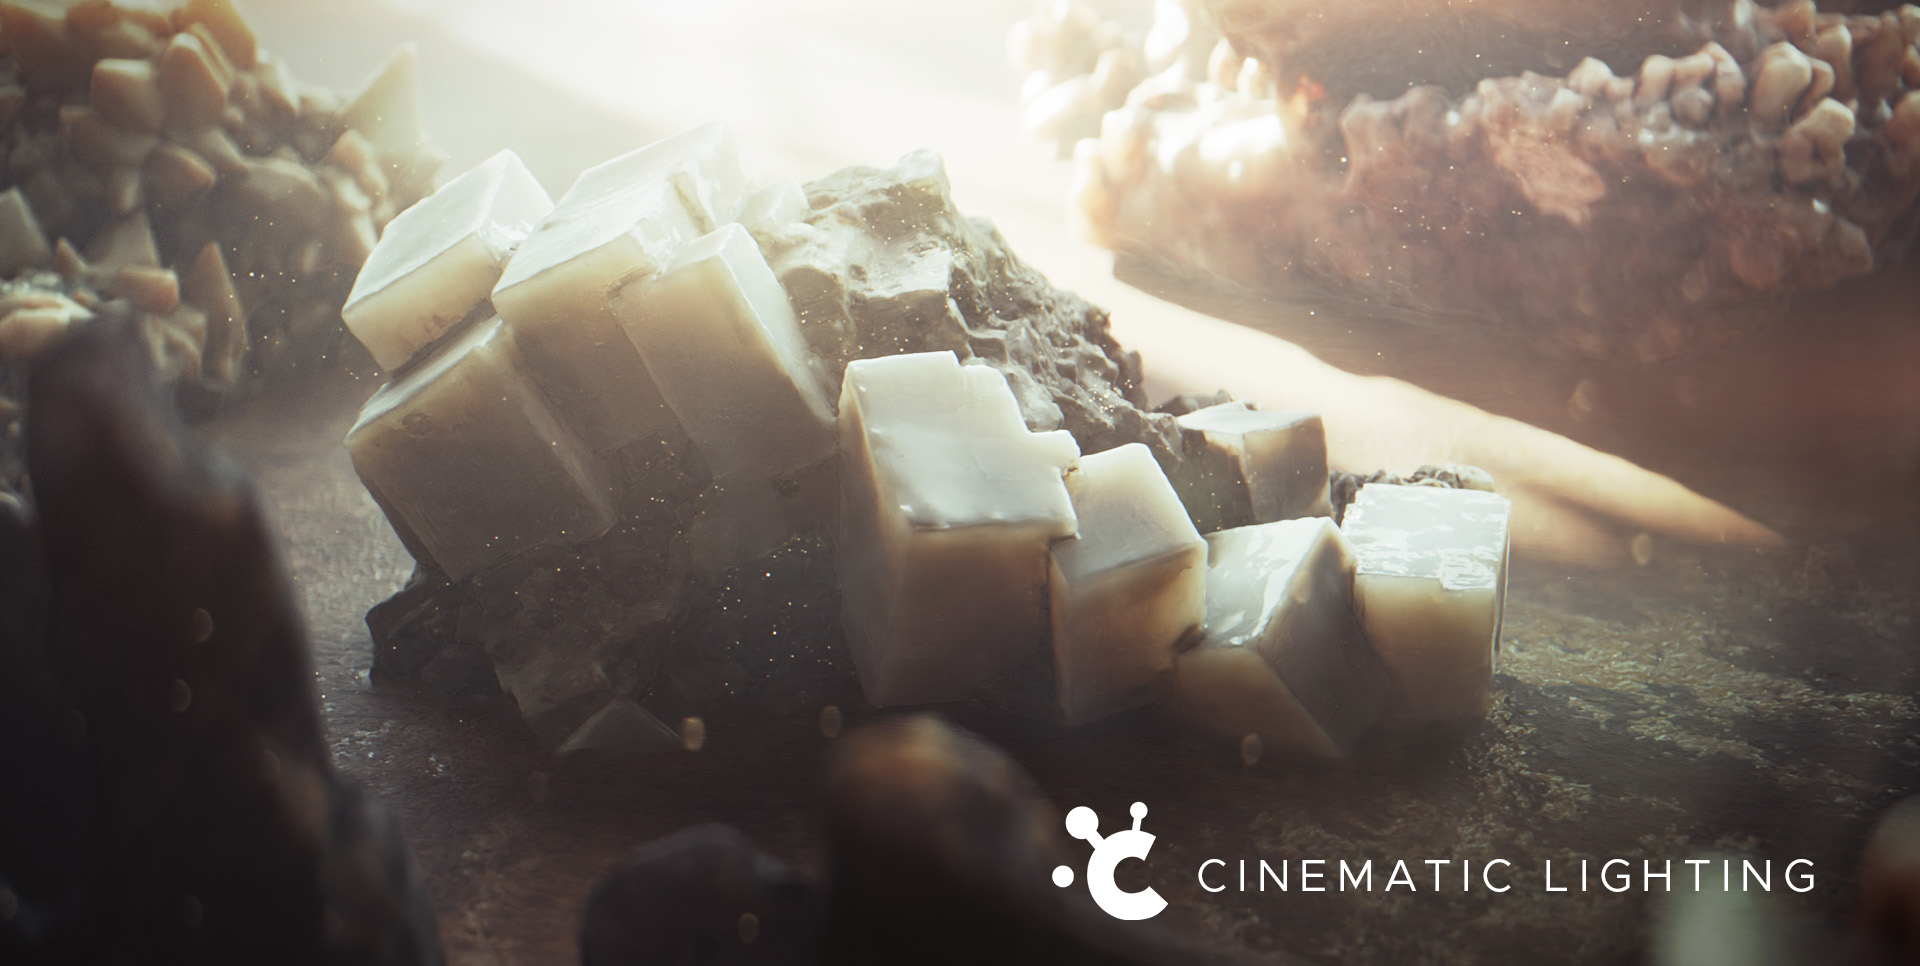
Cinematic Lighting on Blender Market
Happy rendering!
—
Our Other Courses You May Also Like
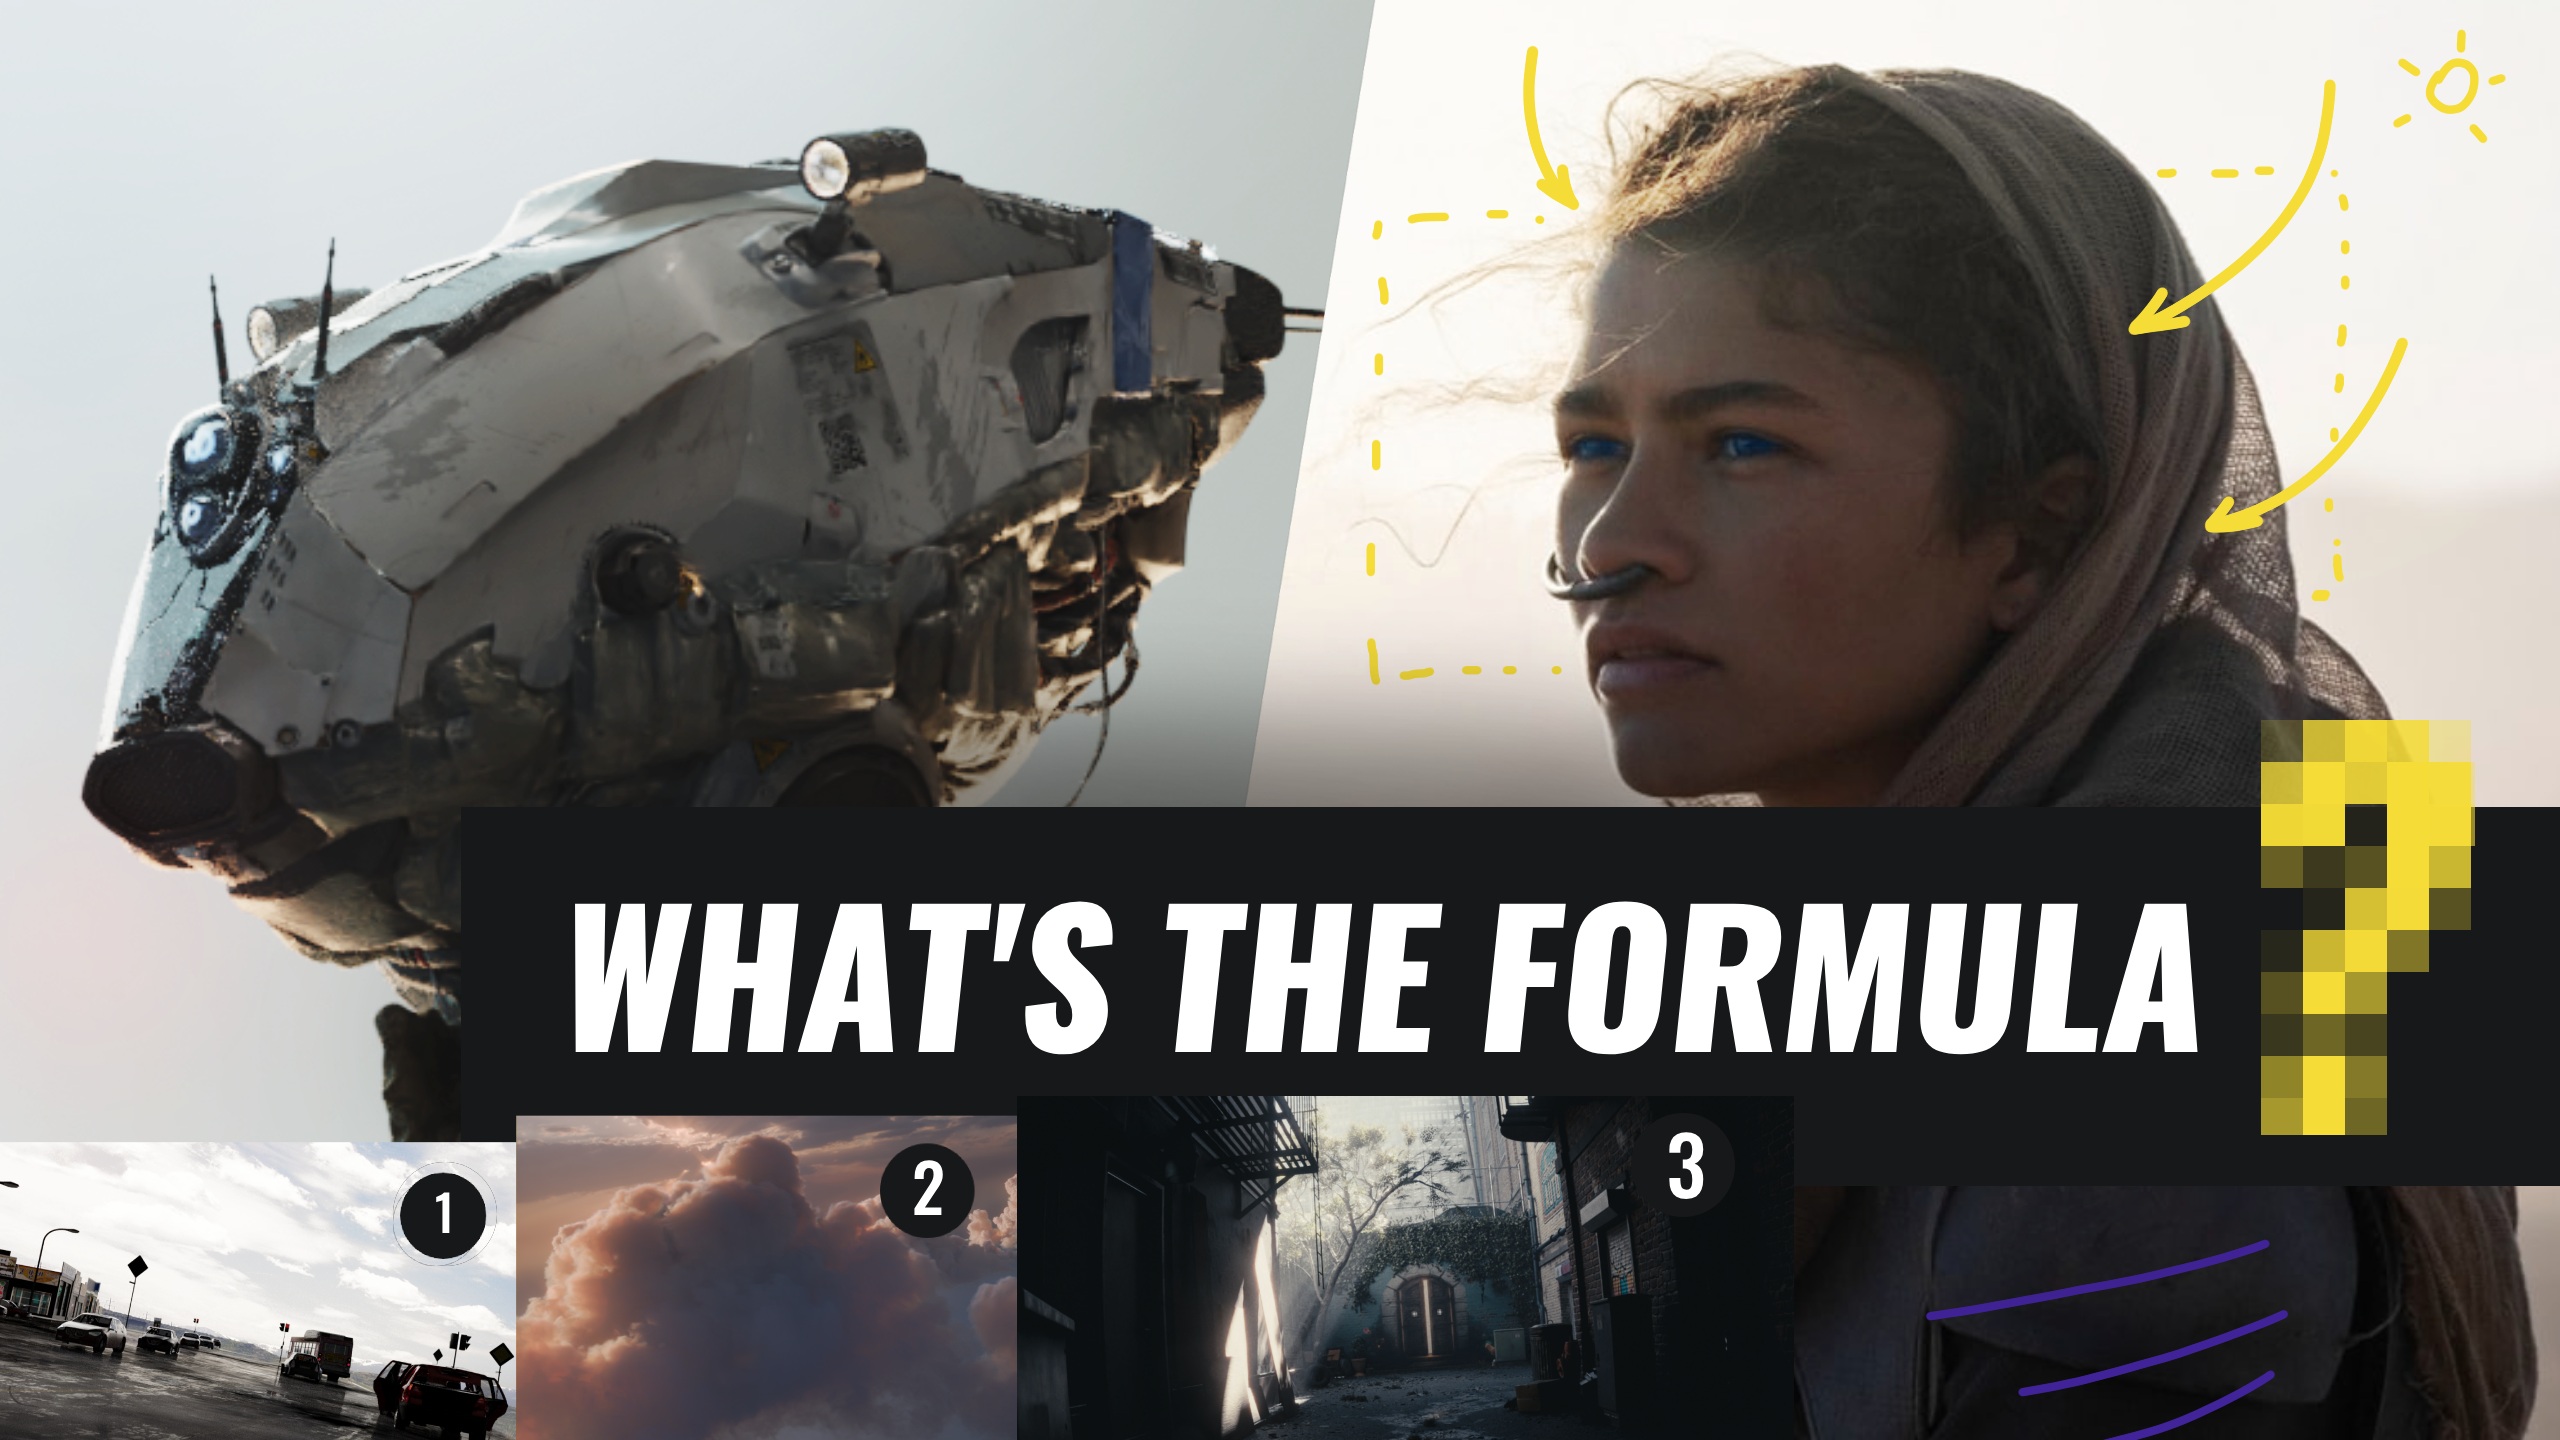
Outdoor Lighting in 3D – is There a Magic Formula?
💌📬 Get more creative tips – subscribe to our newsletter!
